TIPS & HOW TO
Woodworker’s resources for veneering

Canadian Woodworking

Wood veneering is a time‑honoured woodworking technique that uses thin slices of wood to create beautiful, stable, and visually striking surfaces.
Although it’s a staple in professional furniture making and cabinetry, it’s also an accessible and rewarding skill for hobbyist woodworkers. With the right materials, a few specialized tools, and some patience, veneering opens up design possibilities that would be difficult — or prohibitively expensive — to achieve with solid wood alone.
We offer a range of resources to help you get started. On our website, you’ll find instructional videos, technical articles, and project plans — for your convenience we’ve posted links to all of them below.
In this guide you’ll also find a short primer on veneering, along with a list of reputable veneer suppliers to help you source quality materials.
What veneer is
Essentially it’s solid wood, albeit very thin — typically between 1/42″ (about 0.6 mm) and 1/16″ (about 1.5 mm) thick — cut from a log using slicing, rotary cutting or sawing methods. You glue and press these thin sheets onto a stable substrate such as plywood, MDF or solid wood panels to make panels you can then use in your woodworking projects.
Because veneer is sliced from a log in sequence, consecutive sheets often display beautiful, flowing grain patterns. When arranged carefully, these sheets can be matched to create decorative effects such as book-matching, slip-matching and four-way matching.
Using veneer allows you to showcase highly figured or rare woods — such as walnut burl, curly maple, or exotic species — without the cost or movement issues associated with solid lumber.
In this video Rob Brown introduces you to the wonderful world of veneering.
Where it's used
Veneer is widely used in fine furniture, cabinetry, architectural panels and decorative woodworking projects. Many high-end furniture pieces feature veneered panels because veneer provides stability and allows for dramatic grain layouts that would be very difficult, if not impossible to do with solid boards.
You can use veneer for:
- Cabinet doors and case sides
- Tabletops and side panels
- Drawer fronts
- Decorative panels and inlays
- Curved or shaped surfaces
Because veneer is glued to a stable substrate, veneered panels tend to remain flatter and more dimensionally stable than wide solid-wood panels.
In this video Rob Brown talks about the benefits of incorporating veneering into your repertoire of woodworking skills.
Substrates you need
The substrate — the material beneath the veneer — is critical to the success of a veneered panel. It has to be flat, stable and free of movement.
Top choices are:
- MDF (Medium Density Fiberboard): extremely flat and stable, making it one of the most popular veneering substrates.
- Baltic birch plywood: strong and stable.
- Solid wood panels: usable, but movement must be carefully considered.
In this video Rob Brown explains the difference between three popular types of sheet goods.
Tools you need
One of the appealing aspects of veneering is that it doesn’t require a large investment in specialized tools. Most woodworkers will have the basic tools they need on hand. Once you’ve tried veneering — and if you decide it’s something you want to continue doing — you can purchase a few additional tools to make your veneering projects easier and more enjoyable.
Need to have:
- A sharp utility knife
- A straightedge
- Masking tape (blue is better)
Nice to have:
- A self healing cutting mat
- A veneer saw
- Veneer tape
- A veneer roller or J-roller
- A vacuum press or veneer press system
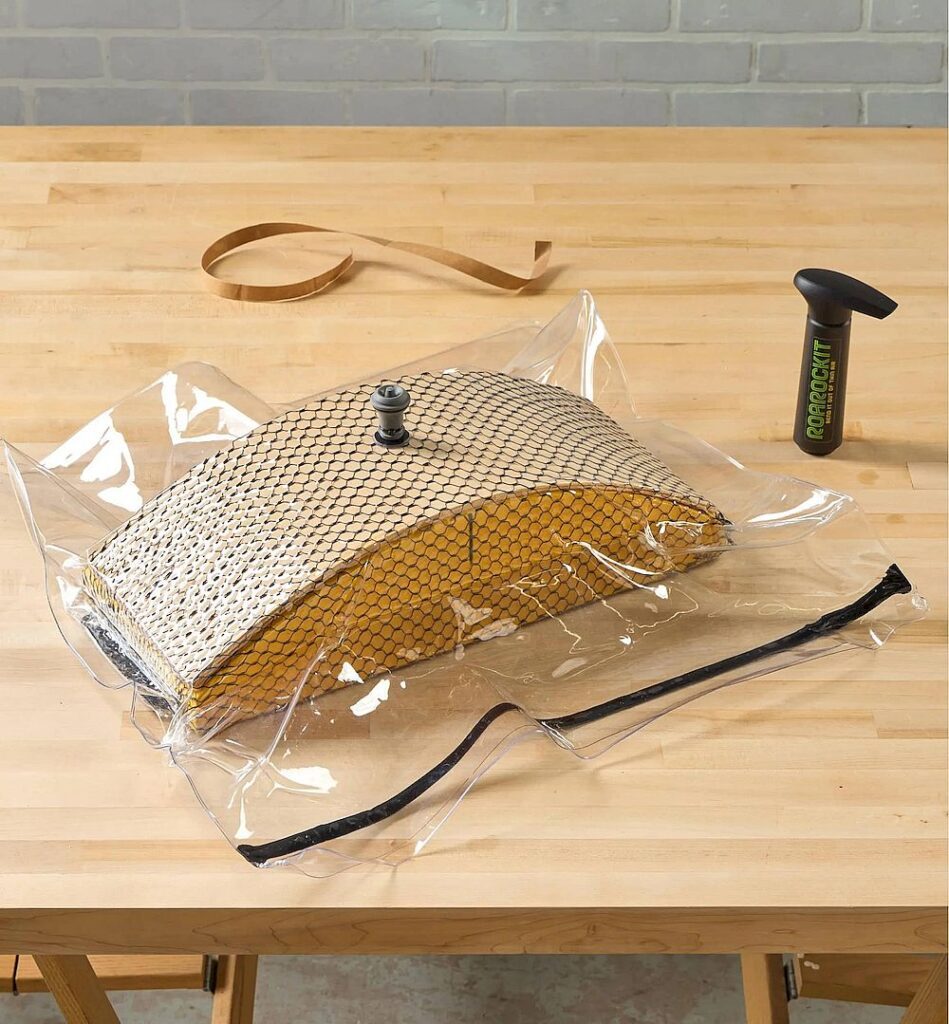
An effective alternative to a full veneer press system is the Canadian‑made Thin Air Press. This manually operated vacuum system offers a simple, efficient and affordable solution for veneering and bent‑lamination work. Originally developed for producing skateboard decks, it’s become a popular choice among woodworkers. Each kit includes a heavy‑duty 20‑mil vinyl vacuum bag, one‑way valve and seal, low‑volume/high‑pressure hand pump, breather netting, extra seals, and detailed instructions. The bags, available in 6 different sizes, are designed for long service life — often lasting for hundreds of pressings.
Adhesives used in veneering
Choosing the right adhesive is important for long-term durability and ease of use. Several types of glue are commonly used for veneering.
Yellow PVA wood glue is widely used because it is inexpensive, easy to apply, and readily available. It works well when veneer is pressed in a vacuum bag or with cauls and clamps.
Cold press veneer glue is specifically formulated for veneering. It has a longer open time than standard wood glue and cures rigidly, helping prevent veneer creep.
Urea formaldehyde glue is commonly used by professionals because it cures hard and resists movement, making it ideal for large panels or architectural work.
Hot hide glue is the traditional veneering adhesive. It allows the veneer to be repositioned with heat and moisture and is still favored by some furniture makers for restoration work and hammer veneering techniques.
For most hobbyist applications, standard PVA glue is the simplest and most reliable choice.
Methods of applying veneer
Several different methods can be used to apply veneer depending on the tools available.
Clamping with cauls is one of the simplest approaches. Veneer is glued to the substrate and then pressed between flat boards using clamps.
Vacuum pressing has become very popular among hobbyist woodworkers. A vacuum bag removes air from around the panel, allowing atmospheric pressure to apply consistent pressure across the entire surface.
Hammer veneering is a traditional technique using hot hide glue and a veneer hammer to force glue out from beneath the veneer while pressing it into place.
Each method can produce excellent results when done carefully.
A few tips to get you started
Good veneering results come from careful preparation and attention to detail.
Prepare flat surfaces. Both the veneer and the substrate must be flat and free of debris before glue is applied.
Dry-fit veneer sheets. Before gluing, arrange veneer pieces and tape the seams to ensure the grain alignment and layout look correct.
Apply glue evenly. Uneven glue coverage can lead to bubbles or areas that fail to bond properly.
Use adequate pressure. Veneer requires uniform pressure across the entire surface while the glue cures.
Watch glue squeeze-out. Excess glue can seep through porous veneer species and affect finishing.
Trim veneer after pressing. Once the glue has cured, the veneer can be trimmed flush with a router, sharp chisel, or block plane.
Veneering Part 1
If you’re new to veneering, this video is a must‑watch. Steve breaks down what veneering is, why it’s such a powerful technique, and just how easy it is to add it to your woodworking toolkit.
Veneering Part 2
In this second webinar Steve goes into more detail about techniques that take your veneering to a whole new level.
Online resources
Veneer sources
- A&M Wood Specialty
- BC Veneer Products
- Can-Am Logs and Lumber
- Exotic Woods (a valued sponsor)
- KJP Select Hardwoods
- les boisés La Fleur
- Northstart Tonewoods
- Specialty Veneers
- The Wood Shed (a valued sponsor)
- The Wood Source
Take a deep dive into veneering
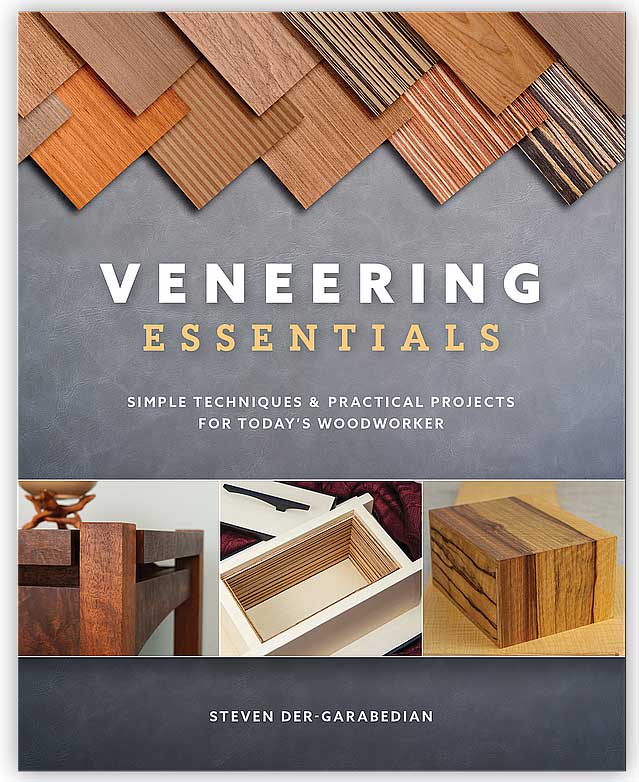
If you’re looking for a comprehensive manual on veneering, we recommend “Veneering Essentials: Simple techniques and practical projects for today’s woodworkers” by Steve Der-Garabedian.
Steve does an excellent job explaining the basics of veneering and shows you how easy it is to incorporate veneer into your future woodworking endeavours.