TIPS & HOW TO
Introduction to hollow turning

Paul Ross

There are many forms and techniques for hollow turning and this introduction will only take a quick look at one of them.
Once you try hollow turning, you may want to look into it a little further. Start with a sphere shaped between centres.
Turn a spigot to grab with the chuck so that you can go in through a hole on the tailstock end. Next mount the sphere securely in the chuck. Use the tailstock to line it up. Then drill out the middle, with a drill chuck in the tailstock.
As I’ve explained in past issues, this does a couple of things for us: it gives the tool a place to fall into and it helps to set the depth of the piece. While drilling out the centre, get rid of as much bulk as possible. This will cut down on your tool work on the inside.
The tool I am using here is often referred to as a “captive bar” hollowing rig. I must emphasize that there are many ways of hollowing out the inside. This is one, very simple explanation of this process. It is simply a bar with an outrigger wing on the side of the bar. The cutting end rides on your tool rest and the outrigger end sits trapped between two stabilizing bars. These stabilizing bars eliminate any vertical twisting. This is a very effective system, especially for thin-walled and larger pieces. This setup can be seen in photo #3.
Basically, the inside is just scraped out with this hollowing bar to the desired thickness.
The piece that I’ve done here is a sphere body of spalted maple. I used a contrasting piece of wood on the top to slightly close the hole. Cut the outside of the insert for the top.
Then cut across the face of the inside of the top.
Shape the inside surface to the outside surface of the sphere, so that the top sits flush, 1/8” around the hole in the sphere.
Part the top off the waste block.
Glue the top on to the sphere, using the tailstock as a clamp.
For this article I used “cyanoacrylate” glue because it sets fast. You could also use wood/carpenter’s glue and leave it clamped overnight.
Use a 9-in-1 tool to form a bead where the top meets the sphere.
A “9-in-1” tool is a very versatile tool. It can be used like a tiny skew, or like a tiny sheer scraper to form sharp and crisp beads and “V” cuts. What you are doing here is a little detailing to take your eye away from the joint.
Remove the tailstock and cut the top thinner and shape it.
Turn off the bottom. I usually suggest holding the piece in a vacuum chuck to turn the bottom. This time, let’s look at another method of sanding the bottom.
Work through the grits with a velcro sanding pad held in a drill press, or sand the entire piece off the lathe using this method. By trying different methods you will develop your versatility.
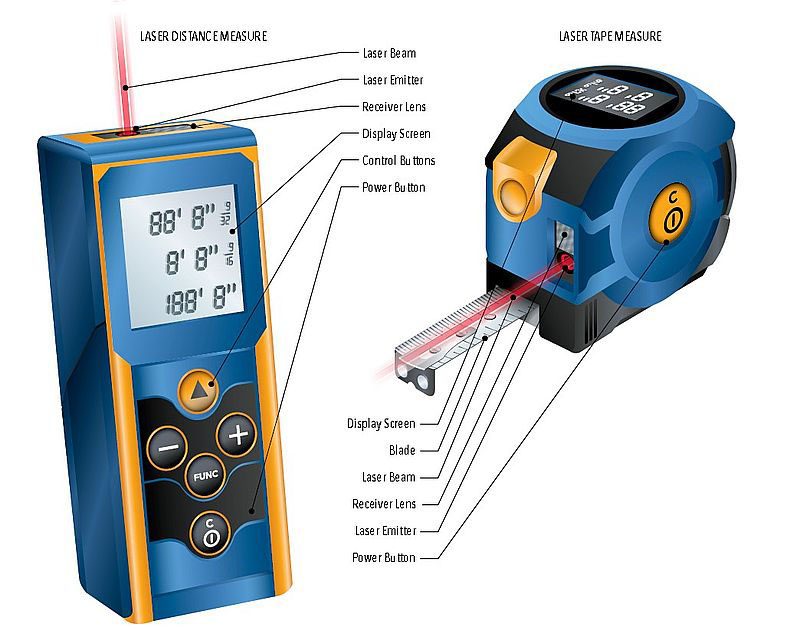
The overall thickness of the piece can be taken down to as thin as 1/16” using this captive bar type of setup. I used a laser pointer to measure wall thickness and turned the piece very thin so that I could pierce parts of the vessel with a dental hand drill. Express your creative side at this point and explore different texturing and carving techniques.