FROM ROB'S BENCH
Why did it take you so long to build that, Rob?

Rob Brown

Blog for April 30, 2026
There are many projects I build that I could otherwise purchase elsewhere. I'm guessing that's true for pretty much all woodworkers.
The side table I made about a year ago that’s sitting in our living room could have been bought. Sure, a purchased table might not look as nice as the one I made, but it would do just as good a job of holding a cup of coffee and a book as the one I made.
Sometimes I build something because I can’t find exactly what I need elsewhere. I spent way too long making a weight rack about a month ago, but it was one of those projects that I just couldn’t find elsewhere.
Necessity is the mother of invention
We’re trying to organize our basement. Our home isn’t huge, and we have a lot of stuff stored in our basement. The only way to store everything, while also be able to use the exercise equipment that we have down there, is to keep things very organized. It’s no different than a small workshop, really. I figured the simplest and quickest approach to store all of our dumbbells would be to purchase a weight rack. After checking out options online, that’s exactly what I did. It arrived a few days later and I set it up. Like a good husband, I also cut up the cardboard package it came in and placed everything in the recycle bins in order to keep our small basement tidy. My son and I assembled the rack and went to put it in place. The only trouble was that it was just a few inches higher than I figured it would be, and the weights weren’t easy to grasp and return to the rack. It also forced you to almost pinch your hands between the rack and dumbbell every time you put a dumbbell back on the rack. This wasn’t a problem for the 12-pound weights, but the 40-pound weights were not only naturally harder to lift but also included a higher pinch risk if anything was slightly off. I was on the fence. My wife said no way.
To the shop!
After looking for a different rack, it was obvious nothing was going to be perfect. Since we didn’t have much wiggle room, building one that fit the space nicely looked like the only option. How hard could it be?
I measured up the weights, measured the space I had for the rack, then headed to the shop. I wasn’t sure what approach I’d take for the general design, but I often find making a model helps work out design details, so that’s what I did. I made a tiny rack from popsicle sticks and hot-melt glue. It had a double rack to store weights and a small cabinet above it. The dimensions had to be just right, or the weights wouldn’t fit well.
The design I came up with was surprisingly complex. I hummed and hawed, only to put this little project on the back burner. Over the next few days I spent some time searching weight rack designs online, trying to picture how each one could be modified to be made of wood and solve the space challenge we had in our basement. To be honest, it wasn’t easy. Each time I pictured a rack that might work, it was either far too complex to build or not strong enough. A few more days went by, all the while we constantly tripped over about 300 pounds of dumbbells rattling around in the basement. And since that’s our main entry / exit, that was becoming tiresome.
Back to the drawing board
I needed a much more refined, simple design if this was going to be a successful project. A bit more internet searching, and I landed on a design I thought had some potential. I had been trying to have a front and back rail support each row of dumbbells, which meant more joints, a more complex build and more options of failure. Having a 10″ wide platform, rather than the two narrow supports, would not only simplify the design and build, but also make for a better looking rack.
At this point I had a decent design in my head, but still had to engineer the rack to be strong and functional. That wouldn’t be a huge deal, I thought to myself, as I headed back to the shop. The design I came up with was strong, but making it truly functional was a surprising challenge. All the dimensions were repeatedly fussed over. And designing the rack so weights would be easy to take off and return was also a bit of a challenge. I can’t really pinpoint why it took me so long to design and build this fairly simple rack, but you’ll just have to trust me. Far too long.
All done
I spent way too many hours over the next few days building this rack, but it turned out fine. I finally brought it home and showed my wife. She tried to sound impressed with my work, but it was easy to hear the “why did it take you so long to build that?” in her voice. I’m used to it though, so that bounced right off me. However, she was right. It took me a painfully long time to build a very simple weight rack, along with a truly basic melamine cabinet for above the rack. But at least it’s done and it works quite well.
To make this whole process a bit more frustrating, because I had cut up the box the purchased weight rack came in, it couldn’t be returned. No worries, I’ll sell it online. How hard would that be? We got a good deal on it, so I thought this would be easy. That wasn’t the case. After reducing the price because it didn’t sell in a couple of weeks, responding to a number of potential buyers who wanted me to deliver it across the province for free, then reducing the price some more, I was beginning to hate this rack. I finally took a low-ball offer and was happy to get back about half of what I paid for the rack.
Thinking back a few decades
This little project turned out to be worth it to build, but only barely. I kept thinking back to when I was first getting into woodworking. Rather than buy any piece of furniture, I’d head to the shop to see if I could make it. I was often successful, but far too many times I ended up with a finished project that was not only less superior than what I could have bought but didn’t look as good. To top it all off, it almost always cost me more than purchasing what I wanted off the store’s shelf. What buying a new object did lack was the joy and challenge of the build.
Looking Good
Fitting between the door and my stationary bike, the rack is the perfect length and holds all our dumbbells. The simple cabinet above is no work of art, but it keeps shoes and other exercise accessories close by.
Keep It Simple
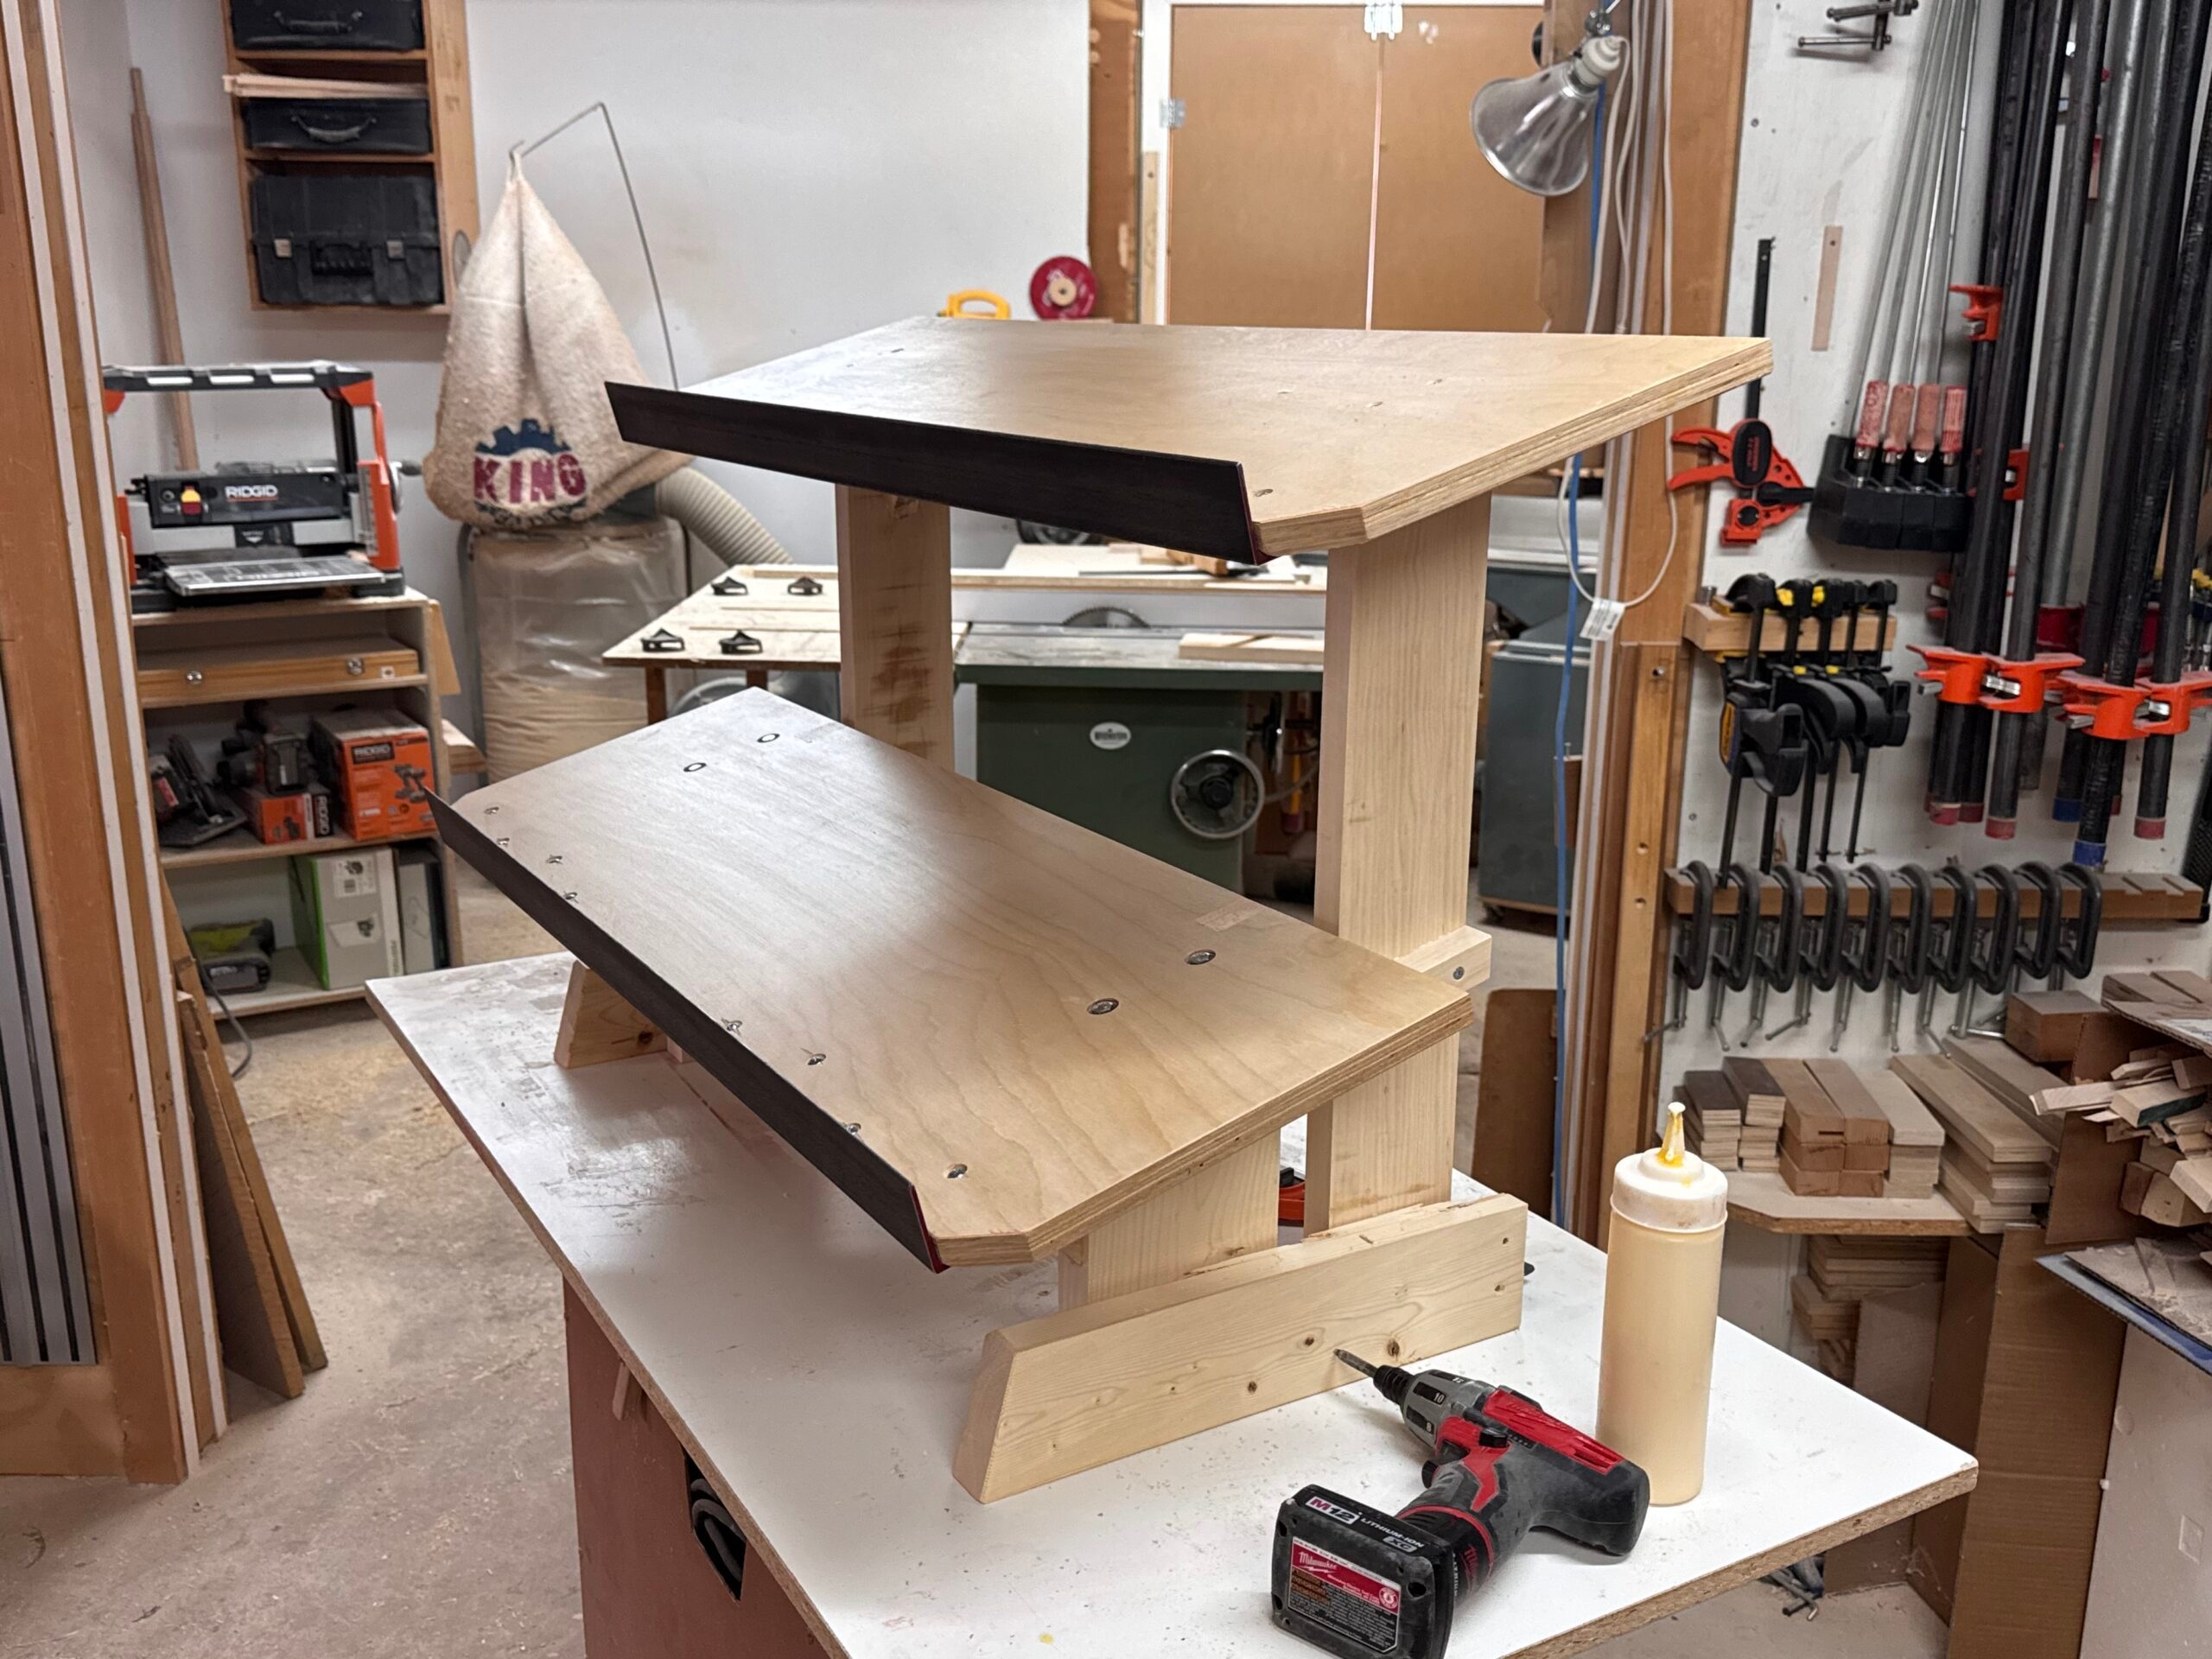
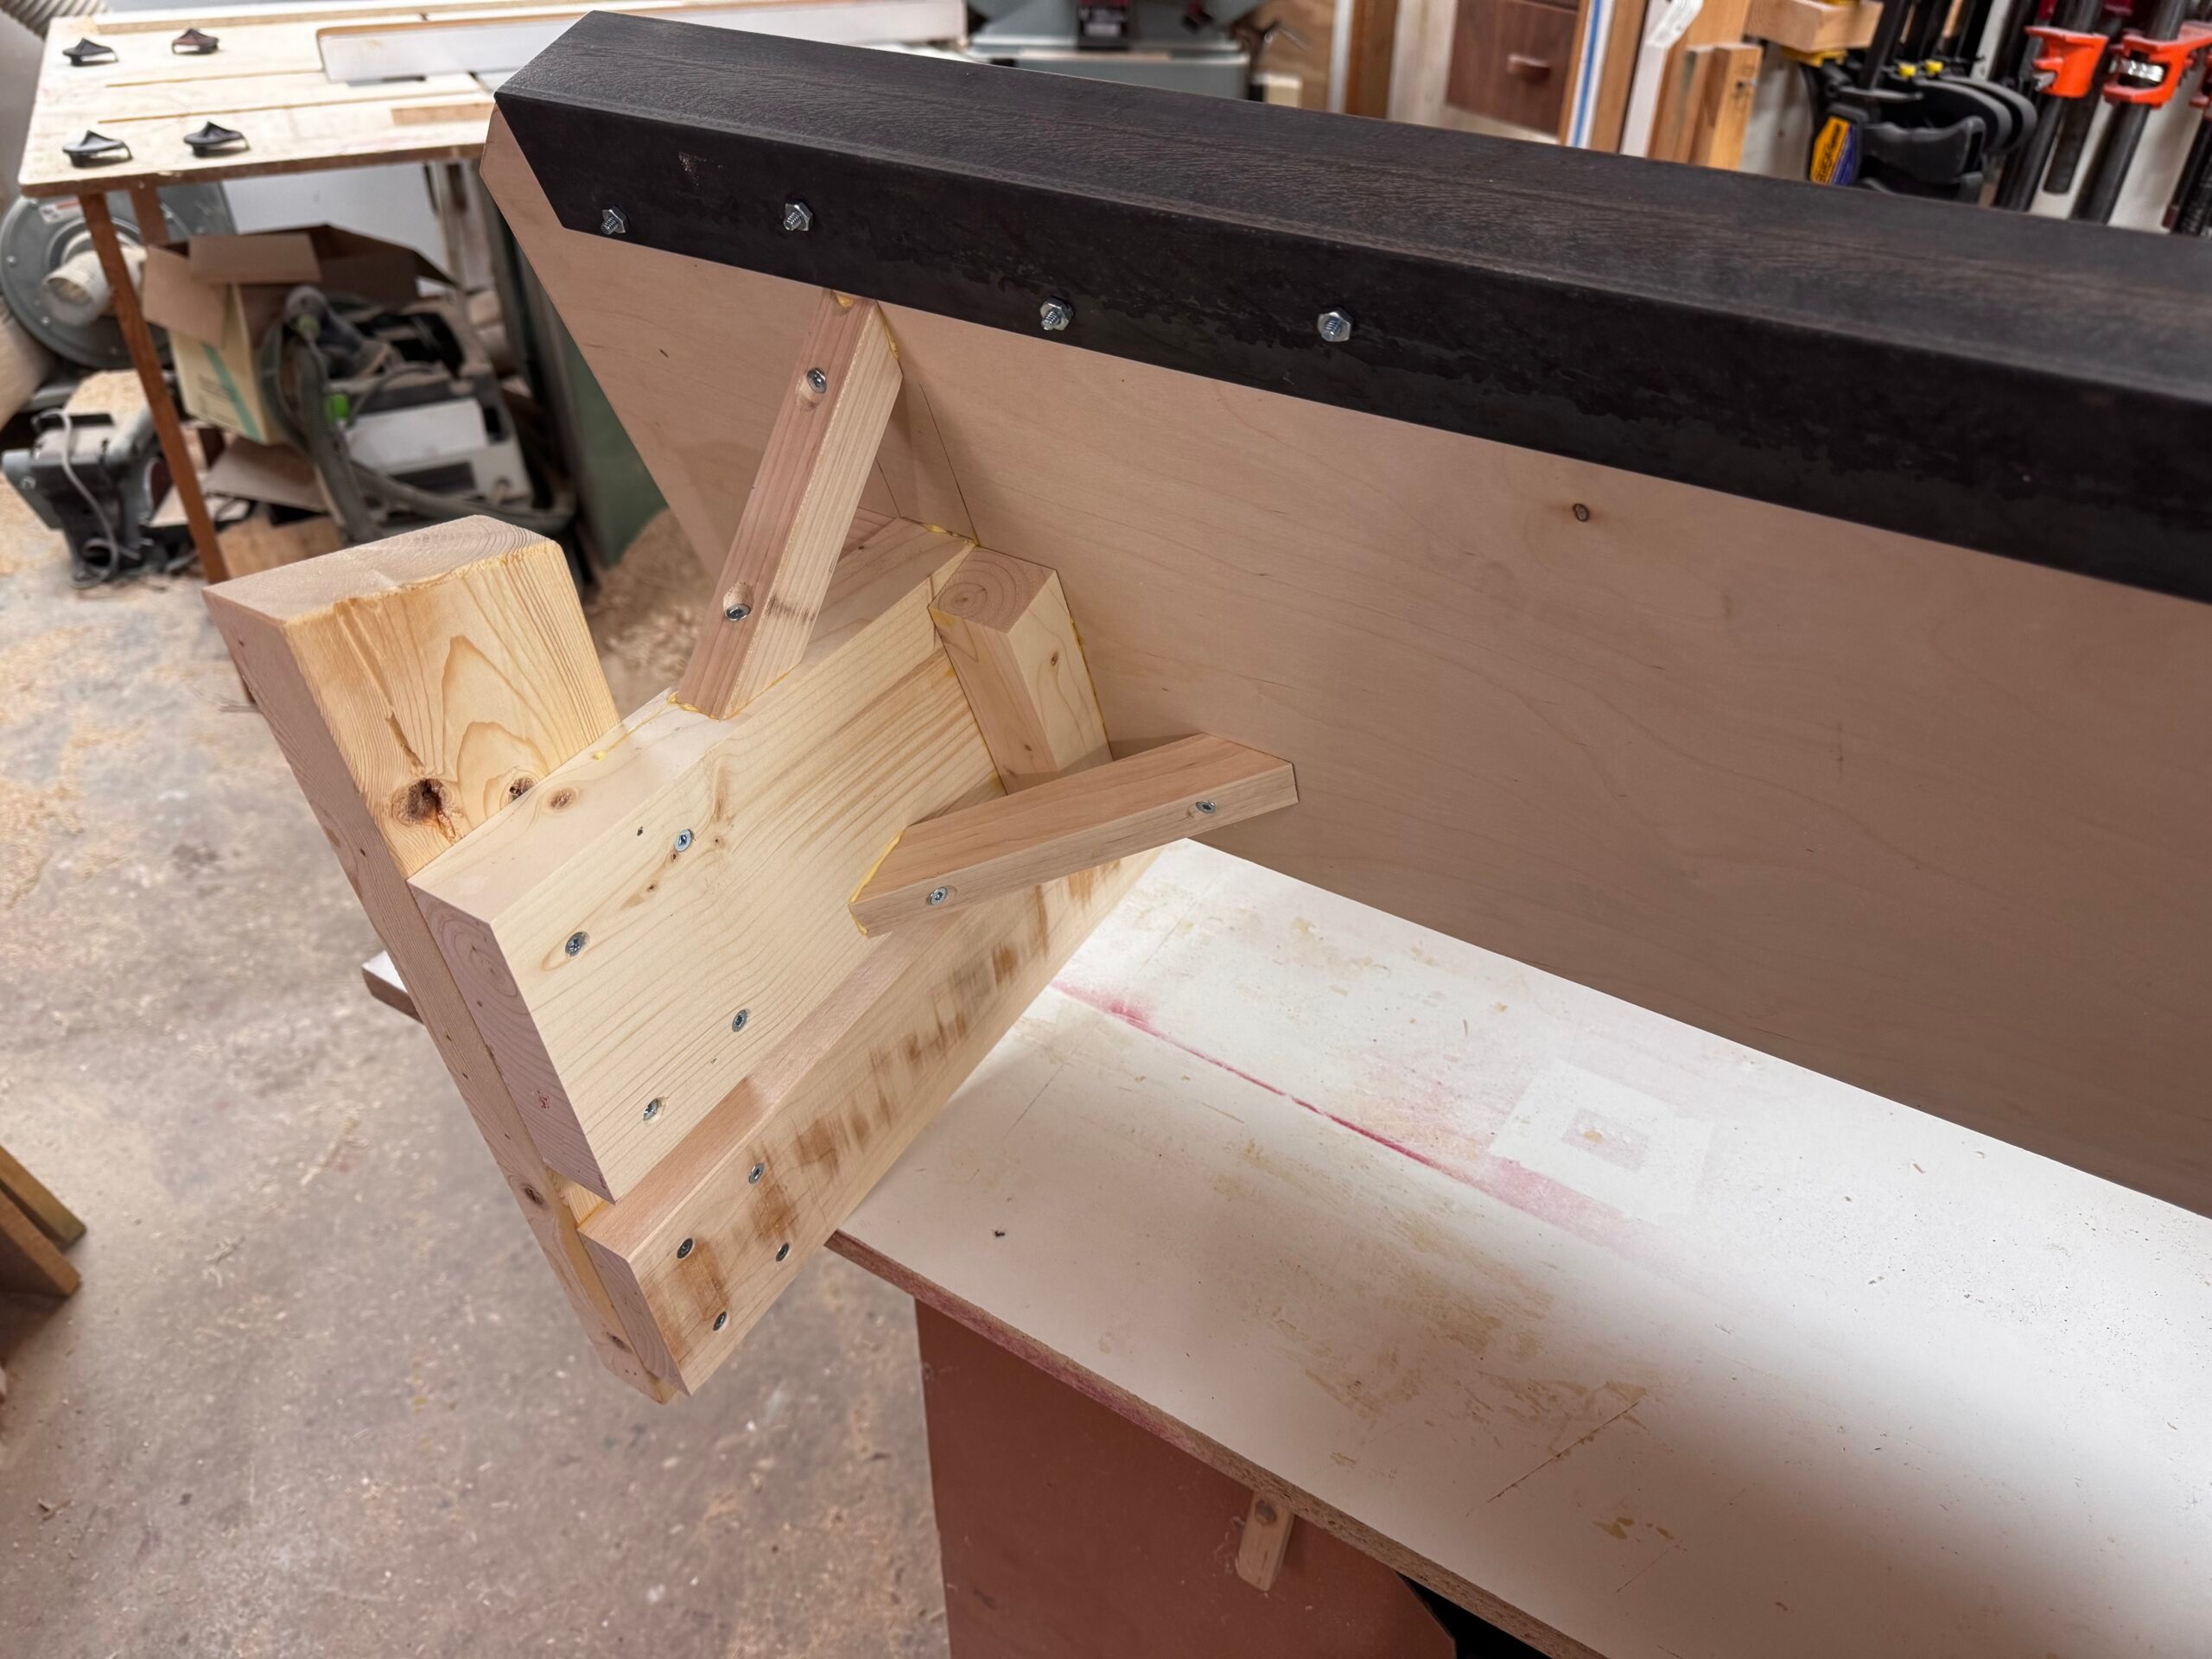
2x material and hard maple came together to make a solid rack. Screws and glue made for strong half-lap joints that would have no trouble holding a few hundred pounds of dumbbells safely off the ground.
Triangles to the Rescue
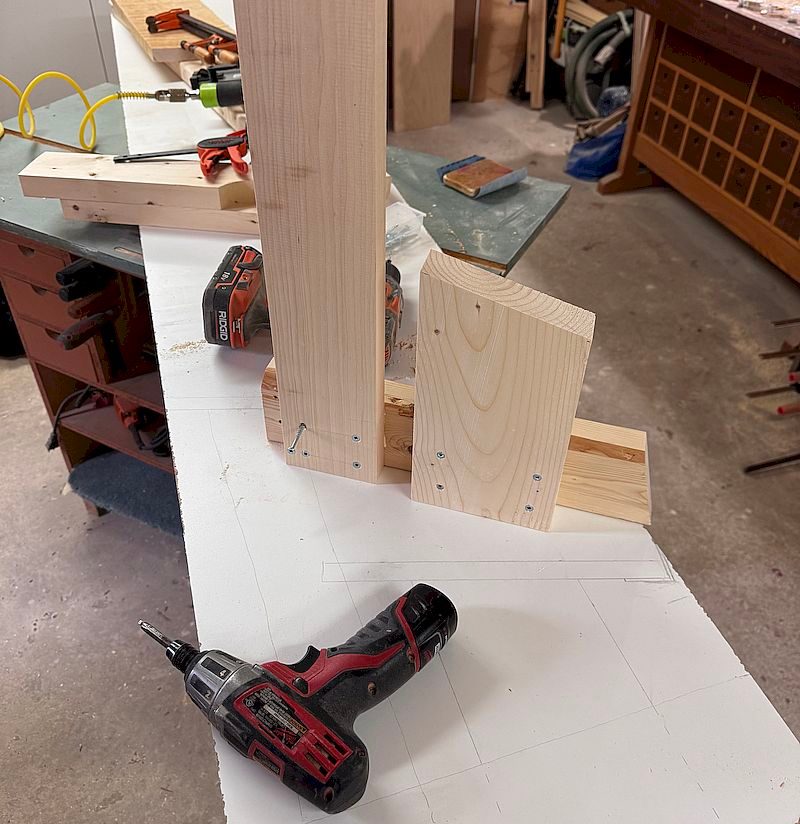
The triangle is a strong shape, and creating them with angled wooden brackets stopped any racking that would occur in the future.
Ready to Install
The completed rack was ready to see its new home. This simple structure took far too long to create, but at least it's sized perfectly for our space.