PROJECT
Pen stand

Paul Ross

Find more Woodturning projects
Tired of patting all those papers on your desk, looking for that pen you just set down?
Here is an attractive double pen set stand that will ensure that you always know where your pens are.
The technique used to produce this turning is called “multi-centre turning”.
You can use a single piece of wood for the base, and the trumpet pens are available at most wood turning supply houses. Use a close-grained hardwood for this project. It is important to lay out the wood accurately.
Pen stand
Getting Started
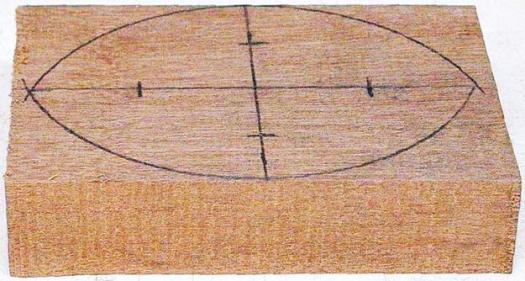
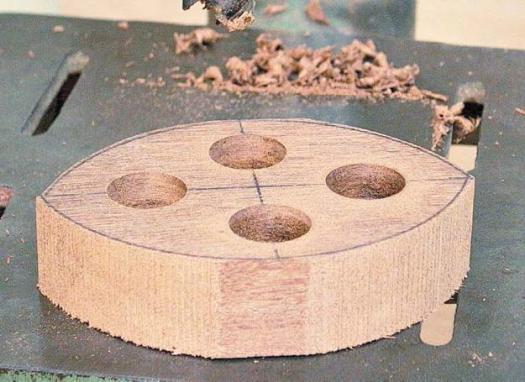
Start with a piece 6″ x 4″ by about 1″ thick. Draw two centre lines at right angles to each other, and mark two points 1 3/8″ each side of the centre across the length and 1″ each side of the width. With a compass, draw an arc from each of the 1″ points to meet the centre of the ends
Cut Arcs
Bandsaw these arcs a little outside the lines drawn. Then with a 1″ sawtooth drill bit, bore four holes 3/4″ deep.
This should be done using a drill press where the depth can be set.
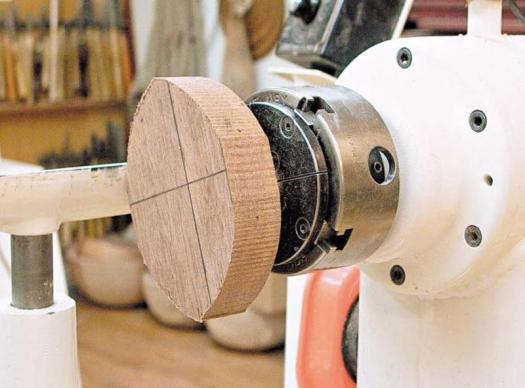
Select one of the holes 1″ off-centre and place it over the #1 jaws or small jaws of your chuck.
Face Cut and Shape
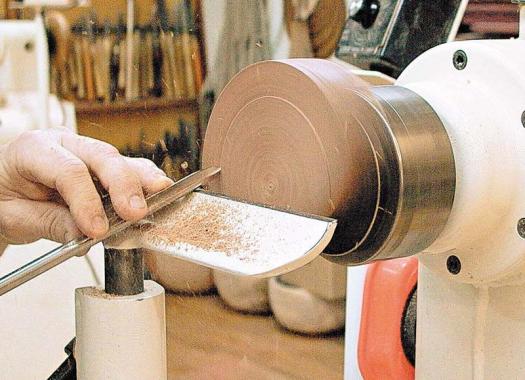
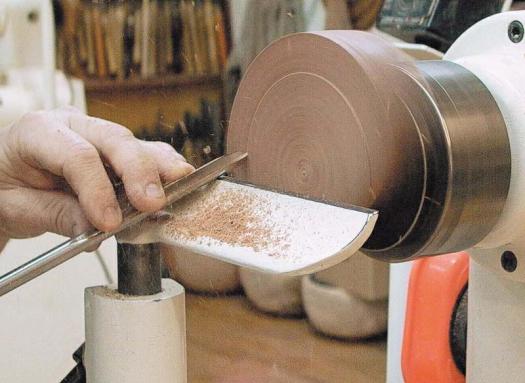
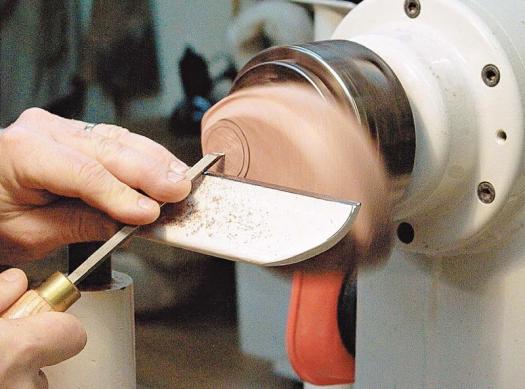
Try not to tighten (expand) too much in these holes as you could possibly split the wood. Check that the piece turns freely past the tool rest and start the lathe at a slow speed. Carefully feed a 3/8″ gouge into the wood and cut a clean arc. While on this centre move the toolrest to the face, and make a facing cut across the face. You can also shape the top profile. Now move the wood to the other 1″ off-centre hole and repeat the same process. These two cuts can been seen below,
Turn the Plinth
Now move the wood to one of the remaining holes. Turn the plinth (or base) that the trumpet of the pen is attached to. You must also find the centre of this plinth so that you can drill the hole for the screw of the trumpet. Use a 9 in 1 tool as seen below.
Move the wood to the remaining hole, find the centre of the plinth, and then shape.
Scrape the Plinth
Scrape the base or flat part of the plinth so that the trumpet sits properly. Scrape the rest of the plinth.
Transfer Plinth and Sand
Transfer the diameter of the plinth using a set of dividers. Complete the sanding on each centre.
When the turning has been completed, drill two small holes the diameter of the screws supplied with the trumpets. To complete this project glue a piece of felt cut the size of the base onto the bottom.
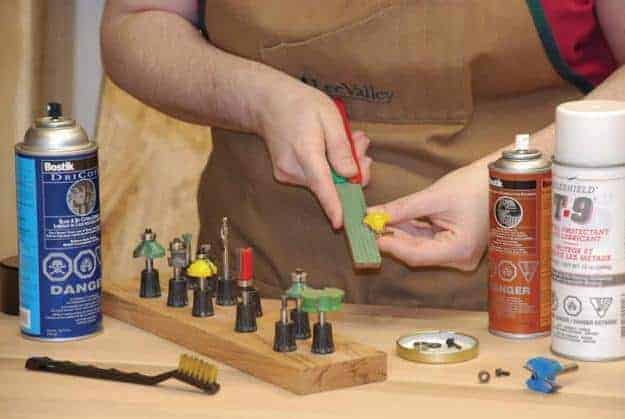
Use a finish of your choice. One option that works well with the multi-faced surface such as this, is a spray lacquer.
Now you have an easy (and attractive) way to ensure that your pens are always where you need them.
Draw an arc from each of the 1” points with a compass
Bore a hole ¾” deep with a 1” sawtooth drillbit
Select one of the holes 1” off-centre and place over jaws
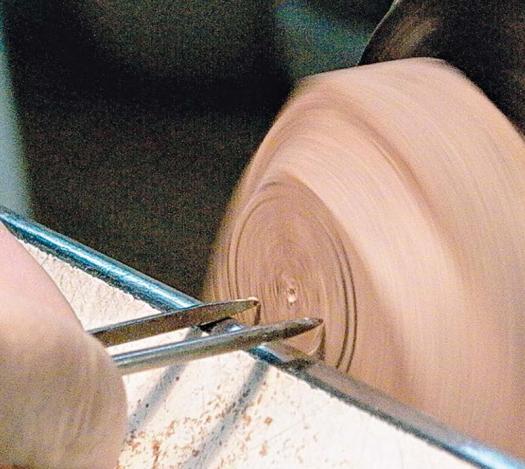
Make an outside cut with a gouge
Move the toolrest to the face, and make a facing cut
Find centre of plinth and drill hole for the screw of the trumpet
Transfer the diameter of the plinth using a set of dividers