PROJECT
Make a simple vase

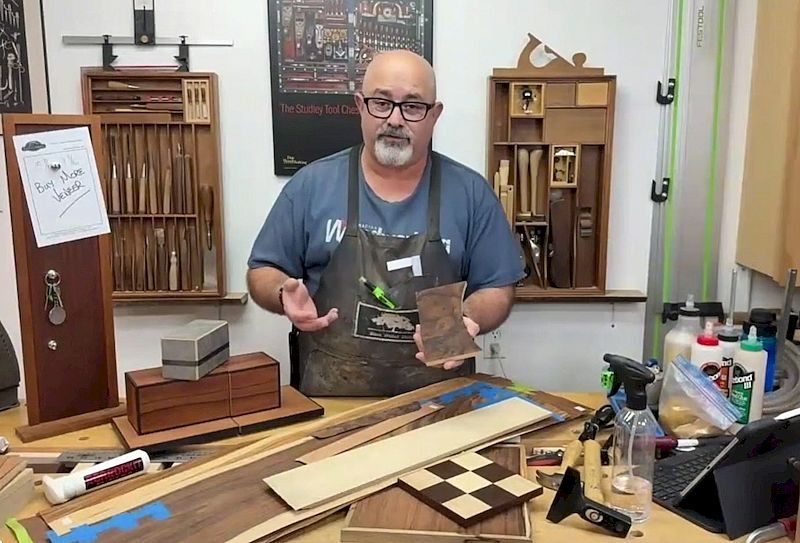
Steve Der-Garabedian

Find more Gifts / Crafts projects
This simple vase is easy to make and will impress your friends. You can also dip into your offcut bin and use up some of those exotics you have been cherishing.
After working on several projects requiring precise measurements and lots of planning, it’s nice to take a break with something nice and simple. Sometimes that break takes the form of making a new tool, and other times something uncomplicated as this simple vase requiring only one measurement.
The end result can be achieved in various ways, but a few items are needed before you get started. The test tube can be either glass or plastic and can be bought through various sources online. I prefer a glass tube as it gives a clear and cleaner view into the center. A Google search of test tubes will give you several sources and can cost as little as $12 for half a dozen shipped to your door. Craft stores may also carry exactly what you are looking for. However, a trip to your local florist might not only get you the flower but also the tube.
Make a simple vase
Use those offcuts
Start with a square hardwood blank taller than your tube, and large enough to give it a stable base. A stem with a flower will typically be top-heavy and a wider base will stop it from tipping over.
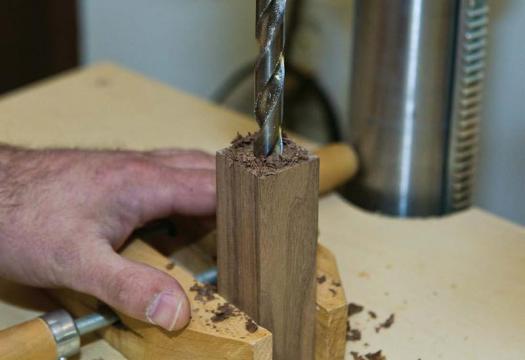
The only measurement you must adhere to, as mentioned, will be the outside diameter of your tube. Chuck up a drill bit slightly larger than the actual diameter and bore into your blank until the tube fits either flush or a little proud of the top on your blank. Some tubes will come with a curved lip on the top and a larger bore will be required to make it sit flush in your hole. If sitting a lipped tube flush with the top, drill a shallow hole first and then move to a smaller size suited for the body of the tube. Don’t try and bore through in one pass. Plunge a small amount and back out to eject the waste. This not only keeps your hole nice and straight but also keeps your tool cool and sharp.
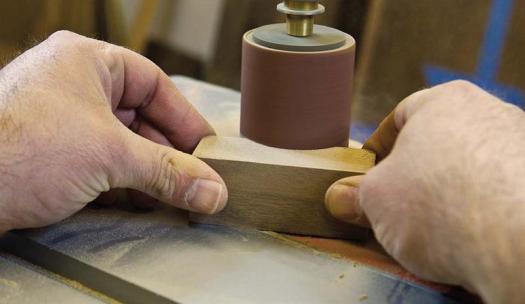
Freehand shaping
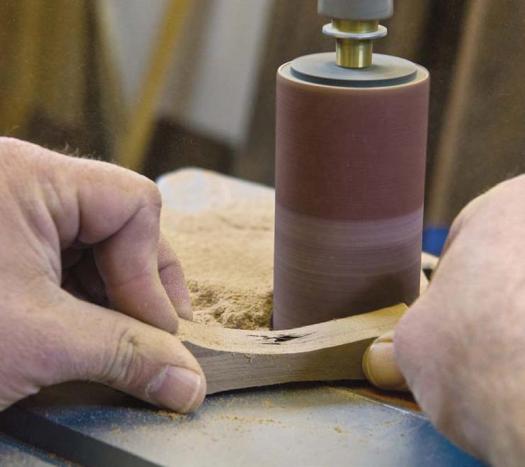
Now comes the artistic portion of the program, which starts to give the vase its shape. Using a large diameter spindle sander with a medium grit, carefully sand one of the blank sides until it shows the hole you just bored. Start the curve around the middle of the blank but keep the curve smooth from top to bottom. Flip the piece to the opposite side and make the deepest part of your curve a little higher than the middle until you break through once more. Turn to the third side and vary the curve slightly, again keeping it smooth over the length. Leave the fourth side either flat or add a somewhat modest curve without breaking through to the core to give the blank a solid structure. Varying the point at which the curve breaks through to the core allows the edges to be thicker and therefore stronger.
Although I used a spindle sander for shaping the curves, other tools can also achieve the final shape. A Dremel, handsaw or a bandsaw can be used to rough out the starting shape.
Now re-visit the three sides with the curves and fine-tune them until you are happy with the shape and the amount showing of your initial bore through the center. The only caveat is that if you plunge too far into the center, the adjoining edges will end up being weak and break with any sort of handling. Only the base needs to be flat, so giving the top a curve breaks the parallel line with the bottom. A fine touch here looks better than a heavy hand.
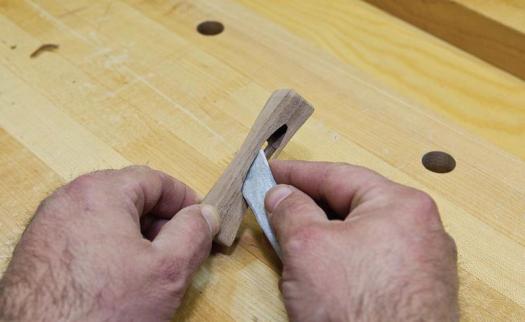
Smooth the Surface
Smooth the surface with some fine sandpaper. Smooth the windows into the core as well, paying attention to the thin edges. If your drill bit wasn’t as sharp as it should have been, a small dowel wrapped with sandpaper will smooth the inner surface of the center bore. It doesn’t take long to get a nice clean surface that will complement the flower soon to adorn the vase. If you rush it at this stage, you are likely to have to repeat the process.
Finishing Touches
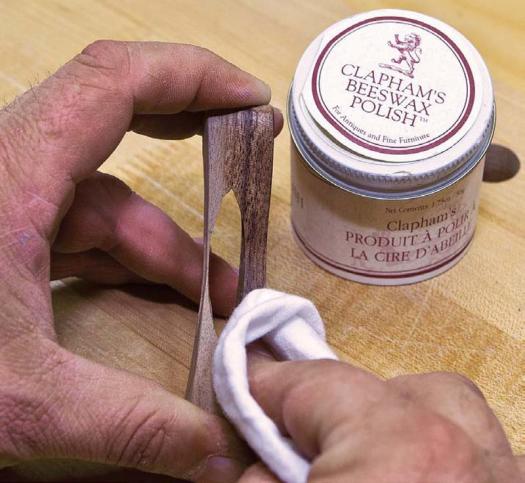
Like anything made with wood, putting on a finish will protect and enhance the piece. The common convention when water will come in contact with wood is to use a waterproof finish; however, this might be going a little overboard on such a simple piece.
I have made several, applying only a small amount of wax to bring out the grain. A small amount of leftover spray urethane can also be applied and perhaps topped with wax when dry. If you choose to spray your vase, place it upside down on a dowel allowing you to spray all surfaces in one session. Two or three light coats work much better than a single heavy application.
It doesn’t take long to gather your very short list of materials for this project. Make several at a time for gifts, but don’t forget to make a few extras for your own home.
Photos by Steven Der-Garabedian
A Firm Grip
Be sure to secure the small work-piece with a clamp, or other hold-down device, while boring the center hole.
Create the Shape
DerGarabedian used a spindle sander to create even curved surface, but you could also use a bandsaw or some hand-tools.
Offset Shaping
If you offset the shaped areas slightly you will be left with a slightly stronger vase, with a more organic look.
Smooth the Vase
With some medium grit sandpaper, remove any sharp edges before finish sanding with a fine grit.
Apply a Finish
DerGarabedian used a wax to highlight and protect his vase, but virtually any finish will do the trick on this project.