PROJECT
Build a wall shelf

James Dobson

Find more Bookcases & Shelving projects
This refined wall shelf is great for storing books, art and other smaller items. Although figured wood looks attractive with this design, the uncluttered lines and details will also shine with straight-grained wood.
I designed this shelf to take advantage of the strength offered by the studs behind the drywall. With each post spaced 32″ apart and attached to the stud it’s in front of, the shelf can hold a significant amount of weight. The dadoes that hold the shelves also serve as a convenient place to hide the hardware, adding to the clean overall look of the shelf. Just make sure that the wall you want to hang the shelf on has studs on 16″ centres, not 24″ centres. The plan can easily be adjusted if necessary.
Build a wall shelf
Careful layout
Begin by preparing stock for the posts. A 6/4 hardwood of your choice (I’m using curly maple) should be milled down to a 1-1/4″ square profile. The length will be dependent upon your desired number and spacing of your shelves. My wall shelf has 14″ spaces between the shelves, 4″ of post extending past beyond the top and bottom shelves and each shelf is 3/4″ thick. The two shorter posts are therefore 23-1/2″ long while the longer ones are 38-1/4″ long.
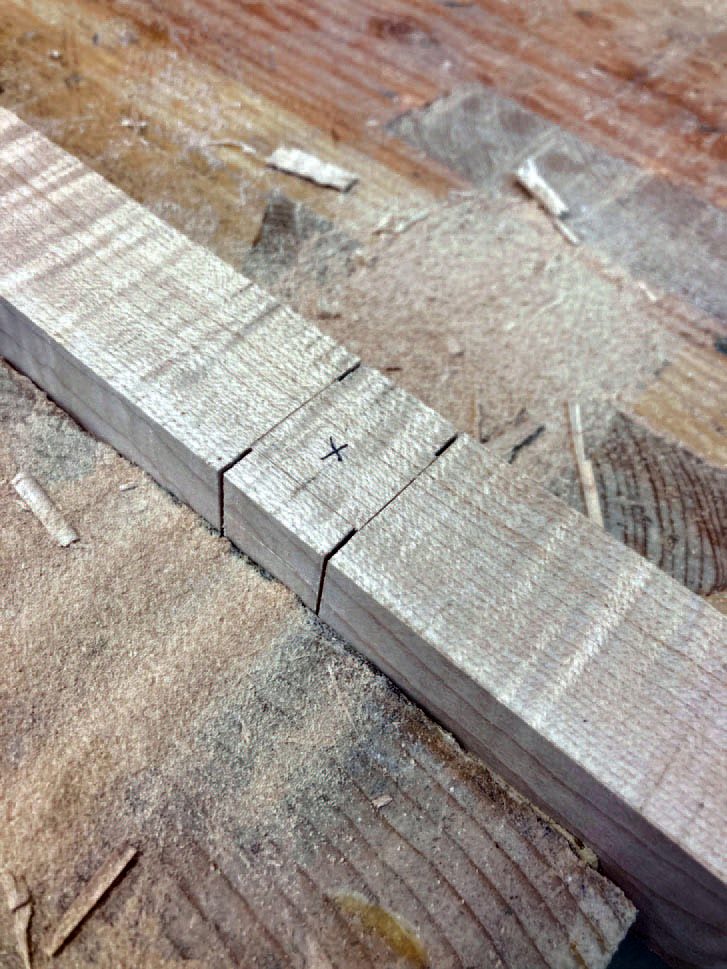
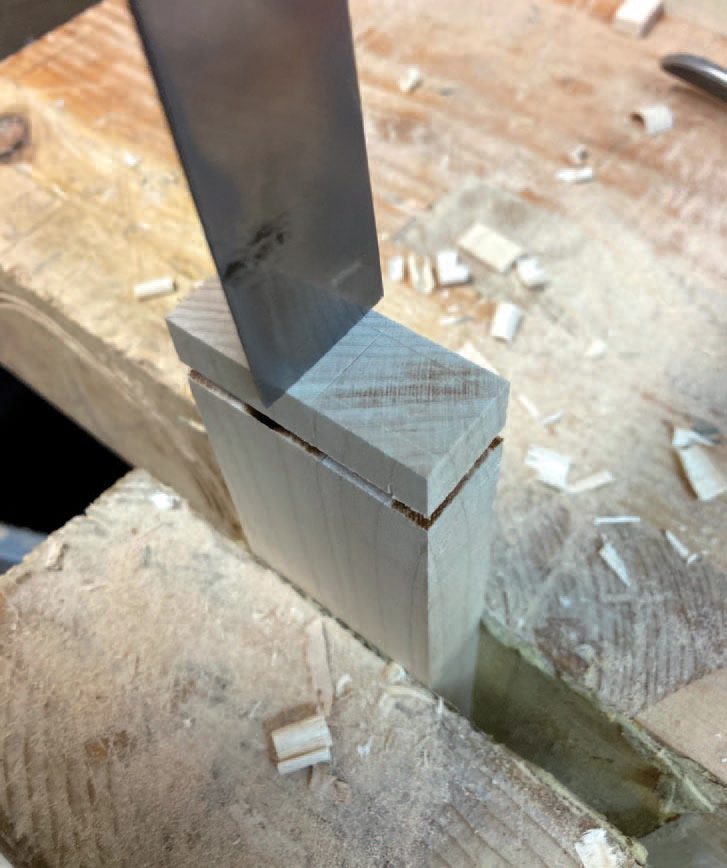
Determine the front face of each piece and lay out a dado equal to your shelf thickness on the front and side faces. Mark the corresponding dadoes on the other posts directly to ensure the spacing is consistent. Cut the 1/4″ deep dadoes. I start by sawing the shoulders on all three sides and then I chisel out the waste on the top face. After cleaning it up with the router plane I can mark the depth of the dado on the side faces before chiselling out that waste as well. Alternatively, you could also cut these on the table saw with a dado stack.
Hide the screws
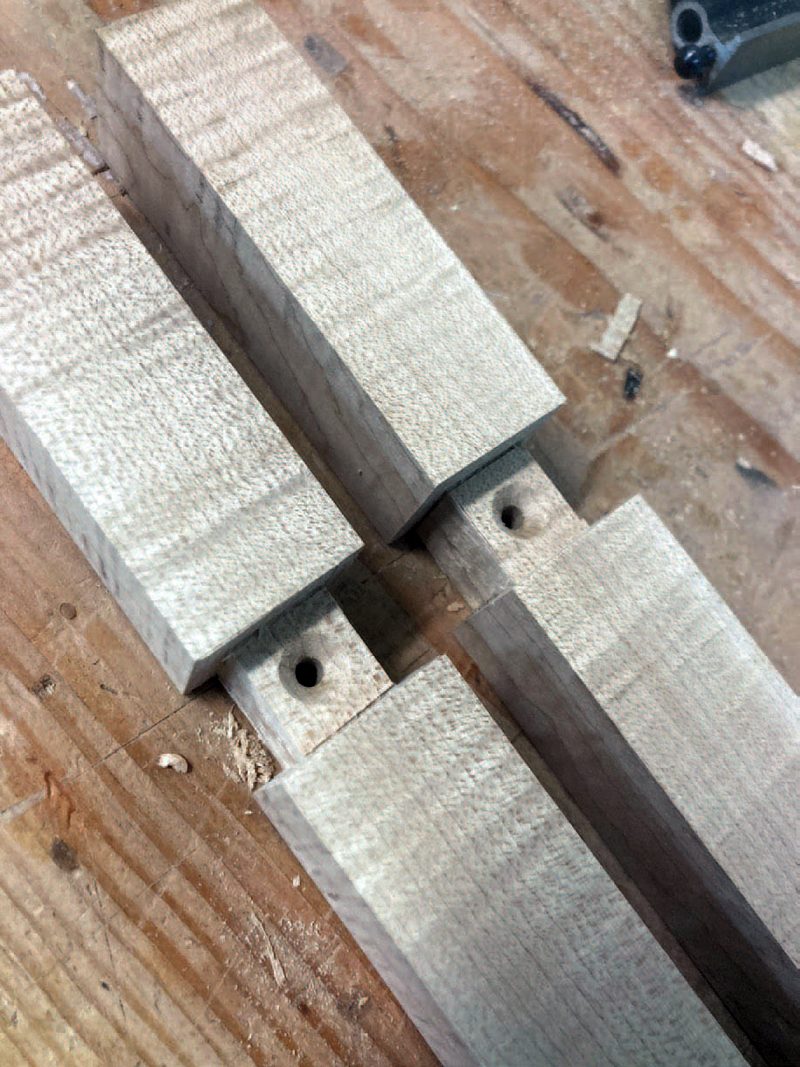
The posts are attached to the wall with screws that are hidden behind the shelf. Find the centre of the front face of the dado and drill a 3/16″ hole. I added a countersink deep enough so a screw will sit flush when the posts are mounted to the wall.
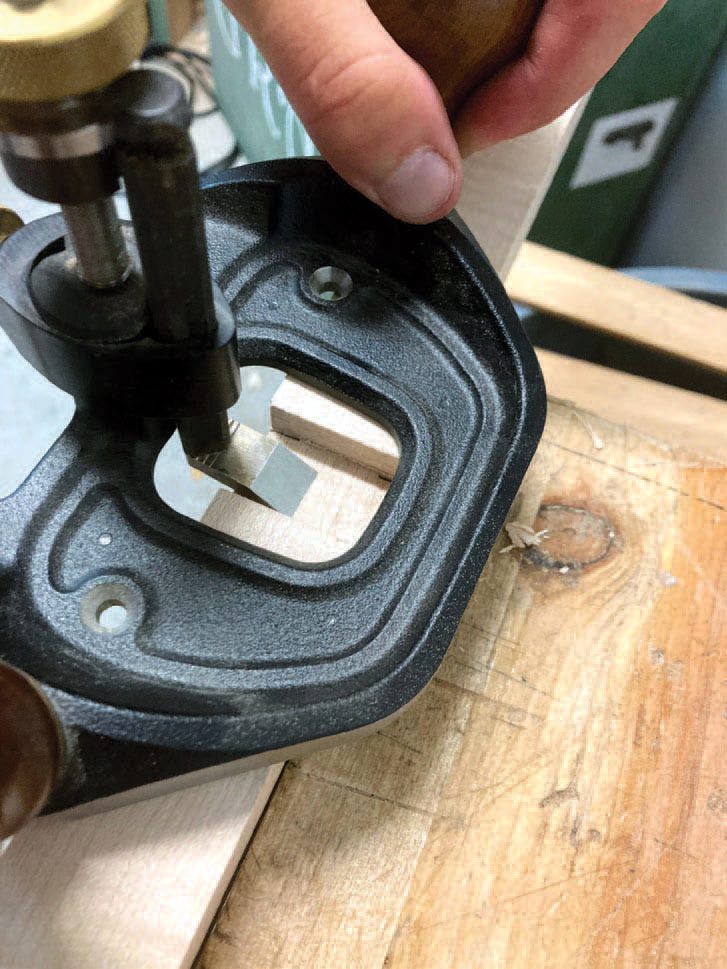
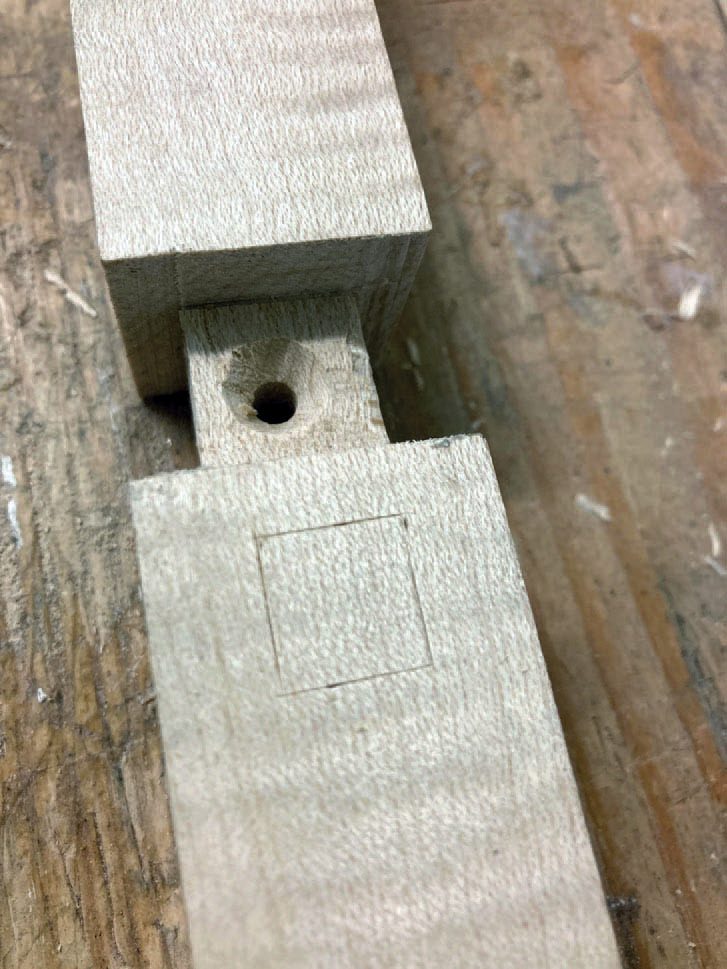
In addition to the dadoes, the shelves are supported by brackets that are mortised into the posts. Lay out a 1/2″ by 1/2″ mortise 1/4″ below each dado. A 7/16″ Forstner bit removes most of the waste to a depth of 3/4″. The edges are squared off with a 1/2″ chisel.
Once all of the mortises are cut, the only remaining step to complete the posts is to shape the ends. To keep a sense of consistency throughout the piece I use the same curve on the post ends as I do on the shelf brackets, so I put the posts on hold until I can make a template for these curves.
Attack the brackets
To ensure the template will match the stock for the brackets I mill those parts from 4/4 stock now. Each bracket should be two-thirds as long as the shelf is wide (remember to add 3/4″ for the tenon), 3/4″ wide and 1-1/2″ tall.
While your table saw is set up for these cuts, make the curve template by cutting a piece of 1/4″ MDF into the exact size of the bracket blanks. Mark out where the joinery will be on the template and then draw a pleasing curve either by hand or with the use of a French curve. Cut the curve out of the MDF and then use the template to mark the ends of the posts. Take the marked posts to the bandsaw to cut the curves and then sand them smooth. Endgrain requires a little extra sanding so I make sure to go up to at least 400 grit here. To soften the edges of the posts, add a 1/8″ round over to the front corners. The back corners are left square so they sit tightly against the wall.
Bracket tenons
Putting the template aside and returning to the shelf brackets, cut the tenons on one end of each bracket. I use a sled on the table saw to cut the shoulders and then if the grain is straight just knock off the waste with a chisel. This only works with straight grain, so check before trying this technique and be prepared to cut the waste away with a saw, especially if the grain runs into the tenon. Check the fit in the post mortises; they fit when you are able to fully seat them using hand pressure only.
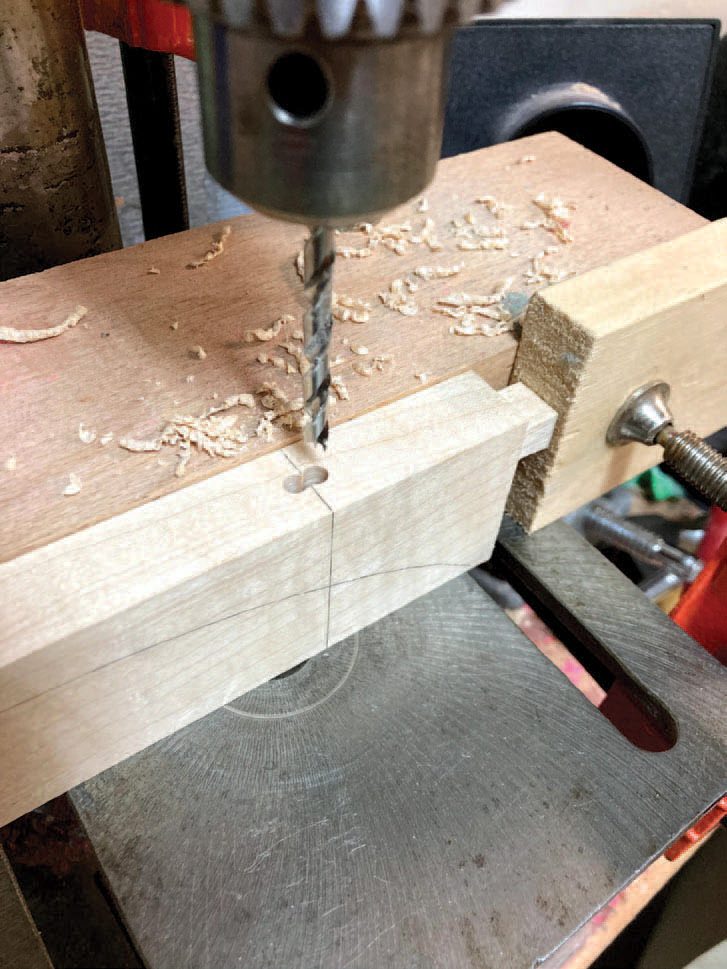
Once all the tenons are cut, take your bracket blanks to the drill press and drill two elongated 3/16″ holes near the back. This can be accomplished by drilling a couple of holes very close together with a brad point bit and using a file or chisel to remove the tiny bit of waste between the holes. When the shelf is assembled screws through these holes will hold the shelves down. This is easiest to do while the blank is still rectangular.
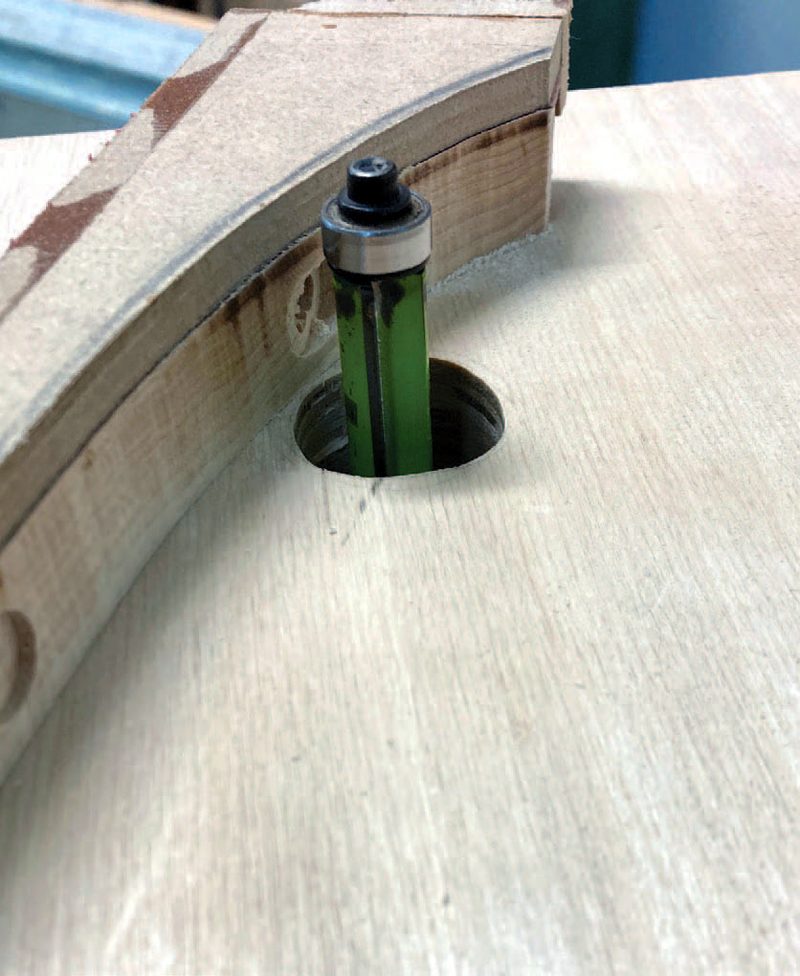
Retrieve the template and glue fences on the three remaining straight sides. When you’re done the bracket blanks should fit snugly inside the template. Use the template to draw the curve on each blank and then cut the waste away on the bandsaw. Cut as close to the line as you can, ideally within 1/16″. A flush cut bit in a router table will clean up the curved faces. Switch router bits and add a 1/8″ round over to the brackets as well. You do not need to round over the edges that will face the shelf.
With the curve cut, return to the drill press and use a Forstner bit to countersink the screw holes on the curved face of the brackets. This will give a flat surface for your screwheads when you mount the shelves. You can tell from the photo that I did this before using the router, and this led to problems with the bearing on the round over bit, so I recommend this order of operations now.
Simple shelves
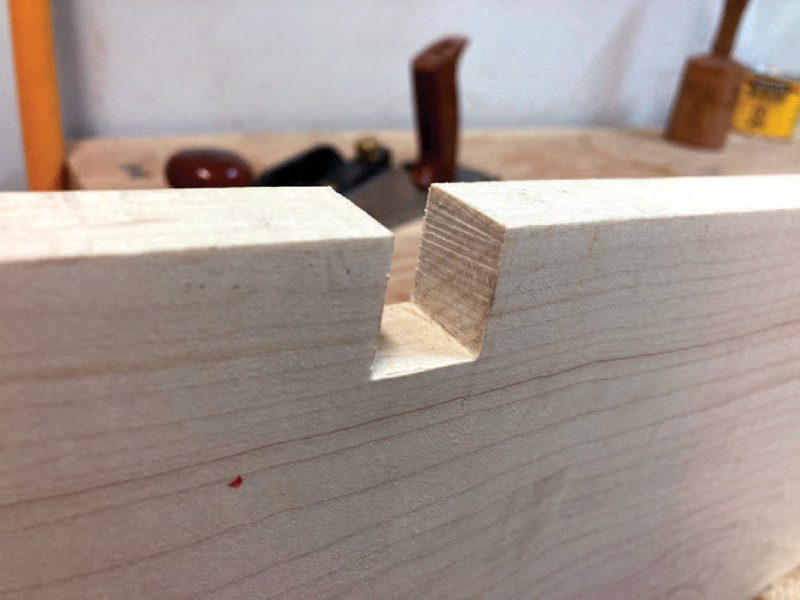
The shelves are the simplest part of this project. Dress them to size and plane them down so they fit snugly in the post dadoes. Then simply notch each shelf where it intersects with the post.
Apply a finish
Finishing this curly maple was a two-step process. After sanding all the parts up to 120 grit I stained the wood with a water-based aniline dye. After the dye dried, I continued sanding through the grits up to 320 (400 on the endgrain) to remove most of the dye. The “curls” in curly maple are end grain and absorb the dye deeper than the surrounding face grain so this causes the curls to pop. After sanding I finished with three coats of General Arm-R-Seal, sanding with 320 grit paper between coats.
Assemble the brackets
Once the finish has cured the brackets are glued into the mortises in the posts. I take extra care to ensure that the brackets are square to the posts. Clamping can be a bit tricky, so I like to use five-minute epoxy. I can push the parts together, make sure they are tight and square and then forget about them.
Install the shelf on the wall
Installation is fairly straightforward. I find the stud for the leftmost post, use a level to mark a straight line following the stud, then mount the post with 2-1/4″ deck screws through the predrilled holes. Insert the next post into a shelf and then slide the shelf into the installed post. This will align the posts the appropriate distance apart. Screw the second post to the wall and then remove the shelf to add the screw there as well. Continue this until all posts have been installed. If there are any minor problems with the fit you can pare the opening in the shelves.
When I was installing this particular shelf, I ran into the problem of an out-of-place stud. The framers had installed one stud 2″ away from where it should have been to accommodate a light switch on the opposite side of the wall. I used 75-pound drywall inserts for that one post but would not recommend these to hold up the entire shelf.
With the shelves in place, predrill holes for the screws through the brackets. This will ensure that the shelves don’t crack when driving the screws. I use a piece of green tape on the drill bit to ensure that I don’t drill too deeply and go through the top of the shelf. This is followed with pan-headed screws in each of the shelf brackets. In the rear elongated hole I try to centre the screw to allow for wood movement in either direction.
This simple design can be easily modified to fit your space. This shelf was made for a long uninterrupted wall, but by reducing the width and adding more height you could use it for a tall narrow space, or the pattern could be continued to fully fill in an entire wall. There are lots of opportunities for creativity with symmetrical and asymmetrical designs. The brackets are another spot that lend themselves to design variations. Hard angles rather than soft curves would completely change the look of the shelf, making it more modern.
Photos by James Dobson
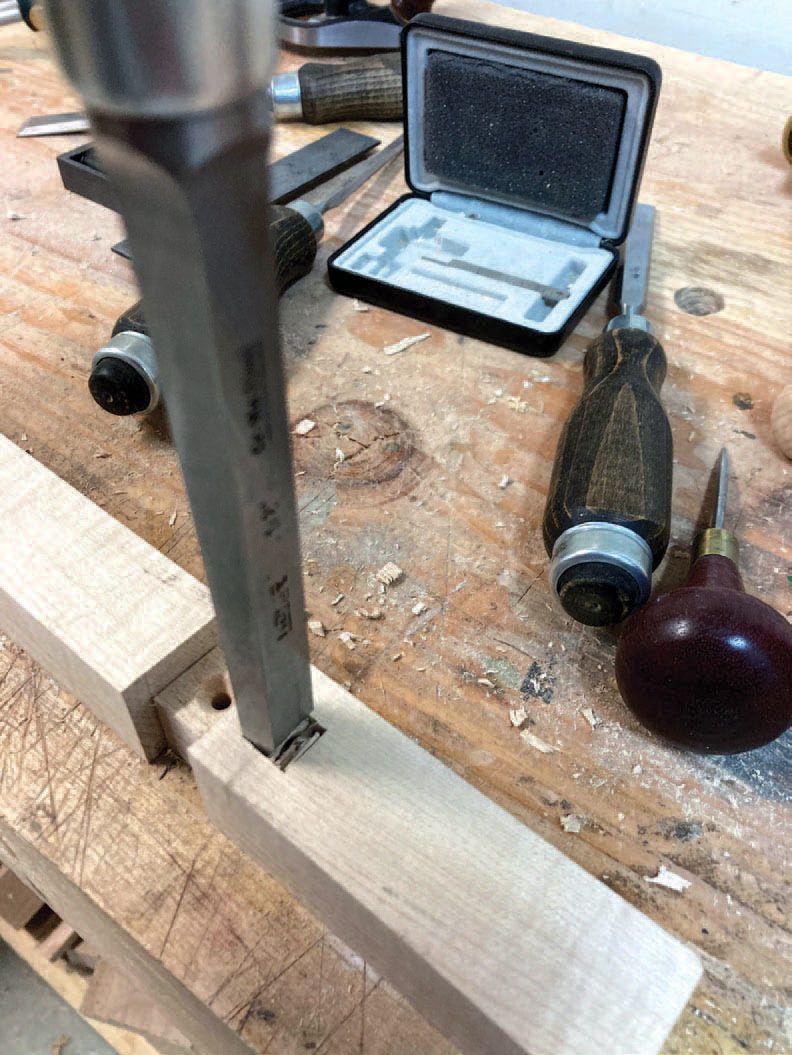
Saw the Dado Edges
After marking the front face of the joint with an “X”, cut the upper and lower edges of the post dadoes with a hand saw. This operation could be completed on a table saw, too.
Even It Out
A router plane is great for evening out the face of the dado to ensure it’s of even depth.
Two More Dadoes
Once the front of the post has been cut, mark and cut the sides of the post to receive dadoes.

Hidden Holes
Countersunk holes, bored through the joints, will secure the posts to the wall and then will never be seen.
Mark the Mortises
Mortises to accept the bracket tenons need to be marked accurately.
Keep It Clean
Brad point or Forstner drill bits will cleanly remove most of the waste for each mortise.

Chop, Chop
A mortising chisel will help create square mortises, sized properly to accept the tenons. Be careful not to blow out the edge closest to the shelf dado by removing a small amount of waste at a time.
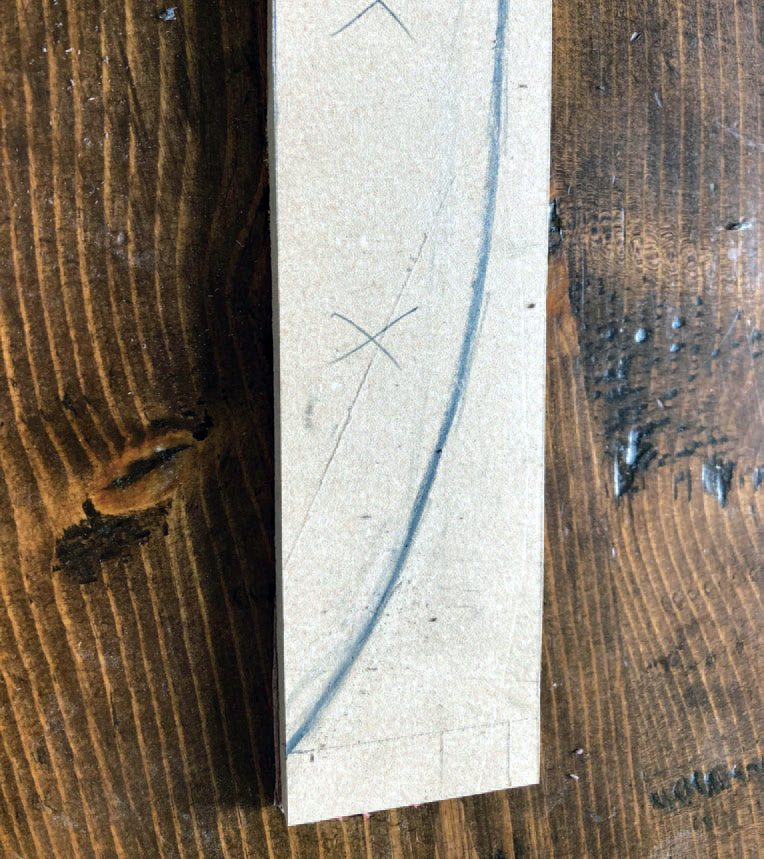
Curved Template
To ensure the brackets are similar, a curved template will help mark and cut them. Once it’s shaped to the desired curve it can be used to mark the parts so they can be cut on the bandsaw, then shaped with a pattern bit and a router.
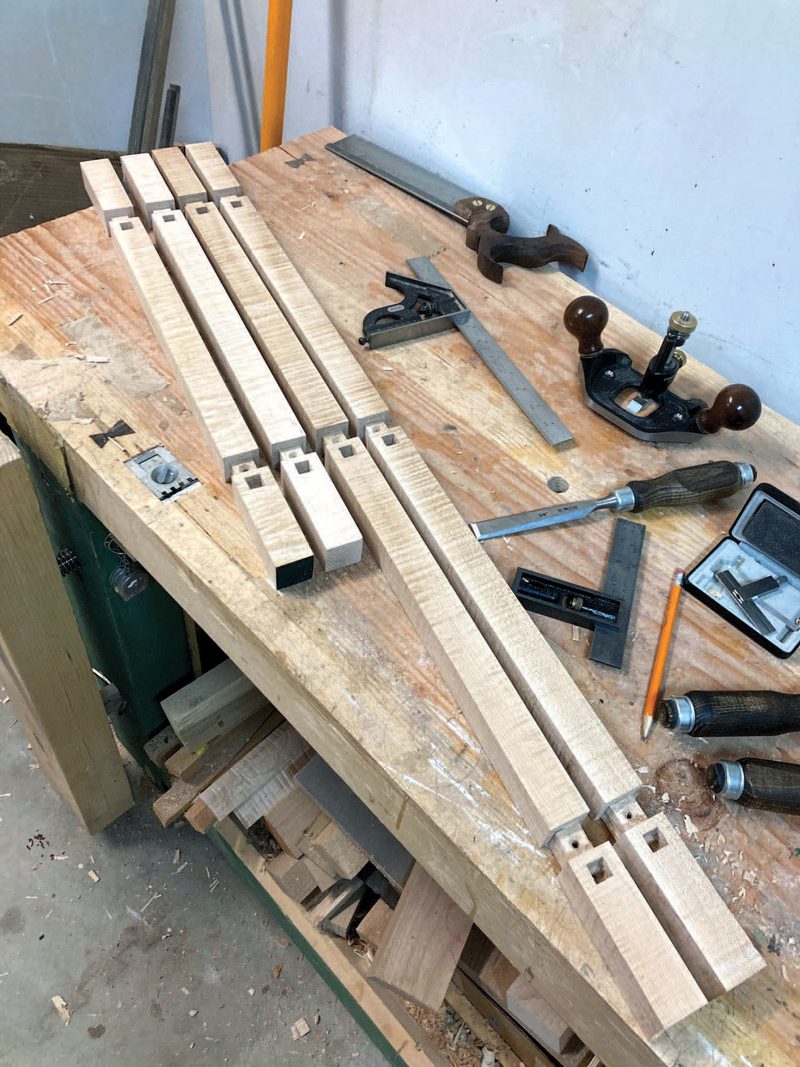
Posts Are Almost Ready
After being dadoed and mortised, the posts just need to have a curve shaped on the upper and lower ends.
Cut Some Tenons
A table saw equipped with a sled is a great tool for machining uniform tenons on the ends of the brackets.
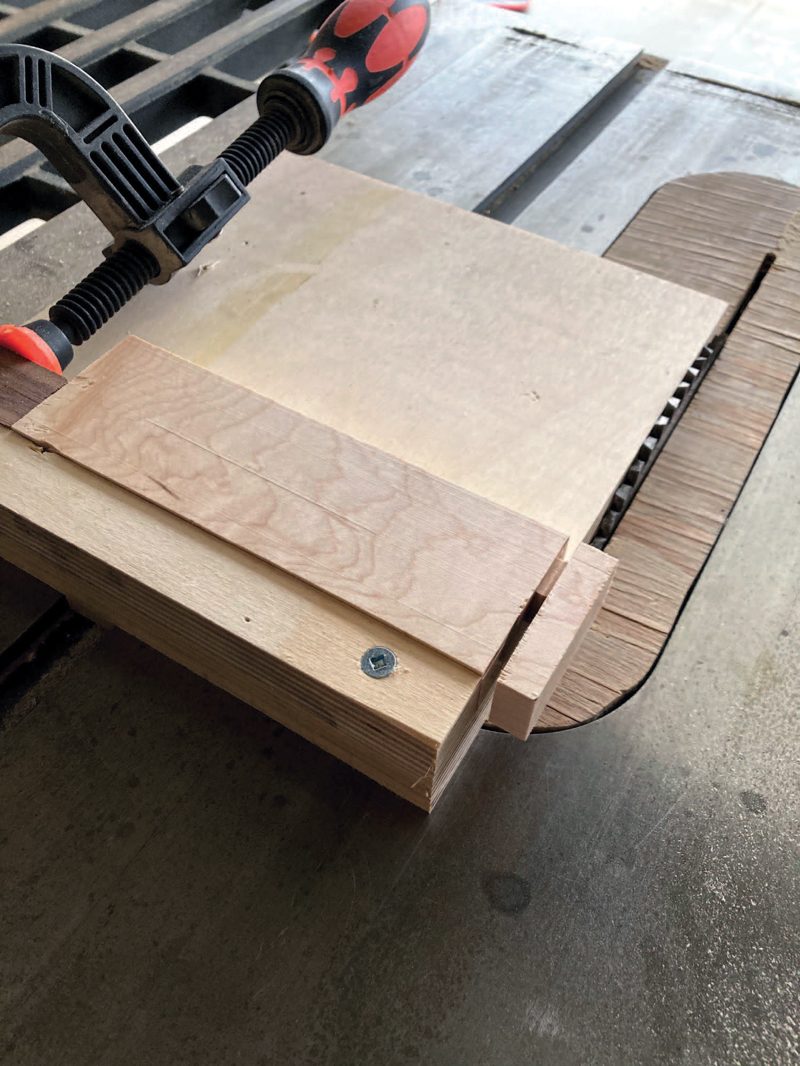
A Chisel Tap or Two
If the grain of your brackets is straight you might be able to use a chisel to remove the waste after the shoulders have been machined on the table saw. Otherwise, a table saw or a hand saw might be the answer.
Elongated Screw Holes
Dobson drilled a couple of closely spaced holes on the drill press, then removed the small amount of waste between them, to produce an elongated screw hole that would allow for seasonal wood movement.
Pattern Routing
If you want to use the curved template to pattern rout the brackets just add some edges to the template and ensure the bracket fits the opening without any slop. Also ensure the bracket doesn’t move while machining.
Notch the Shelves
A simple notch is all that’s needed to allow the shelf to mate with the posts and sit flush against the wall when complete.
Ready for the Shelves
Now that the posts and brackets are fixed to the wall, the shelves can be positioned and screwed in place.

Secure the Shelves
The final piece of the puzzle is for Dobson to pre-drill for screws and drive them through the brackets and into the shelves.

Install the Brackets
Dobson uses five-minute epoxy to fix the brackets in place. Once the epoxy is mixed and applied to the joints, he ensures the bracket is square and lets it dry.

Illustration by Len Churchill


nice one, good to read