PROJECT
Banksia nut candle holders

Paul Ross

Find more Gifts / Crafts projects
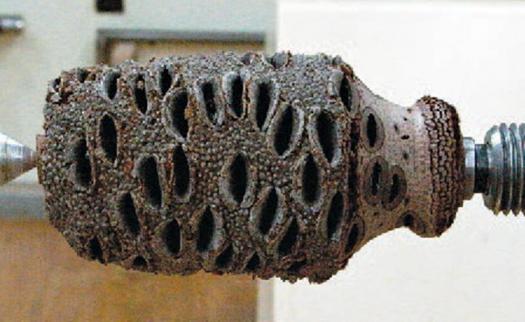
This traditional turned candlestick project has a bit of a twist. Instead of starting with a block of wood, the material I selected is a 'Banksia nut' seed pod.
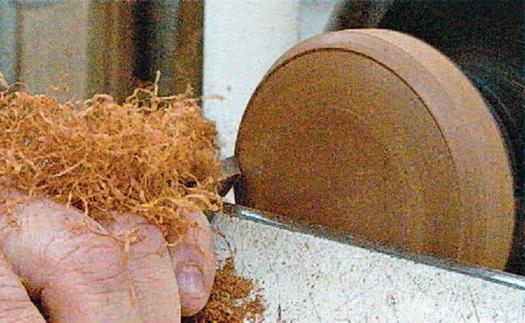
Many species of Banksia nuts grow in Australia, often producing cones that are large enough for turning. These are called ‘Banksia Grandees’ and are named after Sir Joseph Banks, 1743-1820, who sailed with Captain Cook on the ‘Endeavour’ in 1768. These particularly large seed pods have a very limited range in Western Australia. They usually grow on an underbrush tree in Jarra forests and can take several years to mature. While they are quite easy to turn, they are a little dusty. When you turn these pods, instead of producing shavings you’ll get a pile of a ‘felt-like’ substance.
Banksia nut candle holders
For these candlesticks, very little turning is actually done. The majority of the natural pod is left untouched, to evoke curiosity in the viewer. I turned a pair, and because the pods are naturally shaped, each one is a little different.
You’ll notice that I turned wooden bases for the Banksia nut to stand on. I did that for two reasons:
1) the width of the natural base of the pod was not sufficient for support, and 2) the wood for the base would contrast the unevenness of the pod itself.
For this project you will need two Banksia nuts, two brass inserts, and two wooden bases. Glue a wooden spigot onto the bases so they can be grabbed with a chuck without sacrificing any of the wood from the base itself.
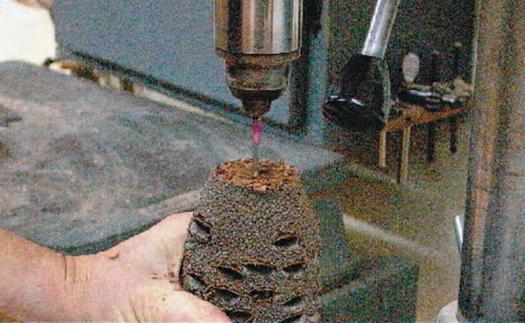
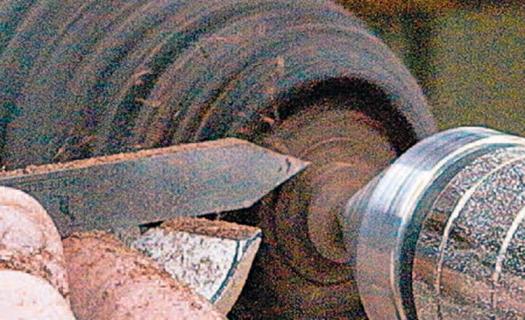
Drill the holes for the brass candle inserts before turning the nuts. This is done because the texture of the nut is somewhat crumbly, so if you were to turn the shape of the pod first, and then drill it, you could possibly break the turned part.
Saw or sand both ends of the pod to achieve a flat area. That way the drive centre, and the live centre of the lathe, will have something to grab onto. On the end where the base will sit, use a 1/4″ parting tool and cut a little spigot approximately 1/2″ in diameter and 1/4″ long. This spigot will fit into the base.
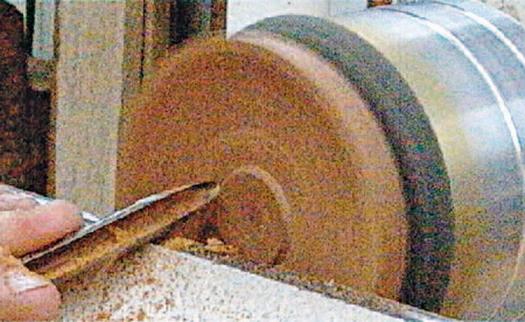
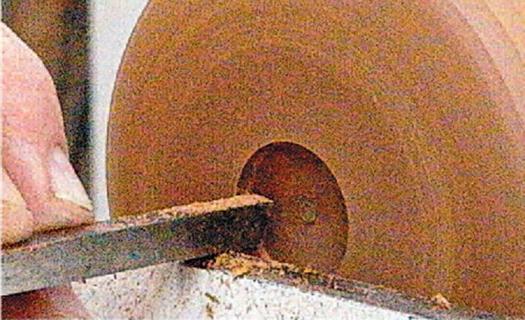
Start shaping the pod about 2/3 of the way up from the spigot and the base. Use a 1/2″ spindle gouge (ground at a 35º angle and with a ‘fingernail’ profile). I chose a fairly simple shape to turn: a half cove with a bead on the end. Because I wanted to feature the actual pod, I didn’t want to detract from it. To create the cove, start on the outside of the pod, and slightly scoop down to the bottom of the cove. Position the flute of the gouge on its side, facing the direction of the cut. Now simply roll the gouge and drop the handle so that the flute turns up and the bevel keeps rubbing the surface. Repeat this process until the desired diameter of the half cove is achieved.
You want the bead to be more pronounced, or to have a bigger diameter, than the cove. Therefore, start on either side of the bead, with the flute up, and roll the gouge so that the flute ends up on its side. Repeat this process, left and right, until you have rolled a nice clean bead. Where the cove meets the bead, make a little ‘v’ cut with a pointed 9-in-1 tool, to define the two shapes.
Do all of your sanding at this point. I chose to finish only the portion that was turned. For that, I used Craftlac melamine to produce a durable, satin finish.
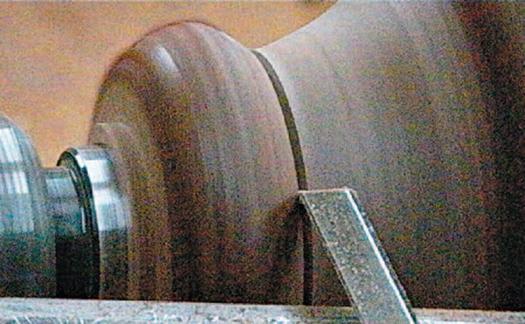
When the pod is done, turn your attention to the base. Using the same cut you would use when turning a little bowl, take an outside cut across the circumference with a ½” bowl gouge until the desired diameter is obtained. Then, move the rest across the face, and take a facing cut from the outside to the centre. Flatten the bottom using a square-end scraper. Then, shape the base using a ½” bowl gouge, travelling in the direction from the centre to the outside.
Transfer the diameter of the spigot on the pod onto the base. Use a small 1/4″ square-end scraper, ground on the side as well as the front and scrap a hole so that the spigot of the pod will fit snugly into the hole. Next I sanded and finished the piece. Because I have used cyanoacrylate glue to fasten the spigot to the base, I can pop it off by shocking it. To do this I put a chisel just where the line of the two woods meet, and tap the chisel with a hammer. With the base reversed into a vacuum chuck, cut the bottom slightly concave. I used epoxy glue to fasten the pod to the base.
This is a very easy turning project, but by using a Banksia nut you can turn it into something extraordinary.
Materials for the project

Drill the insert holes
Cut a spigot for the base
Completed bead
Cut a 'v'
Scrap base flat

Shape base
Scrap hole for spigot on pod
Cut bottom slightly concave