TIPS & HOW TO
Waterborne finishes – the clear finish

Carl Duguay

You might be surprised to know that waterborne (or water based) finishes are just about as durable as varnish finishes.
That’s because waterborne finishes are comprised of acrylics or polyurethane dispersed in water. They are non-flammable, almost odourless, have fewer solvents in them than their oil based cousins, clean up easily with water, dry quickly, and are non-yellowing. If that isn’t enough, because they dry so quickly you won’t get a lot of dust adhering to the finish. On the down side waterborne finishes don’t impart any color to light woods like maple and don’t bring out the depth or warmth in darker woods, like cherry or walnut. They can be a bit more finicky to apply, in part because they are more sensitive to temperature and humidity fluctuations during application, and they don’t rub out as nicely as lacquer or shellac.
Safety
Waterborne finishes are less toxic and safer to use than oil-based finishes and lacquer. The “EF” that you might see on some products stands for ‘environmentally friendly’. Nonetheless, you should still wear a suitable respirator, and ensure there is adequate ventilation in the room in which you are working.
Clean-up
The easiest part is cleaning up. Water and a mild detergent are all you need. Just make sure you rinse your brush well so that you don’t contaminate the finish the next time you use it.
What You Need
For large flat surfaces use a paint pad; for smaller surfaces or on intricate details, use a high quality nylon brush. It’s a good idea to keep separate sets of brushes for waterborne and oil-based finishing. Strain the finish through a paper paint strainer as dried bits of waterborne don’t re-dissolve when they drop back into the can; the little bits will crud up your finish. If you plan to apply the finish by rag it’s a good idea to use distilled water rather than tap water, wherein iron salts can cause dark spots to appear in the finish. Additionally, waterborne finishes are said to be sensitive to changes in their pH balance, which can be upset by tap water. You will also need sandpaper, as sanding between coats of finish is required. If you use stearated sandpaper make sure you entirely remove the dust from your last sanding as it may contaminate the finish.
Products
There are numerous brands of waterborne finishes on the market and not all these finishes will give you the same results. If you will be including waterborne finishes as part of your finishing repertoire, then you might want to try several until you find one that you like best. Some products are more suitable for spraying, others for brushing (so if brushing, make sure you get a brush-specific product). Generally a high quality finish will cost more than a lower quality finish. Waterborne finishes come in the standard matte, semi-gloss and glossy formulations. Target Coatings’ ‘Oxford Super Clear Polyurethane’ gives a clear finish with exceptional clarity. Their ‘Oxford Hybrid Varnish’ is a blend of oil-modified resins with waterborne acrylics that give the classic hues of a traditional oil-based varnish. Other quality waterborne products include Fuhrs’ International Waterborne Urethane Finish, Old Masters’ H20 Waterborne Polyurethane, Minwax’s Polycrylic and Fletco’s Diamond Varathane.
Prepare the Surface
Regardless of the finish you apply, the first step is to properly prepare the surface. (See “Surface Preparation” Canadian Woodworking, issue #25 Aug/Sept 2003). Remember to sand with the grain and remove dust between grits. A tack cloth comes in handy for this. Shine a light across the surface of your work at about a 30° angle to spot any lingering scratches.
Sealing, Staining and Filling
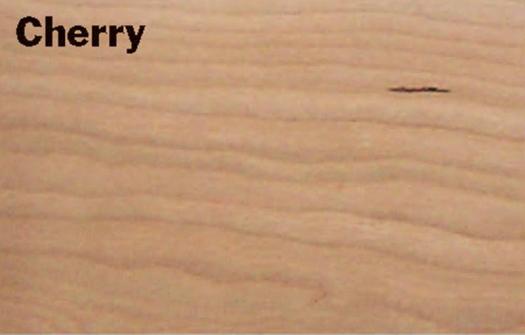
Some people apply a sealer before laying on the waterborne finish. This is because the first coat of any finish will raise the grain of the wood, and a sealer is easier to sand than the waterborne finish. Either way will work. However for dark woods its best to apply a sealer coat of de-waxed shellac, which will add an amber tone to the wood, giving it the depth and character typically associated with oil based finishes. On woods with large pores or wavy grain the shellac will help prevent blotching. Finally, if you want a glossy finish on open pored wood like oak or mahogany you can fill the pores.
Number of Coats
The number of coats you apply will depend on the level of durability you want. For instance, if you are brushing the finish on a table top you should apply at least four coats, while for the apron you might apply one or two coats. To get the same level of protection with a wipe-on finish you would apply twelve to sixteen coats on the top and four to six on the apron.
Applying the Finish
When you open a can of waterborne finish the contents will look milky white; not to worry, it will turn clear as it dries. Stir the finish according to the manufacturer’s instructions. Don’t shake it or else bubbles will form and mar the finish. Pre-condition the brush by wetting it for a moment in water, then wring out the excess. Dip halfway up the bristle length, and then apply the finish to the surface. Brush it on as quickly as you can in light, smooth strokes, and then come back and “tip” it off to smooth out the finish. If you miss some spots leave them for the second application. Don’t apply the coats too thin or else brush marks are more likely to show. Take care not to apply the finish when the temperature or the humidity are either too low or too high. You should be safe if you aim for a temperature of around 20°C and a 40% humidity level.
Allow the finish to dry according to the manufacturer’s instructions, which can be as soon as 1 hour. Sand lightly with 400 grit paper or synthetic steel wool, remove the dust, and then apply a second coat and allow it to dry, followed by a third and fourth coat. You should wait at least four weeks for the finish to cure before you apply any wax.
If you want to wipe on the finish, add about 10% water to the finish. You can apply it by pad the same way you apply shellac (see “French Polishing” Canadian Woodworking, issue #29, April/May 2004.
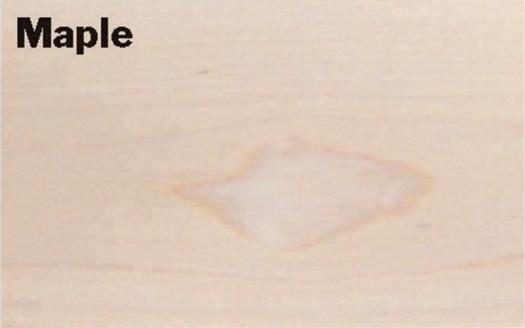
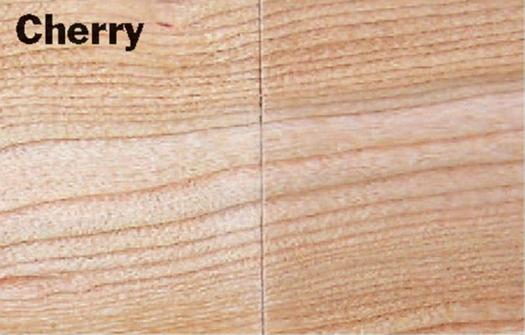
No sealer coat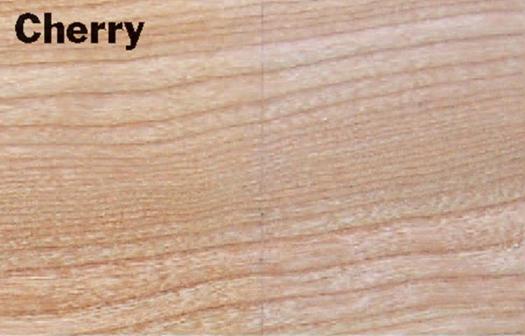
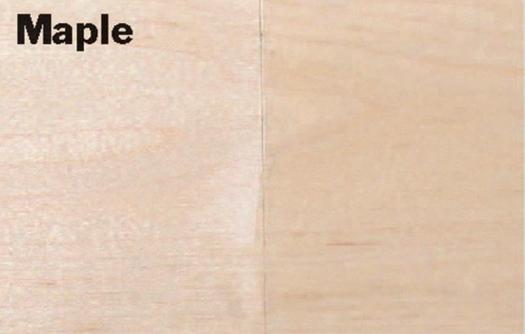
Both have shellac sealer coat