PROJECT
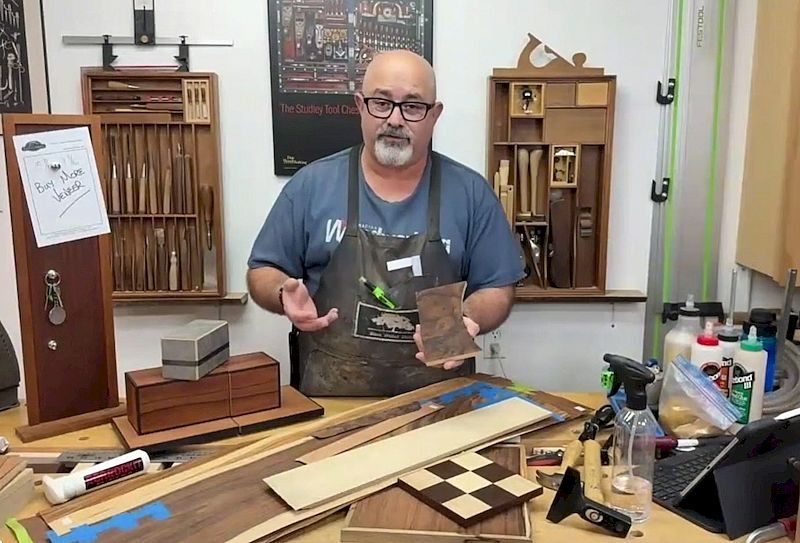
Burl platter

Paul Ross

Find more Woodturning projects
We show you hot to turn a shallow, natural-edged dish with an African Blackwood foot.
This particular piece of Mallee is turned from a spectacular specimen from Australia.
The Mallee burl can be found in only a few places around the world such as relatively dry areas of Australia, the Eyre Peninsula and western New South Wales, to isolated areas of Central Queensland. Because the wood is very rare, only a small amount of this wood is harvested each year. The wood is extremely close grained, making it very hard.
Burl platter
This wood can be worked (with a little difficulty) as long as your tools are sharp.
To start this project, mount the piece between centres, for several reasons:
1) The piece is a little small to put on a faceplate (or screw chuck), because once it is mounted in position on a faceplate the centre cannot be altered. Instead, by mounting the piece between centres, you can start a cut, and if you find that you’re cutting too much on one side, you can stop the lathe and change the centres, to ensure an even cut.
2) We do not want the piece to be true to round. Therefore, the tailstock is for support. In fact, with a project like this, you should use the tailstock for as long as possible.
3) Also, mounting the piece between centres gives you a reference on both ends at centre. This makes it easier to flip it into a vacuum chuck and centre the piece.
Use a 1/2” bowl gouge to cut the bottom of the dish, which is on the head stock side (photo 1).
Begin at a reasonable speed and bring the gouge up to the wood. Then by feeling where the wood is with the bevel, start your cut. If you don’t feel with the bevel, the cutting edge could engage the wood, and you would have a dig-in. Therefore, to avoid this, always feel the wood with the bevel.
This piece is not done in a traditional style. In traditional style bowl work, we do the bottom first and then flip it into the chuck and turn the inside. With this project, do the bottom first (in between centres) turning the shape and the spigot. The spigot allows the chuck to grab the dish so that you can eventually remove the tailstock.
Cut the spigot square with a 3/8” beading parting tool (photo 2). This particular dish is only about 5” x 6”, so make the spigot about 1 1/4” x 1/4” long.
Finish shaping the bottom with the gouge to the desired shape. Scrape the bottom to eliminate any high spots or ridges that the gouge has left behind.
As mentioned, Mallee is very tight grained wood and because of this, it scrapes extremely well, producing an almost glass-like finish. In fact you will only need to start sanding at about 280 grit. Use a bigger, heavier scraper (1 1/4” x 3/8” thick) to absorb any vibration (photo 3).
Remove the tailstock, knock the centre out and put the chuck on the lathe. With a spigot it is very important to have a right angle. The jaws have to be flat on the wood in order for the piece to sit true. Also, you don’t want to bottom out the spigot at the bottom of the jaws. Adjust according to the size of the jaw (i.e. with my Oneway Stronghold and with the #1 Jaws, the spigot is about 1 1/4” long; with the shorter #2 or #3 jaws, about 3/8” will bottom out the spigot.
Bring the tailstock back into play as you remove the bulk of the inside of the dish. Turn from the outside into centre, leaving a small spigot in which the tailstock is engaged (photo 4). Eventually you will remove the tailstock and cut the centre. Finish scraping using a large scraper (photo 5).
At this point I chose to power sand the inside of the dish (photo 6). I used a 2” pad and I started with 280 and worked through 320, and 400. One of the keys to power sanding is the speed of the lathe.
The speed of the lathe should be half the speed of the drill. Another key aspect is to let the grit do the cutting. When the grit stops cutting, replace the disk. Don’t push too hard! When the disk is loaded and you push too hard, it can fly off, resulting in the hooks of the Velcro pad hitting the wood (burning the wood) and ruining the Velcro. The sanding is done between 12 and 3 o’clock on the piece. The wood meets the pad in a counter clockwise direction and the pad meets the wood in a clockwise direction.
The next step is to take out the 400 grit sanding lines. I used “EEE Ultra Shine”. It is a great product from Australia. “EEE Ultra-Shine” is a cut and polish paste wax containing EEE powder (an ultra fine abrasive). It has the ability to eliminate all sanding marks from most woods. It greatly reduces the sanding time and gives you a blemish free surface. EEE Ultra-Shine can be used in numerous ways. For this project, I chose to apply it to the piece and then buff it out. This finish is especially dramatic on Mallee burl.
Centre the dish on a vacuum chuck using a spindle adapter (photo 7). To do this, leave the dish in the chuck, on the live centre, in the tailstock. When you take off the cone centre, there is a thread exposed. The spindle adapter fits on the live centre and is fastened to the chuck. Now, with the piece held in the chuck, sitting on the tailstock, bring the assembly up to the drum of the vacuum chuck. Apply vacuum, open up the chuck jaws, and back off the tailstock. The dish is then held on the vacuum chuck, perfectly centred.
Now, as shown in photo 8 make the spigot diameter smaller (1/4”). Note here that the tailstock is now up to the spigot for support. While the piece is on the drum chuck with the bottom exposed, power sand the bottom and then finish.
Turn the little Blackwood foot (photo 9). First turn the outside to the desired shape. Then turn the front flat with a little hole to accept the spigot in the bottom of the dish. It can be glued in. Before gluing the foot on, place it back on the vacuum chuck and using the centre of the little foot to line it up, apply a vacuum and turn the bottom of the foot until it is concave.
This magnificent little dish is easy and fun to make. Follow the tips I have outlined, and you will be delighted to turn this stunning, natural-edged dish.