PROJECT
Build a Message Board

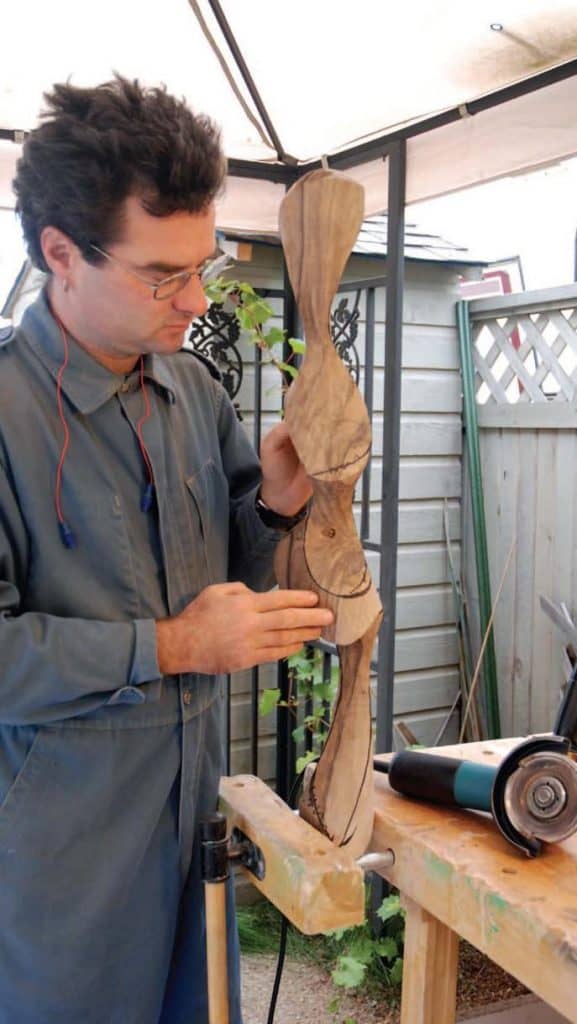
Michael Kampen

Find more Gifts / Crafts projects
This handy chalkboard will help to ensure that important messages don’t get lost.
Sticky notes just add to the clutter in my office and computer-based ‘to do’ lists don’t work for me either; it is just too easy to ignore all of those warning bells and alarms by hitting the snooze button. Writing these lists on a chalkboard keeps them up on the wall and visible, acting as a constant reminder to get the items on it done. I also have one in the shop that I use to work out construction details on during the build process and when I need to make a copy of the drawing, I simply take a photograph with a digital camera and transfer it to the computer.
Placed in the kitchen, it can serve as a message centre for the whole family and a handy drawing surface for young children, giving them an outlet for their creative energies, reducing the chance they will redecorate your walls with crayons.
One of the basic constructs in woodworking is the rail and stile door. In the Router Techniques article in this issue I cover three methods of making a rail and stile door using a router table. Any of those methods would work equally well for a basic frame such as the one used in this project. I’ve chosen the hybrid method I use for basic flat panel doors for this project. The grooves for the writing surface are cut on the router table and the rails, stiles and rail extensions are assembled using dowels. I used the Dowelmax jig (dowelmax.com) for all the dowelling in this project.
Build a Message Board
Milling the Lumber
When milling material it is best to break out all of the parts from the rough stock first. Look at the material you have on hand and then choose which pieces of wood you want to feature as the visible face of the pieces. Mark these slightly oversize and cut them from your stock. It’s important to work with the smaller pieces cut out of the large rough plank as opposed to milling the entire plank and then cutting out the parts as you will lose less material in the milling process as a result of any twist and warp on the board. This is especially important when you are working with S2S lumber that has been milled to 15/16″ thick before being sold.
Mill the top and bottom rails (A) to the correct thickness and width and cut them to length.
Mill the stiles (B) to the correct thickness and width and cut them to length.
Mill the rail ends (C) and chalk ledge (D) to the correct thickness and width and cut them to length.
To provide some additional visual interest, I used two different thicknesses of wood on the frame pieces. The stiles are slightly thicker than the rails giving the frame extra visual complexity and a more traditional Arts & Crafts look. Because all of the joinery is referenced off the back surface of the board, the rear faces are all perfectly aligned. Mark the outer edges of the two rail extensions and drill dowel holes in the stiles as well as in the ends of the rails and rail extensions. As a precaution against mistakes in the next step, assemble the frame with a few dowels and then run a piece of chalk around the inside edge of the frame. Doing this will prevent you from routing the groove for the writing surface on the wrong edge of the material when it is disassembled.
Get Into the Groove
Cutting a groove for the writing surface is a two-step process. If you make the mistake of assuming that the writing surface is actually a full quarter of an inch thick and use a ¼” cutter to make the cut, the panel will fit into the groove very loosely and will rattle as plywood is always undersize. Special undersize plywood bits are available for routers but you needn’t go to the expense of buying extra bits if you only use plywood occasionally. I used a four-wing slotting cutter from Freud and then made two passes to arrive at the correct depth. Set up the bit so it projects ⅜” from the face of the fence. Be sure to cut all of the grooves with the back of the pieces on the table. If you don’t, your grooves will not line up because of the difference in thickness between the rails and the stiles. Cutting the grooves in the rails is a simple matter of making two passes along the full length of the inside edge. The grooves in the stiles will need to be stopped or they will show where they project above and below the rails. Use a pencil to place a line across the material, ⅜” in from the corner where the rails and stiles meet. Place a pencil mark on the fence as well to mark the center of the router bit.
To rout a stopped groove, line up the two marks and start the cut at this point. When bringing the material into the bit, hold the material firmly and ease it into the bit. Run the material along the fence until the mark at the other end lines up with the mark on the fence and then pull it away from the fence. Make the four cuts at the same time before adjusting the height of the bit to widen the groove to fit the plywood. Repeat the cuts until the plywood fits into the groove snugly. Using a test piece in this instance will allow you to get the right groove width without risking the actual project pieces if you make the groove too wide. I usually make one of my rails or stiles intentionally long so that when they are cut to size, I have a test piece that I can use for all machine set-ups. The groove will run into the first of the dowel holes but this is not a problem. Assemble the chalkboard frame and measure the opening (including the grooves) to confirm the exact size of the plywood panel and cut it to size on the table saw.
Don’t Get Stuck on a Ledge
Mill the material for the chalk ledge to the correct width and length. To give the ledge a less blocky appearance, use a jointer to bevel the front of the ledge. Use a crosscut sled on the table saw or a mitre saw to cut a similar bevel on the two ends. Set up a dish carving bit on the router table to rout the recessed area to hold the chalk. This will be a stopped cut as well, so use the same procedure, as on the stiles, to cut this. Cut the recess to a depth of ¼” in a couple of passes. Because the large surface area of the dish carving bit will likely cause some burning, turn the speed of the router down a little and as soon as the material is flat on the table begin moving it along the fence. This will reduce your burning to a minimum. Once you have made the first cut and have a feel for the process, raise the bit by 1/32″ and repeat it to remove any visible burn marks. If you still have some burning, sand it out with sandpaper or a sanding mop. Set up a bottom-cutting mortising bit in the router table to cut the notches in the end of the ledge to accommodate the thicker stiles. I used a 1″ wide bit, available at freudtools.com, in combination with a fence for this cut and set the projection to the difference in thickness between the rails and stiles. A stop block limited the length of the cut on each end. To square up the round edges of the cut, use a sharp chisel or a utility knife.
Fade To Black
When the plywood panel has been cut to size, sand the surface through to 150 grit, using a random orbit sander and remove all sanding dust. Use a roller to apply the chalkboard paint to the plywood. I applied several coats to ensure a smooth and durable writing surface. Be sure to use the chalkboard paint in a very well ventilated area, as this paint gives off a very strong smell. Allow the paint to dry completely before moving on to the assembly stage.
While you wait for the finish on the writing surface to dry, sand and finish the frame pieces. A coat of satin polyurethane will provide a tough, long-lasting finish for the oak that will stand up to the abuse it will receive over the years and will make wiping up the chalk dust a breeze.
Bring It All Together
If your grooves were very snug on the plywood before you painted the writing surface, the addition of the paint may make it difficult to slip the plywood into the groove. If this is the case, turn the writing surface over on a towel and use the random orbit sander to sand the outer edges of the panel. Use a light touch as you’ll only need to remove a small amount of material to make the panel fit again.
Gather all of your pieces: the dowels, the glue, and your clamps before beginning the assembly. Glue the dowels into the ends of the rails and then glue the two rails to one of the stiles. Slide the writing surface into the grooves, making sure it is properly seated and then close the frame off with the other stile. Before moving on to the rail extensions, clamp up the frame to ensure that the dowels have been driven in completely and that there are no gaps where the pieces meet. After about 30 minutes, when the parts have been locked in place, remove the clamps and add the rail extensions. Mount the ledge using countersunk screws driven in through the rear of the rail.
Install the Hardware
Using a shop-made French cleat would have made the chalkboard stand out from the wall a little further than I had envisioned and using a router to cut a keyhole slot across the top rail would have allowed for some movement of the chalkboard after installation. Instead I opted for a couple of aluminum Z-clips from leevalley.com (00S18.55) to do the job. To fasten these to the rail, drill some holes into the clips and then screw one to the back of the rail. The other part of the fastener is then attached to the wall. These clips will lock the chalkboard firmly in place. Apply a couple of felt bumpers the same thickness as the Z-clips to the bottom edge of the chalkboard to keep it parallel to the wall.
The only thing left is to fill the ledge with chalk and start making notes to yourself or others. If you’re feeling especially bold…try some coloured chalk.
Photos by Michael Kampen
Notch the tray
Slight differences between the rails and stiles require a notch in the ends of the tray so it will sit flush.

Hanging on the wall
This simple hardware allows the blackboard to be easily mounted to the wall.

Illustration by James Provost