Choosing the right nail gun can be overwhelming. Here’s everything you need to know in order to make an informed decision.
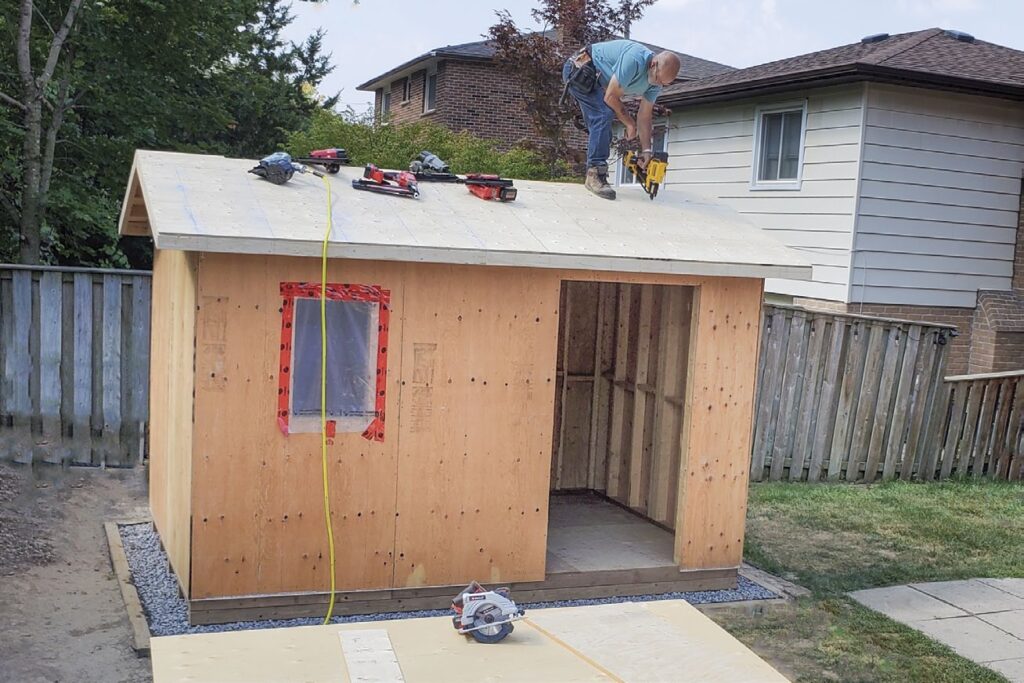
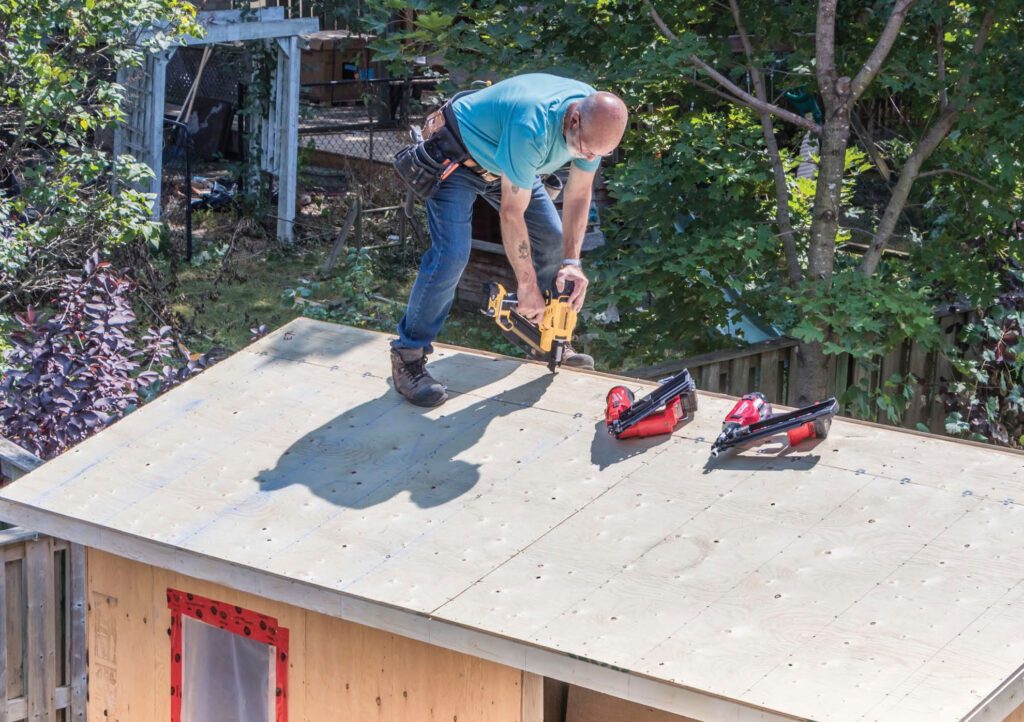
Many homeowners and renovators consider purchasing a framing nail gun because they’re versatile, user-friendly and efficient, ensuring compliance with building codes when the right nails are used. I recently replaced our old metal shed with a larger one that’s framed and sheathed in wood. This was the perfect opportunity to write an introductory article on the two most popular types of framing nail guns: battery-powered and pneumatic.
A third option, gas-assisted nail guns, aren’t included here for several reasons: recurring expense; availability of fuel cells; fuel cell life; frequent cleaning; and maintenance, to name a few. Battery-powered and pneumatic options are readily available to consumers.
It goes without saying, but certainly bears repeating, always wear suitable personal protective equipment (PPE) due to the risk of flying debris and the pressurized air of a nail gun.
Featured nail guns
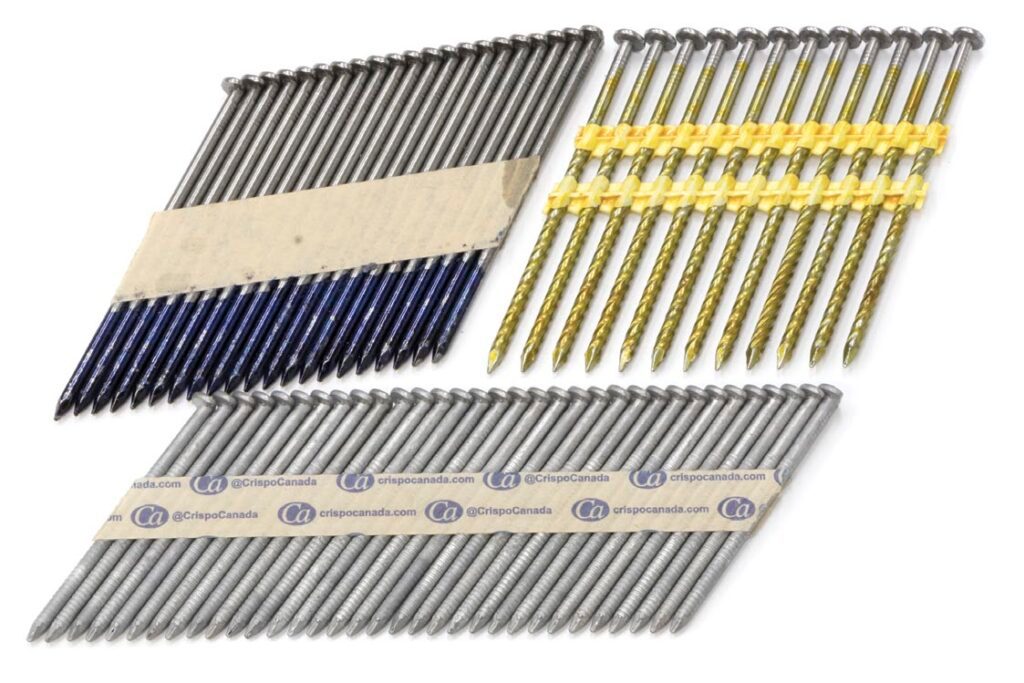
Framing nail guns are essential tools to quickly and securely fasten structural lumber in various projects, such as framing walls, building fences and decks, installing sheathing, and securing sub-flooring. Nail sizes typically range from 2″ to 3-1/2″ in length and from 0.113″ to 0.148″ in diameter. Nails are collated in either a coil or a stick configuration, depending on the style of nail gun.
The following framing nail guns are highlighted in this article:
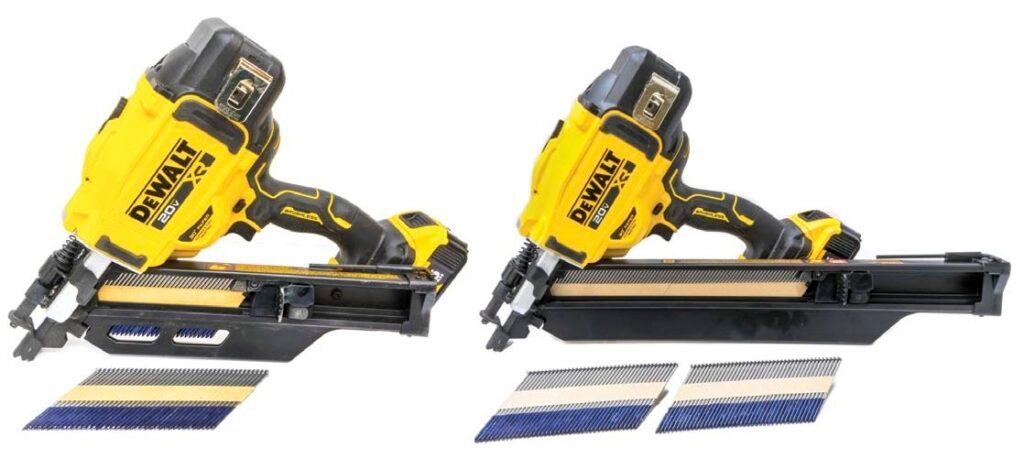
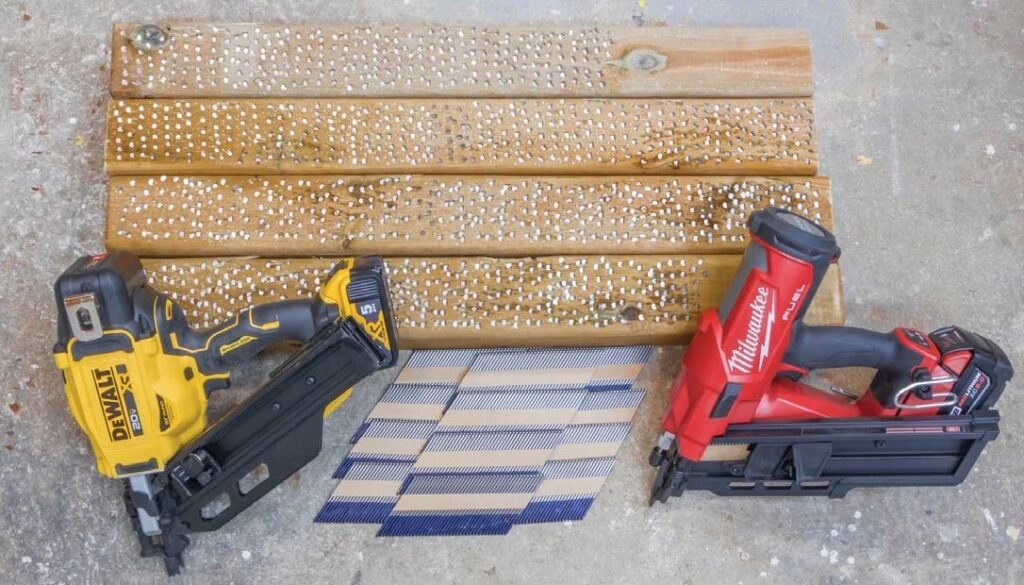
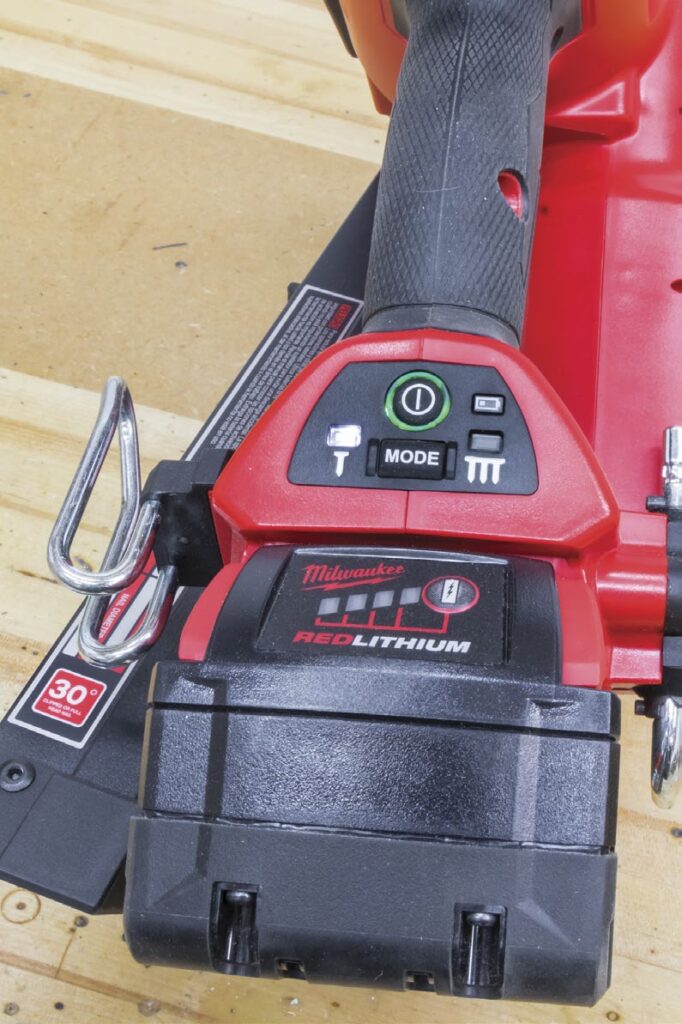
- Milwaukee Tool M18 FUEL 18V Lithium-Ion 30° Brushless Cordless Framing Nailer
- DeWalt DCN930P1 20V MAX XR Brushless Cordless 30° Paper Collated Framing Nailer
- CRAFTSMAN V20 Brushless Cordless 21° Framing Nailer (CMCN621PLB)
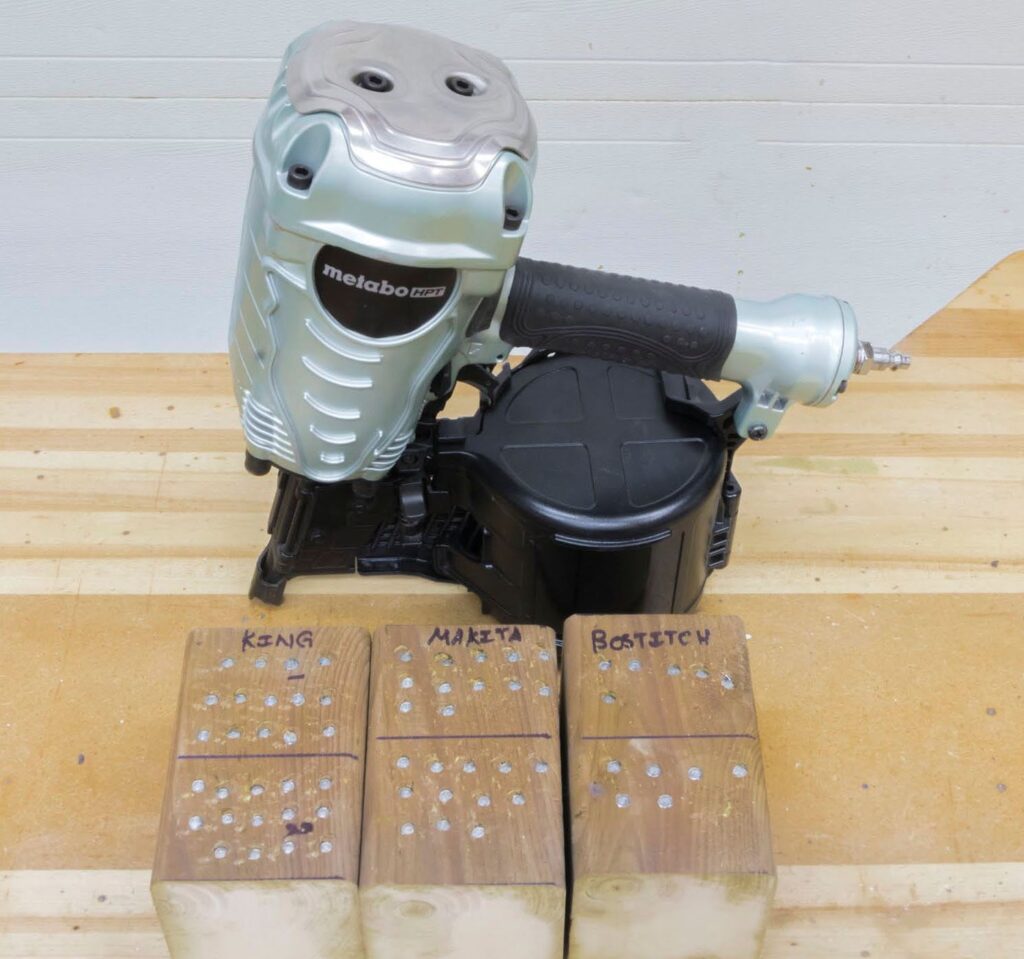
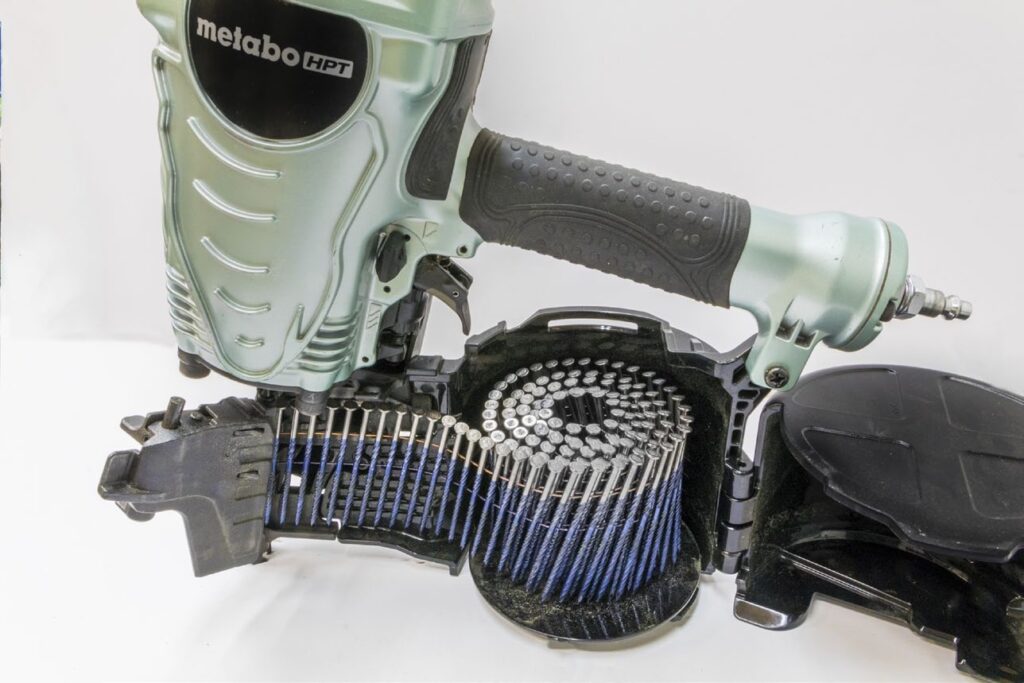
- Metabo HPT Coil Framing Nail Gun NV90AG(S)
- KING CANADA 8228N 28° Clipped Head Framing Nailer
- Porter Cable FC350 (an older model, though similar to some models that are available)
- King Canada 8120P Palm Nailer
All of the guns are available across Canada, except for the older Porter Cable model that was a loner from a friend of mine. Prices range from the King Canada at $149 to the Milwaukee nail gun at $800.
Battery-powered vs. pneumatic nail guns
With the rise of second- and third-generation battery-powered framing nail guns available today, you may wonder whether it’s best to choose a battery-powered tool or stick with a traditional pneumatic nail gun. Here are some pros and cons to consider when deciding:
Battery-powered nail guns
Pros:
- No compressor or hose required
- No gas cylinders needed
- Highly portable
- Quieter than pneumatic guns
- Ideal for smaller jobs
- Minimal set-up time; just load the nails, stick in a battery and go
Cons:
- Higher initial tool cost, especially when factoring in the price of a battery and charger
- At the time of writing, battery-powered nail gun kits (including a battery and charger) ranged from $700 to $800, while bare tools were priced between $500 and $600
- Some pneumatic framing nail guns are available for less than half the price of their battery-powered counterparts. Currently, the KING CANADA 8228N 28° clipped head framing nailer retails for $149, a reasonable, economical alternative.
- Battery-powered nail guns are generally heavier, which can lead to user fatigue during large framing jobs or overhead work
- Higher repair costs when needed
- Typically holds only one stick of nails (40 nails), unless you purchase an extended capacity magazine for around $140
Pneumatic nail guns
Pros:
- Generally more powerful than cordless counterparts, making them suitable for heavy-duty tasks and allowing them to drive larger nails into tougher materials
- No need to recharge or swap out batteries
- Provide consistent performance since they don’t rely on battery charge levels
- Pneumatic nail guns are often half the cost or less than battery-powered nail guns
- Carries two sticks (80 nails) with no need for an extended magazine
- Cons:Lack portability; you’re always tied to an air compressor and hose
- Longer set-up and breakdown time (connecting hoses, adjusting air pressure, lubricating the gun)
- Pneumatic nail guns and compressors can be quite loud; the noise level may not be suitable for all work environments
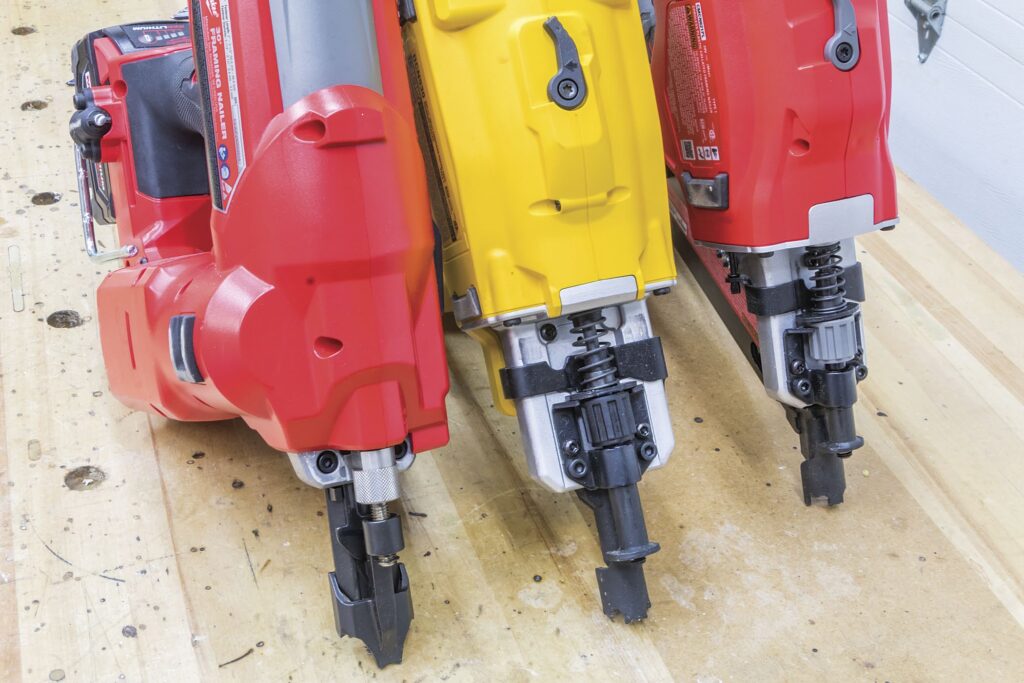
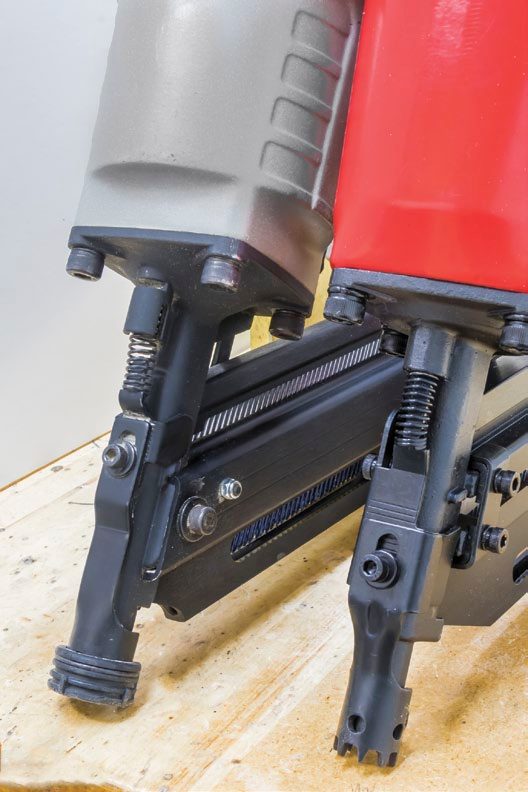
Framing nailer angles
Framing nail guns come in various angles which dictate nail type, collation material and maneuverability in tight spaces. Common angles include 15°, 21°, 28°, 30° and 34°. Higher angles provide better access to corners and tight spaces, while the 21° angle is popular for its compatibility with full round head nails. Choose a framing nailer based on your project, local building codes, price, ergonomics and nail availability.
Common framing nail gun angles
- 15° Nail Gun: These coil framing nail guns offer high magazine capacity, shoot full round head nails, and are lightweight and compact for tight spaces.
- 21° Nail Gun: Uses full round head nails for excellent holding power, with a slightly smaller magazine capacity of around 30 nails compared to a 30° nail gun with a 40-nail capacity.
- 28° Nail Gun: Typically uses clipped head nails, allowing for more nails in the magazine, and some models will accommodate offset round nails.
- 30° Nail Gun: Ideal for renovators, it performs well in tight spaces and handles both offset round head and clipped head nails.
- 34° Nail Gun: Best for framing confined areas with its steep design, designed for clipped head nails, although some models can use offset round head nails.
Using incompatible nail guns and nails can cause jams. Always check your tool’s manual or consult a certified dealer for optimal nail-gun performance.


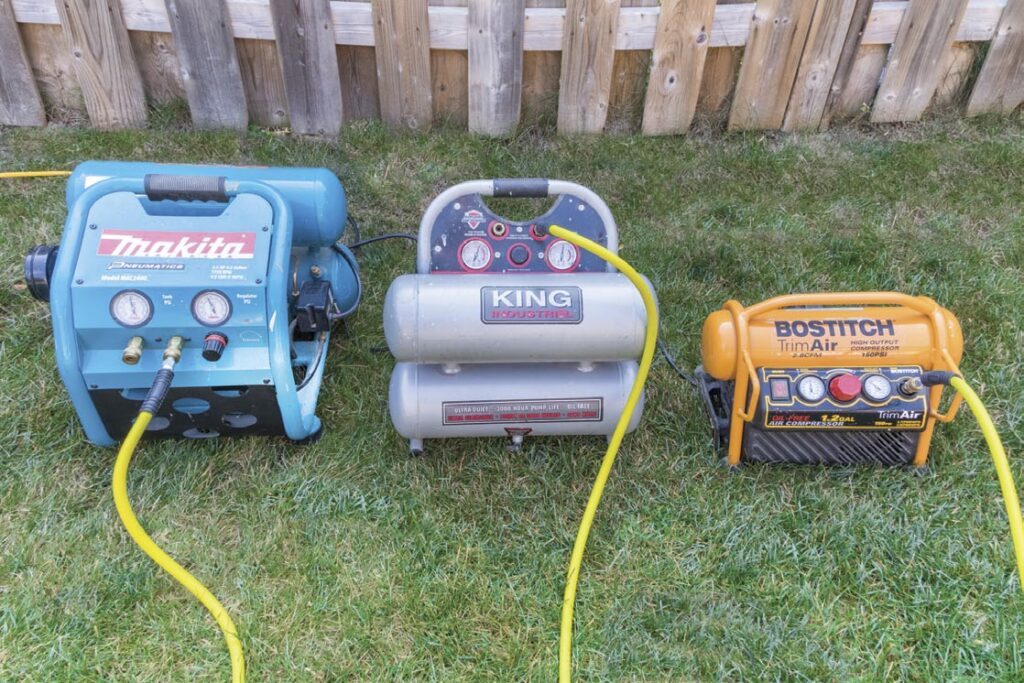
Compressors
When choosing an air compressor, it’s essential to consider key factors such as physical size, horsepower, cubic feet per minute (CFM) output and tank capacity. A larger compressor with higher horsepower and CFM ratings, along with a larger tank, allows you to shoot more nails before needing to cycle back on. Different nail guns demand varying volumes of air to perform at their best. While you can use a trim compressor with a framing nail gun, be aware that a smaller unit will cycle on and off more frequently, which can hinder your efficiency and prematurely wear out your compressor. It’s always advisable to check the nail gun’s air requirements before purchasing, ensuring your compressor is up to the task.
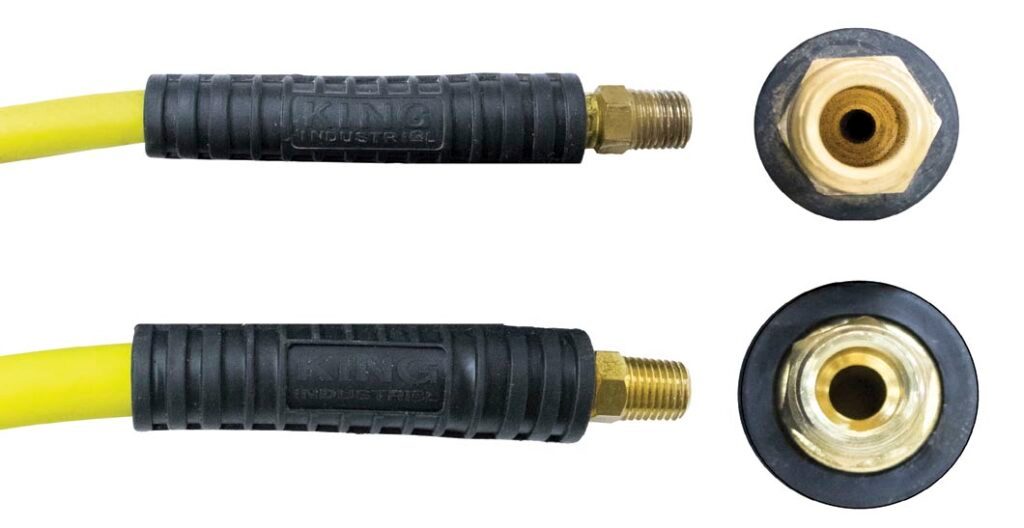
Hoses
Choosing the right hose diameter is equally crucial. Opt for a 3/8″ diameter hose instead of a 1/4″ diameter hose. The larger diameter significantly enhances airflow to the tool, boosting overall performance. More air at the gun means greater efficiency and productivity on the job. Some nail gun manufacturers recommend upgrading the standard 1/4″ air fitting that comes with their gun to a 3/8″ air fitting for increased performance. I repeated the above test using a 1/4″ inside diameter hose, and on average, 20% fewer nails were driven by all three compressors, and several nails were not fully driven into the wood.
Building code compliance
It’s crucial to understand that if you’re framing according to your provincial building code—whether by choice or due to a permit—your first step should be to consult your local building department. Building inspectors are eager to provide information about acceptable practices like nail length, nail diameter and nail head shape for your application in your province. For example, in some provinces, clipped head nails may not be deemed “code-compliant” fasteners for specific applications. A brief conversation with a building inspector can immediately eliminate any uncertainties regarding your specific framing requirements and guide you to the framing nail guns that suit your needs.
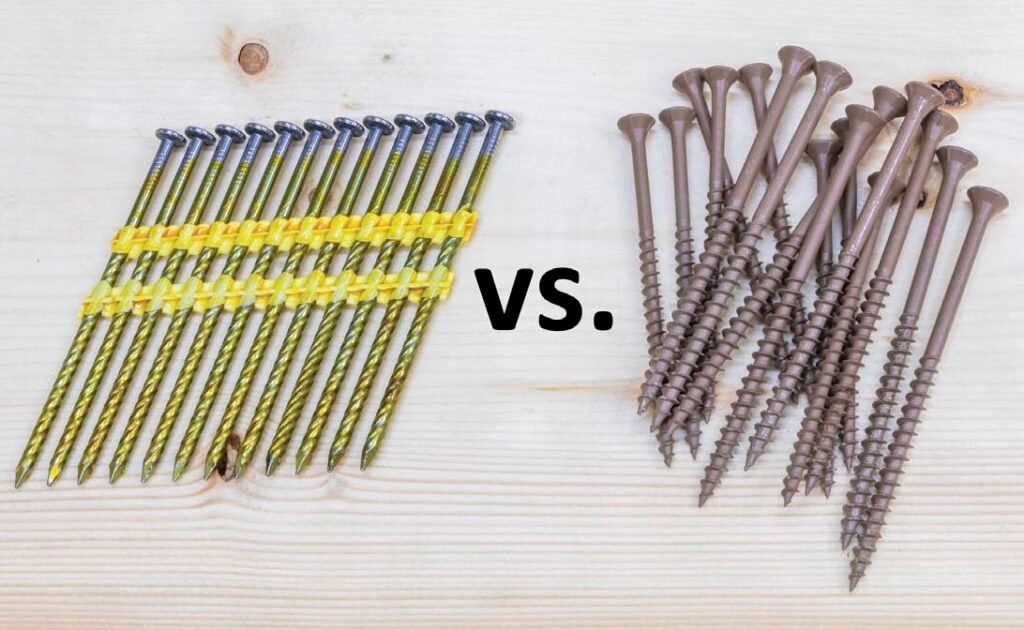
Screws vs. nails
Why use nails for framing instead of deck or construction screws? Nails comply with National and Provincial Building Codes, while screws often do not. While some structural screws may be code-compliant, they tend to be more expensive. Nails are more affordable, readily available, quicker to install and meet code requirements. What’s not to love about framing with nails?
Nails
Framing nails come in various finishes, shank types, collation types, head shapes, and lengths and diameters. Understanding these options is essential for your framing needs.
Nail finishes
The two major types of finishes available are smooth, referred to in the industry as “brites” and used for interior work, and hot-dipped galvanized, used for exterior work and working with pressure-treated wood.
Shank types
Smooth shank nails are used for general interior construction, providing adequate holding power.
Spiral shank nails rotate while being driven, enhancing withdrawal strength and reducing the likelihood of the nail backing out.
Ring shank nails offer superior holding power, with greater friction preventing back-out.
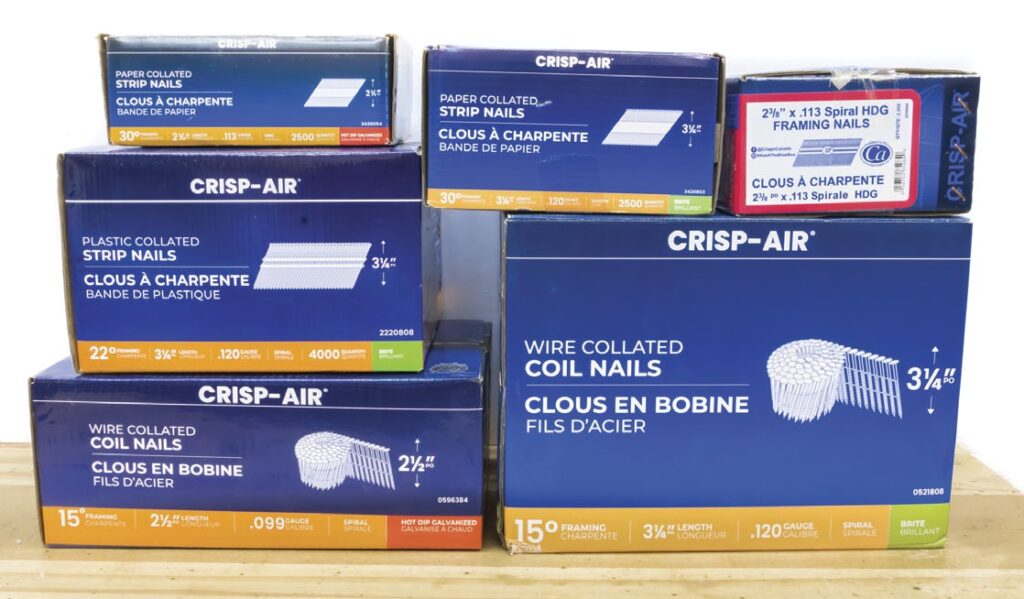
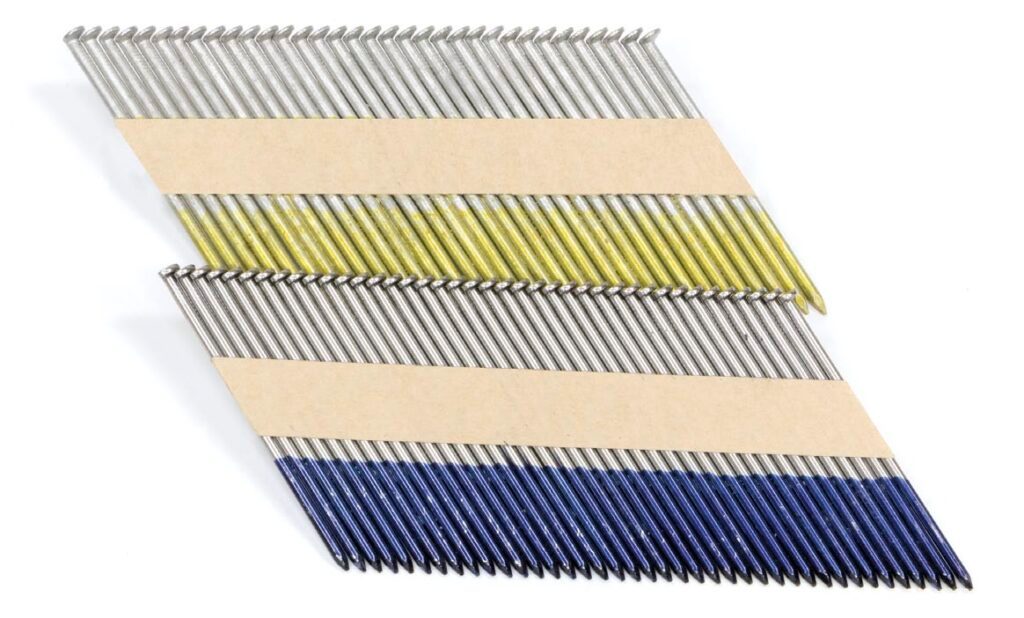
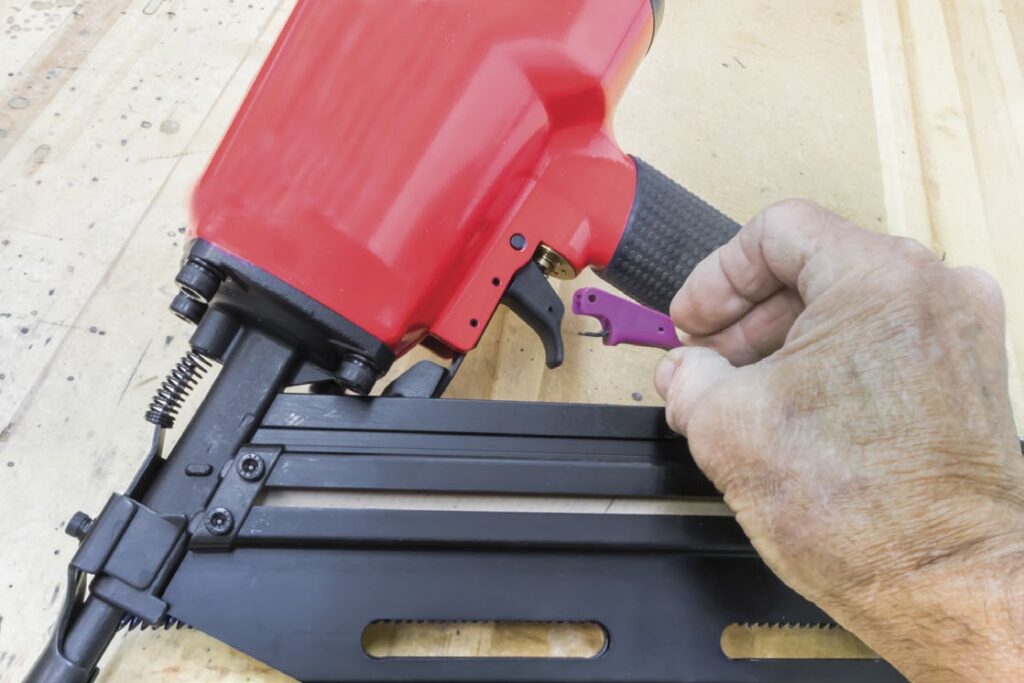
Collation types
Plastic strip collation is common for 20° to 22° nails. This type of collation can produce plastic projectiles when firing the nail gun. Some refer to it as “shrapnel”, and the plastic collation may break when handling in colder weather.
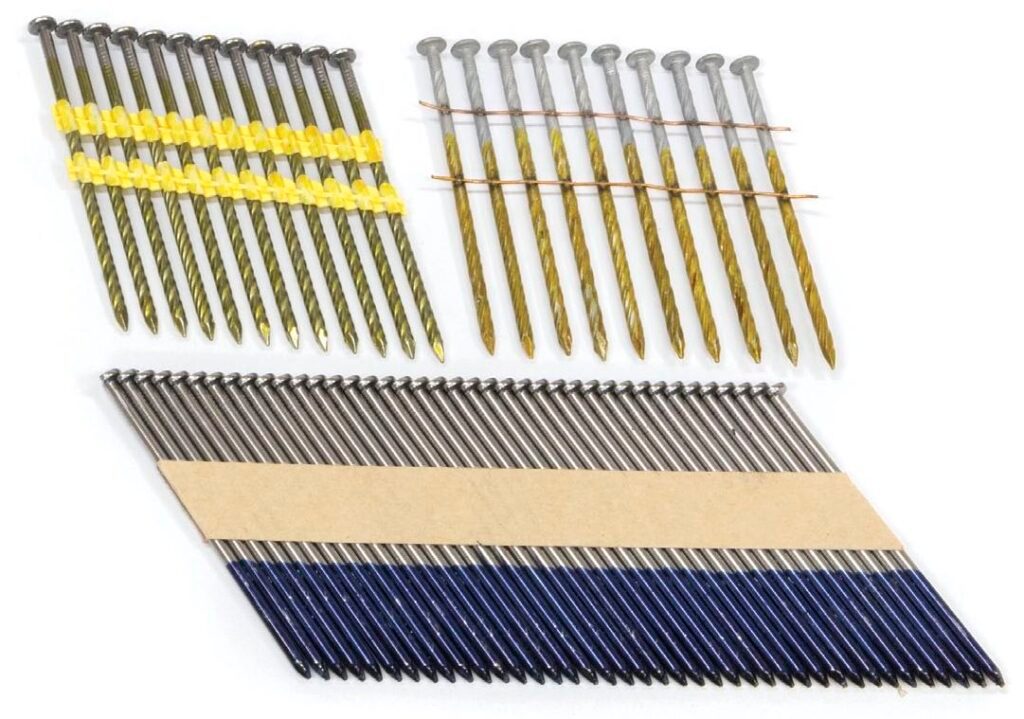
Wire weld collation is designed for 28° to 34° nails and 15° coil nail guns. This collation system is unaffected by weather conditions and performs very well, but it can occasionally leave sharp bits of wire trapped under the heads of nails and can produce bits of flying wire when firing the nail gun.
Paper tape collation is used for 28° to 34° nails. It leaves a cleaner job site with only a few bits of paper lying around, but the paper collation is easily torn when working in wet conditions. Keep these nails dry.
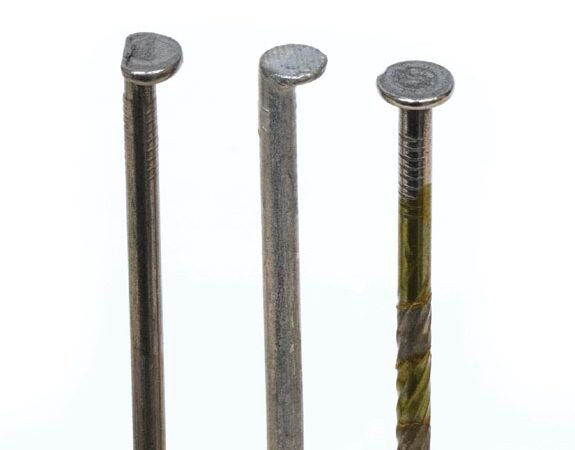
Nail head types
Clipped head nails are designed for stick nailers. Holding power is less than a full round head, but very popular and readily available. Check local codes before use.
Offset round head nails feature an offset head that packs nails tightly together in a stick. Some claim that its holding power is not as strong as a full round head nail. Nail gun compatibility depends on the nail gun, but it is a great all-around nail to use.
Full round head nails have a head diameter that’s larger than an offset round head nail and has more surface area than a clipped head nail. You can see why people claim these nails provide the best holding power and are sometimes required by building codes in certain framing situations.
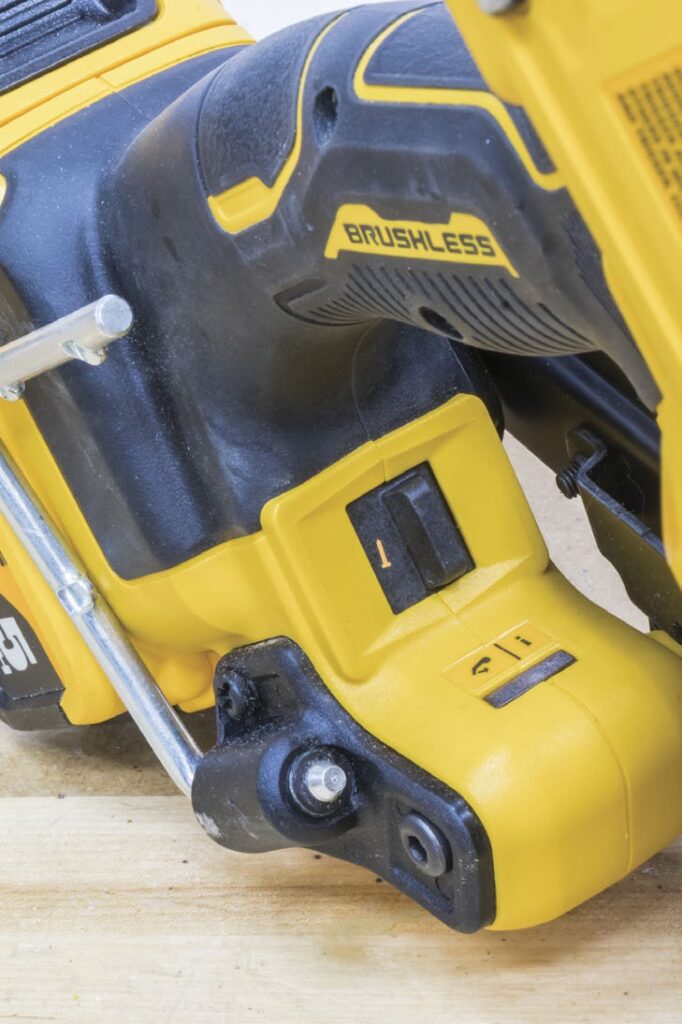
Depth adjustment
To adjust the depth that a nail sinks into material is dependent upon the specific nail gun. Some guns use a knurled adjustment knob located at the front of the gun or under the gun’s trigger. Turning the knob either clockwise or counterclockwise adjusts the nail’s penetration depth.
Conversely, the depth adjustment on some other guns is achieved by using an Allen wrench to loosen and move the nose piece adjuster up and down until the proper nail depth is acquired.
Depth adjustment is faster and more convenient using a knurled knob, but adjusting the depth with an Allen wrench doesn’t take that long and is a simple operation.
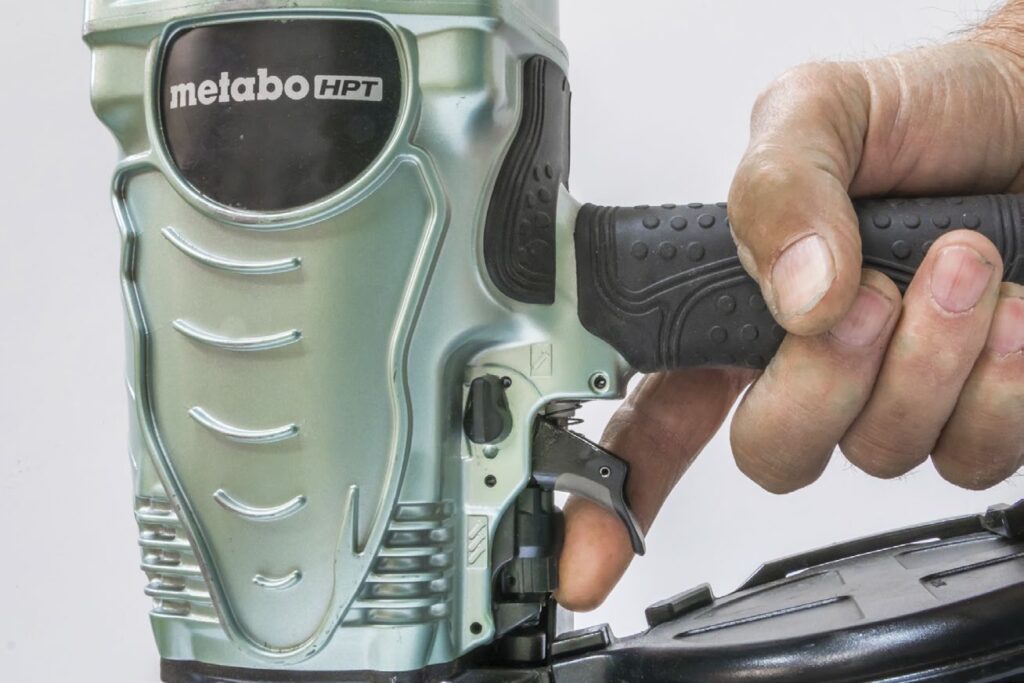
Sequential and bump firing
Most framing nail guns, except for a few models like the Craftsman 21° nail gun, typically feature two distinct firing modes: sequential and bump firing.
In sequential firing mode, the user must press the nose piece against a surface and then pull the trigger to fire a single nail. The nose piece must be removed from the workpiece, then the nose piece must again be pressed into the workpiece before another nail can be fired. This method is slower than bump firing, but it allows for more precise nail placement.
In contrast, bump firing enables rapid firing. In this mode, the user holds the trigger down and “bumps” the nose piece against a surface, firing a nail with each impact. This mode is great for sheathing work, where many nails need to be fired in fairly quick succession.
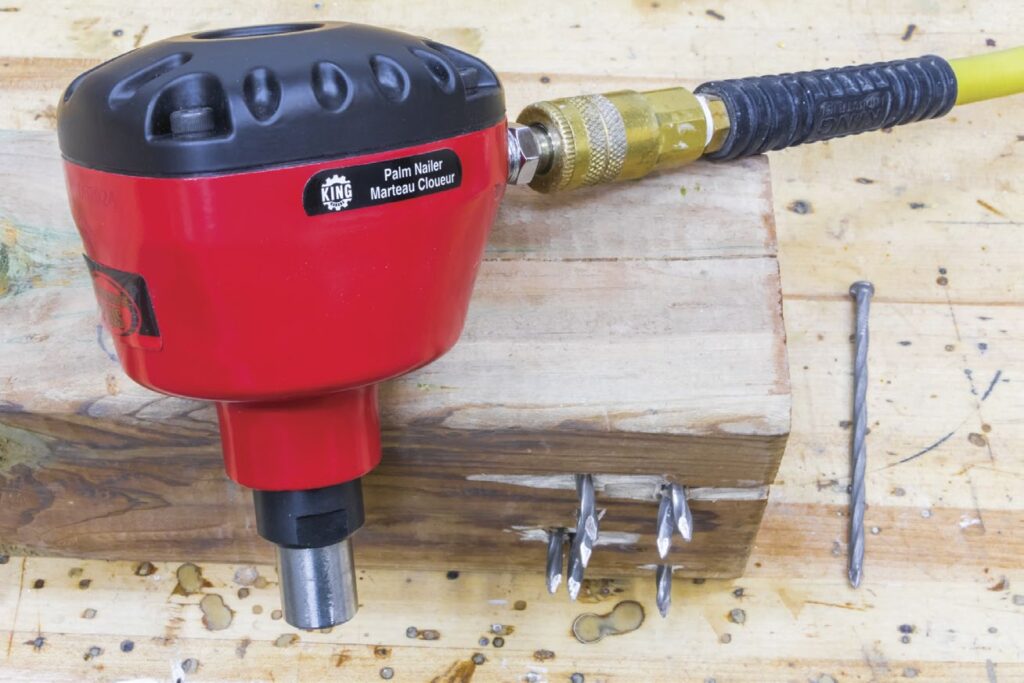
Palm nailers
I always carry a palm nailer for framing. It’s great for driving joist hanger nails and works well in tight spaces. It can easily drive 4″ spiral nails. Several cordless models and “mini” palm nailers are now available.
Resources
When selecting a framing nail gun, I would encourage you to leverage the following resources to ensure a successful fit between you and your new framing nail gun.
1. Building Inspectors:
They can guide you on the right type, length and diameter of nails needed for code compliance. Even if you don’t need a permit for your project, never neglect the advice these people have to offer.
2. Nail Gun Manufacturers’ Websites:
These websites provide specifications and compatibility details to assist in your purchasing decision.
3. Framing Nail Manufacturers:
Notable manufacturers like Crispo Canada, known for their Crisp-Air fasteners, have been trusted since 1920 and offer a Jam-Free Guarantee. Crispo encourages you to reach out with your questions. Their website features an extensive catalog of nails along with detailed compatibility information for which nail can be used in which gun.
Final thoughts
My shed is nearly complete, with just a ramp left to build. Although I didn’t require a permit for this project, I ensured that I adhered to current building codes, which always works in your favour.
For larger framing jobs, consider a high-capacity coil nailer that uses full round head nails or a stick nailer with an 80-nail magazine capacity capable of shooting clipped and offset nails. For smaller projects without a compressor, a battery-powered nail gun that shoots clipped and offset round head nails may be ideal.
Whichever option you choose, take full advantage of available resources and always wear your personal protective equipment. Happy nailing!