TIPS & HOW TO
Splined end mitre joints

Michel Theriault

Mitre joints are an attractive joint often used in framework for cabinets and cabinet doors, picture frames and box lids - wherever you don't want to see end grain at a corner joint.
However, the butt joint created by the mitre joint is very weak, and needs a little extra strengthening. A spline is an easy way to increase strength and can either be hidden, or visible, as a design element.
If the spline will be seen, consider whether it should be made from the same wood as the mitre joint, to keep it subtle, or from a contrasting wood for a bolder look.
If you are looking for extra strength in your joint, the grain of your spline should run at right angles to the joint, otherwise the spline’s grain can be in-line with the joint.
What You Need
The mitre itself can be made with a number of tools, however if you are making a hidden spline, you will need a router table and a spiral bit the same width as your spline, to make the slot. For visible splines, you can make the slot on a router table with a regular bit or slot cutter. Alternatively, you can cut the slots on a tablesaw.
How to Make the Joint
To make the hidden, or stopped spline, first determine how deep the slot will be in the stock pieces, and mark where you need to start the slot so that it will not be visible, and will not cut through the outside edge of the mitre. This will depend on the width of your spline. Mark the position on your stock once you establish it.
Set the router bit to the desired depth. If the depth is more than 3⁄8″, set the bit at 3⁄8″ or lower, and take multiple passes, gradually raising the bit by 1⁄8″ increments. Adjust the router fence so the bit is exactly centered.
Use scrap pieces the same thickness as your project’s stock to test your set-up and re-adjust as necessary.
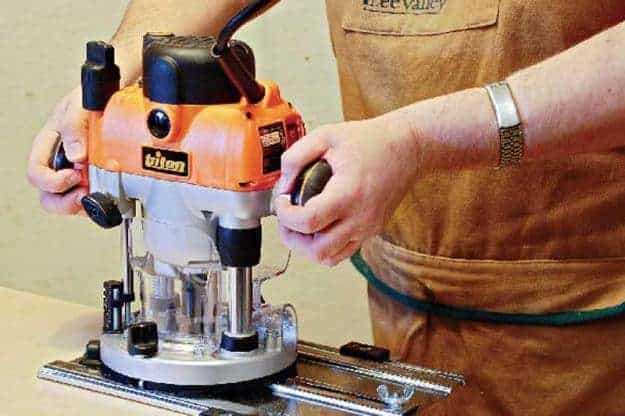
Using a push block with the same mitre angle as your stock, position your piece over the router bit at the location you marked, and push the work onto the plunge bit. As you push down, you will need to shift the push block back to keep the plunge action straight downwards, otherwise you will have to taper your spline at the end to fit the angled plunge.
Once you have plunged into the piece all the way, with the stock resting on the router table top, set the push block behind it, and push the piece through the router bit, taking care to keep your hands out of the way. Make sure to use a push stick.
Cut the spline to the correct width and length, ensuring some overhang on the inside of the mitre, which will be trimmed off later.
Test-fit the spline and trim it as necessary until it fits well with a tight mitre joint.
Roughly trim the end of the spline on the inside of the mitre before gluing the mitre together. After the glue dries, finish trimming the spline flush with a chisel and smooth with sandpaper.
Splined end mitre - assembled

Cut mitres accurately for best fit.

Plunge into stock using support block