TIPS & HOW TO
No-hardware drawer pull

Mark Eaton

Have you ever wished that you could build a cabinet, cupboard or drawer, without using pull knobs, handles or other hardware that might not match your project, or even worse, be a detraction from your design?
In this issue I will be taking you through the steps of making a simple, yet attractive, routed drawer pull, using only a pattern, a brass guide bushing and a couple of router bits.
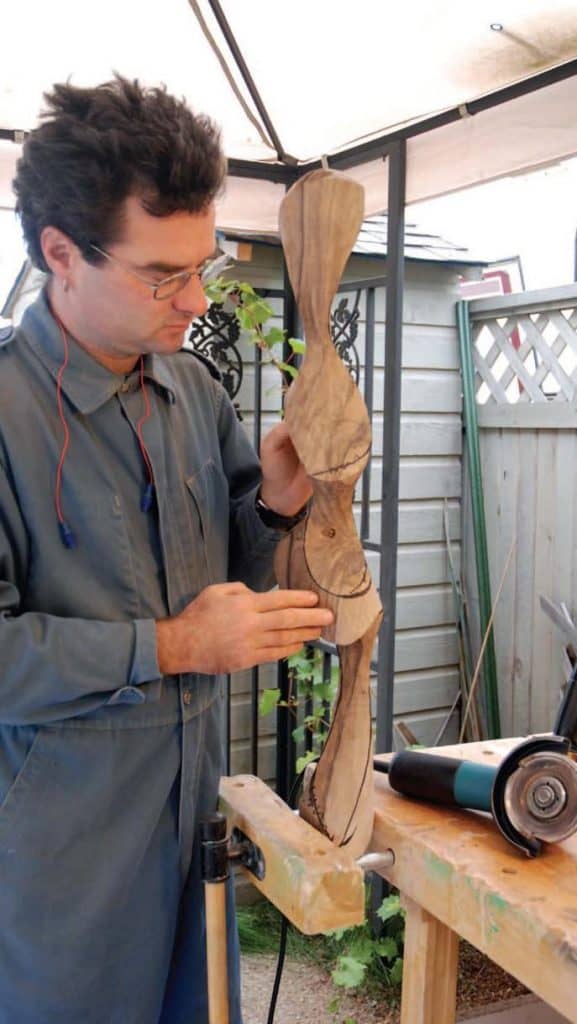
The pull starts with a design for a pattern. I will be using an oval for this article, made from ¼” UHMW, but ¼” plywood would work also. Experiment with many different shapes and designs (like hearts, circles or squares) and choose the one that best suits you or your project. The design of the Drawer Pull bit requires ¾”stock for this application.
Decide where on your project you would like the pull placed. Mark a cross on the project and another on the pattern so that you can align the two.
Using double sided tape, stick the pattern to the project making sure to align the two cross marks.
On your router install a 1” guide bushing and the ring nut to lock it down. Chuck up a ⅜” solid carbide, up shear spiral bit.
I prefer this bit for this application because I want to hog out the meat of the pattern with the spiral bit first before I cut the decorative pull. The spiral bit carves out the material and draws the chips out of the hole, making for a cleaner cut.
Set your router on the pattern with the guide in the oval hole.
To set your depth, bottom out your bit by plunging your router down until the bit touches the stock inside of the pattern and lock it there.
This is now zero on your plunge stop. Set your depth of cut to ½”. I’m using a ½” solid brass set up bar for this.
I find it easier to set up this way rather than trying to read the ticks on the ruler of the router.
Release your plunge lock and allow your router bit to lift from the pattern. Turn your router on and lower the cutter into the stock.
This router is 2hp and with the spiral bit I have no problem cutting the entire ½” depth in one pass but you will find that a lot of debris will fill in the cavity that you create so you may want to make shallower passes and vacuum out the hole between cuts.
Once you have cut all the way down to the bottom out point of your router and have cleaned out all of the waste you are ready to move onto the pull cut.
Chuck up the drawer pull bit. This is a ¾” diameter cutter and will fit through the 1” guide hole so there is no need to change guides.
We have to reset the depth now for the new cutter. Release your depth stop lock and move your stop shaft up to its highest position. This will ensure that you are setting the correct depth for the new bit now not hitting the stop turret from the last set up.
Bottom out your bit to the bottom of the ½” deep hole that you have just created.
Now set your depth to ⅛”.
[[asset:image:6316 {"mode":"full","align":""}]]
This cutter creates an under cut profile, so if you start cutting against the edge of the pattern you will cut through what would be the pull.
Turn on your router and plunge down the ⅛” in the centre of your pattern. Move your router to the left and begin cutting around your pattern in a clockwise direction.
When you have gone around the outside edge start cutting the centre. Make sure that you cut with the direction of the grain of your stock. This will cut down or eliminate scratch marks that you may get while cutting across the grain.
Once you have made your first pass you will have to vacuum out the debris and cut again. Turn your router off but leave the cutter inside of the cut and slide it back and forth with the grain until the bit comes to a complete stop. Because of the under cut we don’t want to release the plunge lock until we are sure that we will not hit the side of our stock. When the router has come to a complete stop, release the lock and slowly lift the bit from the cut.
Make sure that the cutter doesn’t knick the side of your pull as you lift it out. This will cut down on any extra sanding. Vacuum the cut out and make sure that your pattern and guide are clean of any sawdust that may keep you away from the edge of your pattern.
Reset to the centre of your pattern and again re-cut the areas of your pull that you may have missed on your first pass. (Remember: start in the centre and finish in the centre.)
This cut has to be done all the way to your ⅛”. The design of the cutter doesn’t allow for a shallower cut or multiple passes. The under cut will be lost as you lower your bit.
You have now completed your first all wood, no hardware, grain aligning, pattern blending pull, that you can reproduce anytime, on any project that you like.
Expand your thinking with this concept and start putting no-hardware pulls in raised panel stiles, drawer fronts or maybe even a handle for a wooden briefcase or blanket chest.