PROJECT
Oak plywood hand tool cabinet

Danny Proulx

Find more Shop projects projects
Whatever your needs, this safe, accessible, and relatively dust free storage cabinet is just the thing for your shop.
This oak plywood cabinet not only organizes your tools, the acrylic panel doors make an attractive way to display them. Acrylic is safer than glass as it won’t shatter when it breaks. You can also use plywood in place of the acrylic.
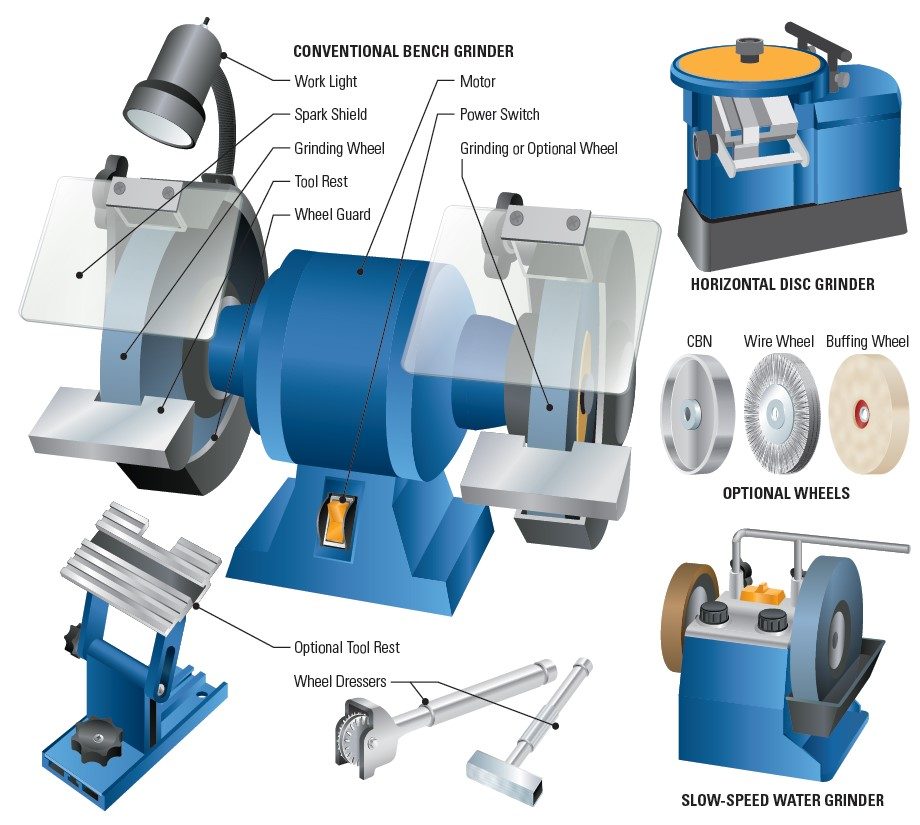
For this project you’ll want to use a carbide-tipped, stacked dado blade. It will double the usefulness of your saw, enabling you to quickly and accurately cut dadoes, grooves, tenons, and rabbet joints.
Oak plywood hand tool cabinet
Cut Sides Top and Bottom
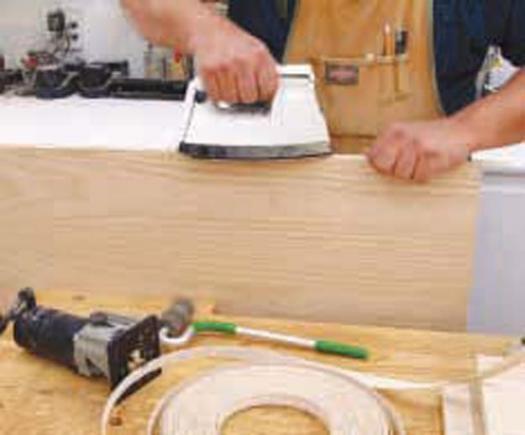
Begin by cutting the sides (A) and top and bottom boards (B). Apply matching wood edge veneer to the front edge of each panel. I used pre-glued iron-on wood veneer tape. Trim the tape with a sharp knife, an edge trimmer, or a router and flush trim bit with a bearing guide.
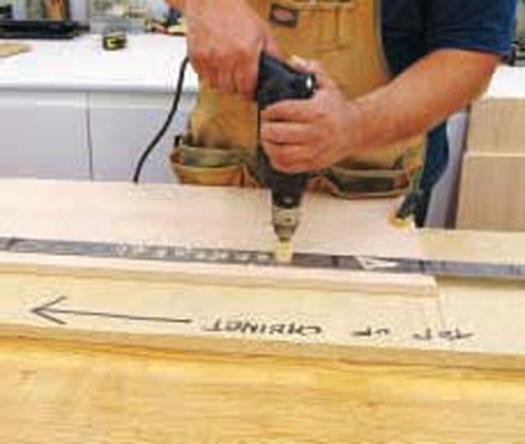
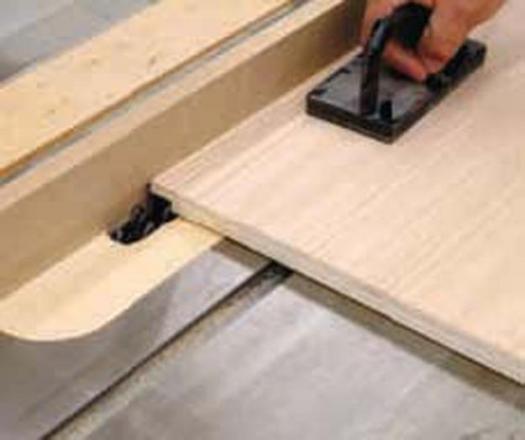
Drill Shelf Pin Holes
Drill two columns of holes in each side panel, about 2″ in from each long edge and spaced about 1 1/2″ apart. The holes diameter should match your choice of shelf pins. Start the holes from the top edge of each side panel and on each inside face, so that the wood veneered taped edges are facing in the same direction.
You can drill the holes using the jig shown. I have a wood dowel rod on the bit to limit the hole depth. The jig is simply a flat piece of metal, with evenly spaced drilled holes, and stop supports at each end.
Cut Rabbet
Using a router or dado blade on your table saw, cut a 3/8″ deep by 3/4″ wide rabbet on the inside back face of each panel.
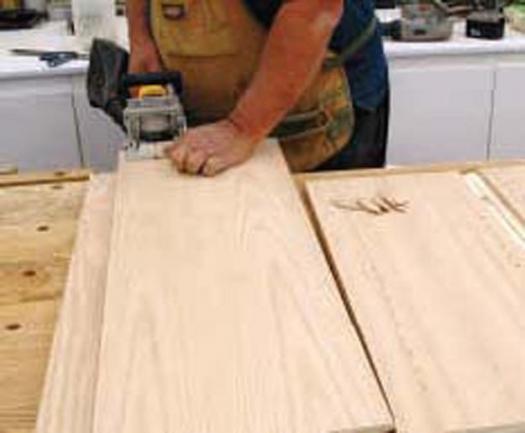
Cut Biscuit Slots
Cut slots for #20 biscuits 3″ and 9″ from the front edge of each panel. Glue and clamp the carcass together. If you don’t have a biscuit joiner cut rabbets on the end of the two side panels, then glue and clamp the carcass together.
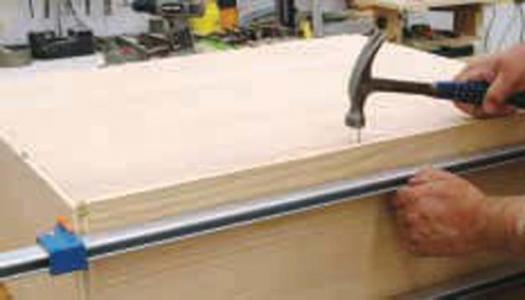
Secure Panel and Glue
Cut the back panel (C), and apply glue to the rabbets in the back of the carcass, and use screws or finishing nails to secure the panel in place
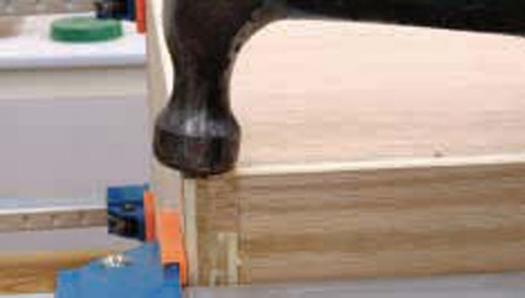
Fill Rabbet Cuts
Glue small blocks into the rabbet cuts on the bottom of the cabinet.
When dry, sand flush. They provide a flat surface for the veneer edge tape that covers the lower end cuts of the side boards.
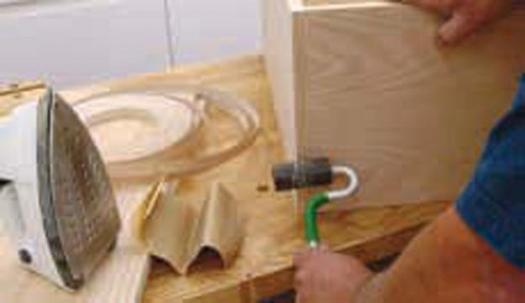
Apply Wood Veneer Tape
Cut the shelves (D) and apply wood veneer tape to the front edge. While your iron is hot, put veneer tape on the bottom (visible) ends of each sideboard. The top ends of the side boards won’t be seen so they don’t need to be covered. As an option, you can use 1/4″ acrylic for the shelving.
Cut Door Grooves and Tenons
The doors are 27″ high and 17 1/2″ wide. There are four stiles (E) and four rails (F), each 2 1/4″ wide. Prepare all the door parts remembering that the 14 1/2″ length of each rail includes material to cut 3/4″ long tenons on each end. Cut a 3/4″ deep by 3/16″ wide groove on one long edge of each door piece. The groove will hold the rail tenons and a 1/8″ acrylic center panel, as well as allowing 1/16″ space so the panels won’t be under pressure.
The tenons at both ends of the four rails are 3/16″ thick by 3/4″ long. Cut them by making multiple passes over a standard table saw blade or in one pass using a stacked dado blade
Round Over Door Frame Edges
Glue and clamp one rail to the stiles.
The other rail is a dry fit because it will be removed later to install the center panel. Using a 3/8″ round over bit in your router soften the outside perimeter of each doorframe. Next, apply a finish to the cabinet carcase and doorframes. I used three coats of lacquer spray.
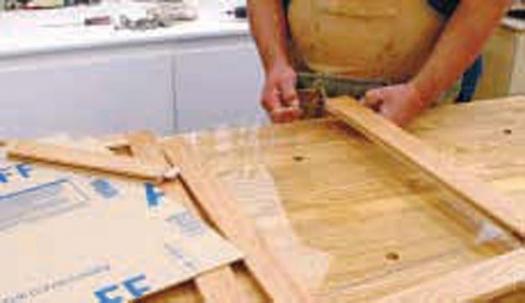
Install Acrylic Panel
When the finish has dried, remove the non-glued rail and install the acrylic panel in each door. Apply glue to the rail tenons and clamp the frames until the glue dries.
Install Doors
Clip the hinge plate on the hinges and install the doors on the cabinet.
Hold the door in the open position and insert a 1/8″ spacer between the door and cabinet side panel edge. Drive 5/8″ screws through the hinge plate holes into the cabinet side. This will ensure that the doors are properly mounted and aligned. You can alter the dimensions of this cabinet to suit your needs. You could also install a light to illuminate the cabinet interior.
Apply wood edge veneer tape to the front of each panel
Drill two columns of holes in each side panel for shelf pins
Cut a rabbet on the inside back face of each panel
Cut biscuit slots at end of each panel
Use finishing nails to secure panel so glue will properly set up
Fill rabbet cuts with small blocks
Apply wood veneer tape to front edge of each shelf
Cut groove to hold rail tenons and acrylic centre panel
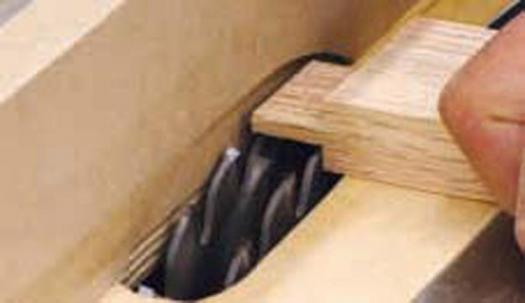
Cut tenon with multiple passes over a table saw blade or in one pass over a stacked dado blade
Use round over bit to soften outside perimeter of each door frame

Remove non-glued rail and install the acrylic panel in each door
Install two hinges on each door, at right angles to the door’s edge
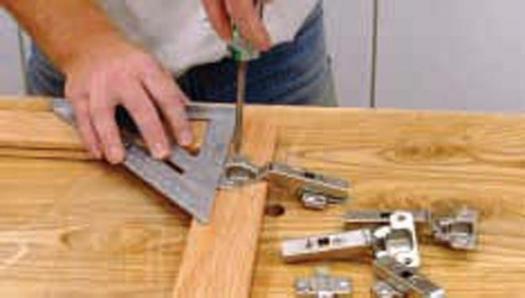
Clip hinge plate on hinges and install doors
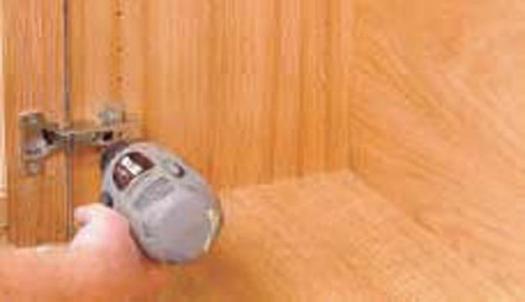
Illustration by Mike Del Rizzo