PROJECT
Lamp pulls

Paul Ross

Find more Woodturning projects
Most ceiling fans, and many lamps, come with lower quality, machine turned pulls. They are practical, but they are often far from attractive. So, why not replace those pulls with an attractive piece made from turned exotic wood?
You could use up those small bits of wood that you have been saving. You know the ones: they are too small to use, but too beautiful to throw away. Now you can use them to create decorative lamp pulls. This simple project can take you as little as half an hour to make, but will lead you through important turning techniques. In fact, this project is an ideal exercise to learn simple spindle turning.
Lamp pulls
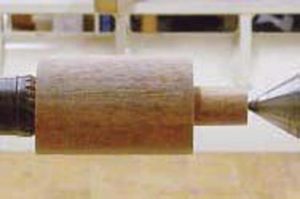
Mount the Block in the Lathe
You only need a piece of wood about 2″ long by 1″ square. Mount the small block in the lathe between centers. Turn it round with a roughing out gouge. Use the gouge with the flute in an upward position at first. That presents as little resistance to the wood as possible. When most of the corner section of the piece is turned off, turn the gouge on either of its sides and move the gouge in the direction opposite the flute. That presents more metal to the wood resulting in a smoother cut.
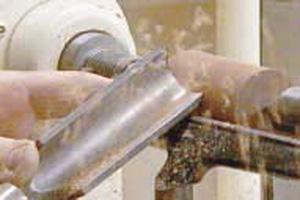
Now that you have the piece turned round it is ready to shape. Put a spigot on one end. That will enable you to grab the piece with a chuck so that eventually you will be able to remove the tailstock to allow the last cuts to be done. To create a spigot, use a ⅜” beading parting tool. The ⅜” wide parting tool allows a wide cut. Use half the width of the tool at a time, taking two passes. That will result in about a ⅜” long tenon, or spigot.
Drill the Hole
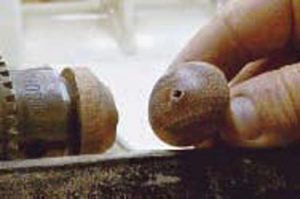
Take the spigot and put it in a “Jacobs” chuck. Drill a small hole, slightly larger than the thickness of the string or chain to be used on the pull. With the tailstock removed, hold a drill and push it into the spinning wood.

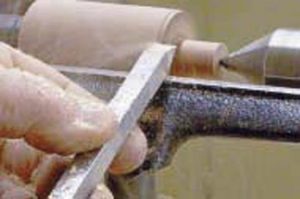
Shape the Piece
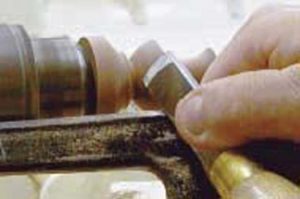
Put the tailstock back in place for support. Although the piece is in a chuck, you want to use the tailstock for as long as possible. Shape using a ½” spindle gouge. Feel free to experiment with shapes.
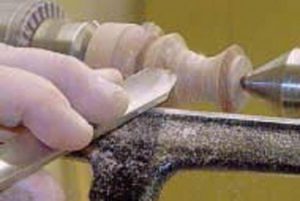
Define the Ends
Once shaping is complete, define the ends by getting rid of the bulk at the tailstock. This is best done with a skew. Use the toe or long point of the skew. Lift the toe into the spinning wood. When you are almost down to the center, remove the tailstock and cut the last little pip off. Do a little sanding before parting off the piece. Very little sanding should be required.
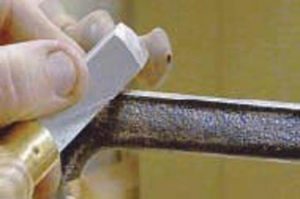
Part the Pull from the Chuck
Once again the skew is used to cut the finished pull off the “Jacobs” chuck. If the last cut is done on the finished side of the pull, no sanding is required.
Have fun making various shaped pulls like the ones shown. Now you’ve got an easy and practical use for those “special” pieces of wood that you’ve been saving.