PROJECT
Easy-to-make mantel clock

Michel Theriault

Find more Gifts / Crafts projects
This easy-to-make clock uses wooden molding to add a special touch of elegance.
You can use almost any wood for this project. I chose oak.
|
||||||||||
Easy-to-make mantel clock
Drill the Holes
Drill dowel holes in the top and bottom of the side pieces, centered on the width of the board, and ¾” from the side edges. Next, drill matching holes in the top and bottom pieces.
Chamfer the Top
Chamfer the top piece slightly with a sanding block.
Alternatively, you can use a hand plane to create the chamfer.
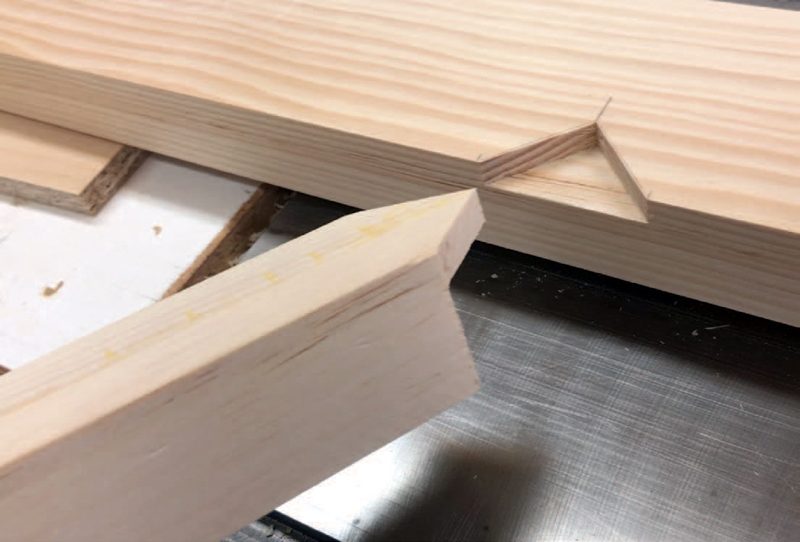
Mitre and Glue the Pieces
Cut mitres on the molding using a mitre box and glue them to the top and bottom pieces as shown.
Install a Handle
Install a handle in the top.
Tack the Supports
Tack the front supports to the sides with brads.
Assemble the Clock
Assemble the clock by applying glue to the mating surfaces and in the dowel holes, then insert the dowels and position the top and bottom onto the sides. Clamp and check to make sure it is square before allowing it to dry.
Apply the Clock Face
Drill a hole in the centre of the plywood clock front to accommodate the diameter of the shaft. Paint the plywood and glue the clock face on. Add the clock mechanism and hands.
Glue
Glue the plywood face onto the face holder strips and leave until dry.
Tip: When cutting the molding for the top and bottom pieces, cut the pieces out one at a time, measuring each subsequent piece directly from the clock.
Option: Screw the tops and bottoms to the side pieces using counter-bored holes and screw hole plugs instead of dowels.
Illustration by Mike Del Rizzo