PROJECT
Custom Designed Ear Jewellery

Paul debRuyn

Find more Gifts / Crafts projects
Stretching ear lobes (and other body parts) has been done by various peoples around the world for thousands of years. Now it is becoming popular in our culture. If you don’t believe me, ask the younger adults in your family. Chances are you’ll find that most people know someone with a stretched lobe or two.
For the past six years I have been creating custom designed ear jewellery, called plugs, in all shapes and sizes. I’ve used exotic woods such as Gabon ebony, amboyna burl, pink ivory, olivewood, bloodwood and many others that I import from around the world. While I have around a dozen standard styles that my customers can choose from, I revel in creating custom plugs where I can let my creativity flow. In this article I’ll show you how I create a set of 1″ ‘inlayed eyelets’ made from two of my favourite woods, bloodwood and amboyna burl.
Custom Designed Ear Jewellery
First, I cut and prepare the blanks I am going to use with a plug cutter (leevalley. com) on my drill press. A lot of turners will prepare their blanks from square stock but I have found that cutting my blanks this way cuts down on waste, saves time and is a lot easier to chuck on the lathe. I always make my blanks around 1⁄4″ larger than what I need, to allow for turning and sanding. For this plug I prepared two 1 1⁄4″ bloodwood blanks for the outer piece and one 7⁄8″ amboyna burl blank for the centers.
Turn the Outer Piece
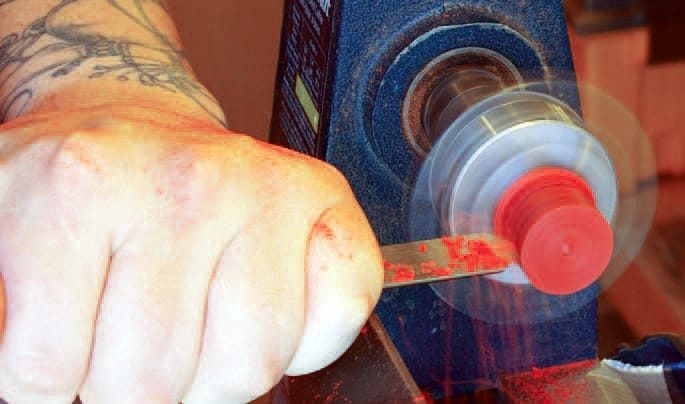
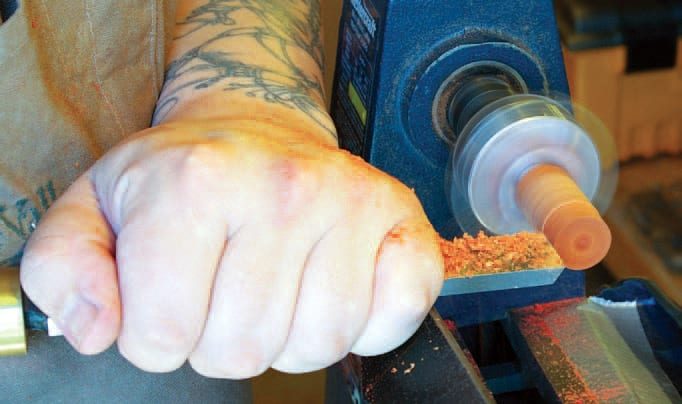
Generally I turn one plug at a time. With secure the first blank in the chuck. I turn the outer piece true and slightly oversized to allow for what is called a ‘flare’ or ‘saddle’ shape that helps hold the plug in the earlobe. These flares generally range from 1 to 2 mm deep.
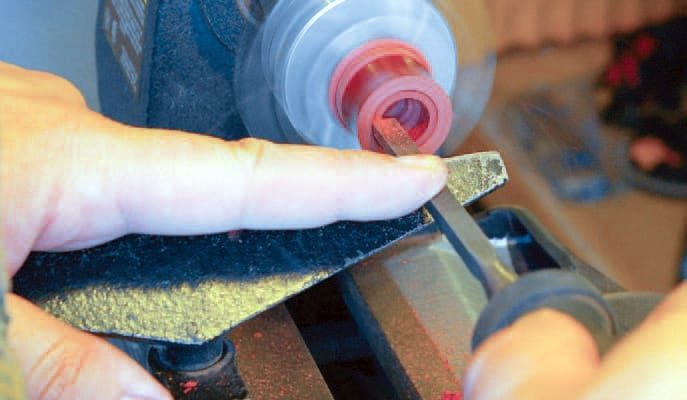
I follow this by marking and scoring the blank with a sharp awl to the desired thickness, which will typically be 1⁄2″. Again I’ll make it just a bit larger to allow for turning and sanding.
Sanding is the real key to finishing my plugs. I’ll turn the outer piece down to a fraction above the desired size and use sandpaper to achieve the desired size. I usually start with a really coarse 150 grit sandpaper and sand up in increments until I reach 2000 grit.
With the outer side of the outer piece done I now turn my attention to its face, where I’ll mark out the center so I know how much to take out to allow for the amboyna to be inserted later on. Once the inside of the plug is turned, I repeat the procedure for the second plug.
Turn the Center Piece
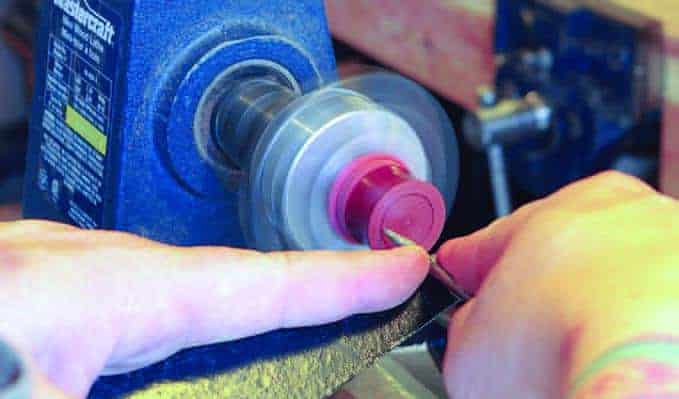
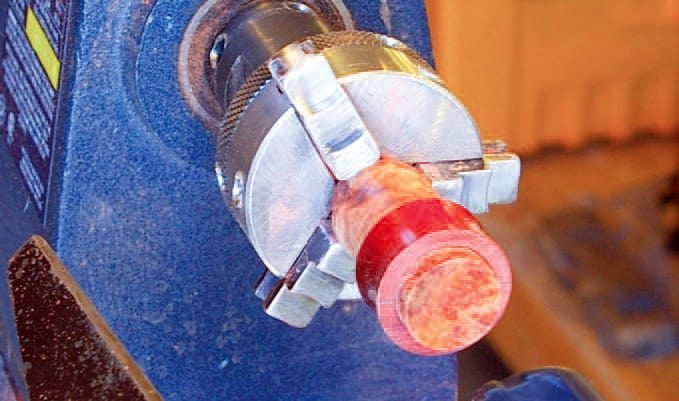
After the outer piece is turned I chuck the amboyna blank onto the lathe and turn it to the same size as the center hole in the bloodwood plugs. This is the trickiest part of the whole procedure as it is almost impossible to get the center of the main plug cut straight through. I have to constantly keep checking to make sure the amboyna insert fits perfectly on both ends. You want to take your time here, as it’s quite easy to make the center piece too small.
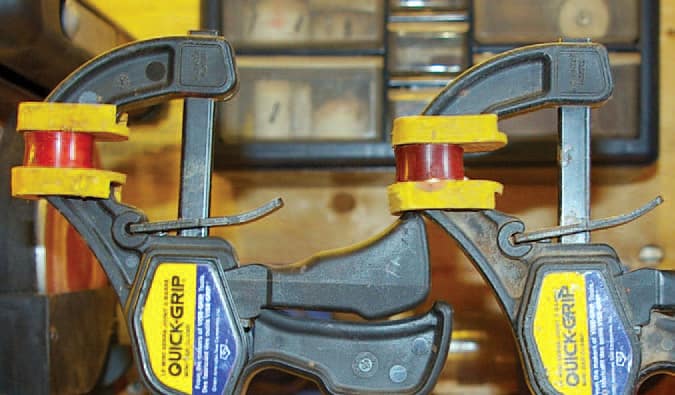
I now repeat this process for the second plug, as most people come with two ears. After both sets of outer pieces are complete I glue and press the pieces together and leave them clamped to dry overnight. When the plugs are dry I rechuck each plug individually and turn a hole in the center of the amboyna insert. Then I roughly shape the centers with a skew chisel so they have a nice curve, and follow this with sandpaper.
Sanding is where the plug takes its real shape. Again I sand with 150 to 2000 grit sandpaper. This step is repeated twice per plug. I also give them a light coating of jojoba oil during this step, which I wipe off immediately. This acts as a natural stain and helps bring out the natural colour and grain of the wood.
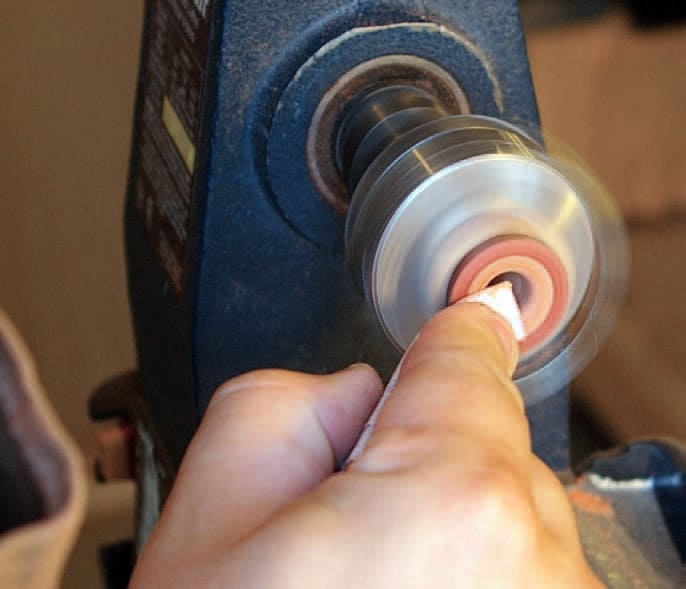
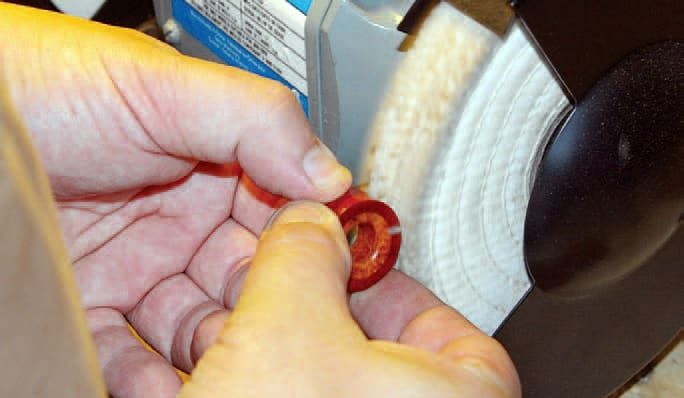
After the plugs are completely turned and sanded I head over to my bench grinder, on which is mounted a buffing wheel, and give them a final high speed buffing with all natural carnauba wax. This helps to remove any fine surface scratches, and also gives them a gloss finish, which helps seal the wood.
While I have created many intricately designed plugs over the past few years I find these inlayed eyelets are still one of my favourites. I love the simplicity of the design, which highlights the natural colour and beauty of each wood.
Photos by Paul debRuyn
Blanks drilled out with plug cutter

True and size outer piece
Using awl to mark 1/2" diameter
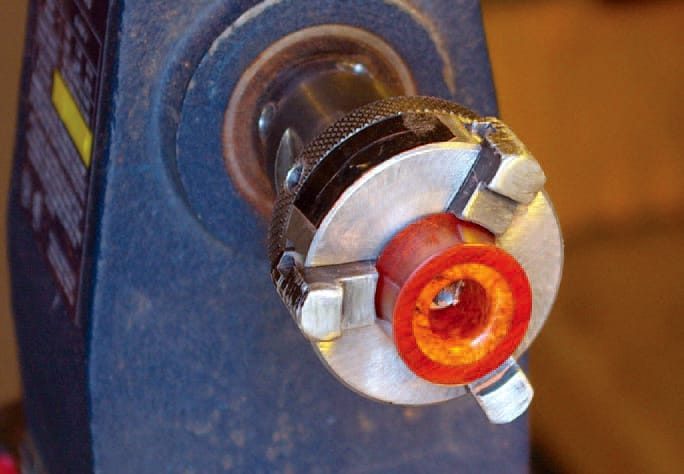
Turning hole for center piece
True and size center piece
Center piece fits into outer piece
Glue center and outer pieces together
Shaping inside of plug

Sanding plug to final shape
Plug completed
Final buffing
Finished ear plugs