PROJECT
Cartoon caricature

David Bruce Johnson

Find more Carving projects
Carving for fun is a great way to learn how to carve for "serious".
This project demonstrates all the skills and techniques one would use to relief carve a realistic profile. With a cartoon, you can relax and enjoy yourself because absolute accuracy is not necessary.
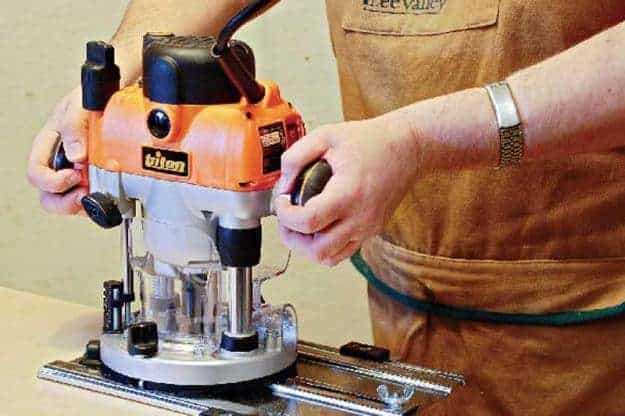
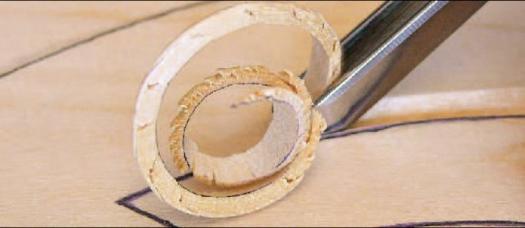
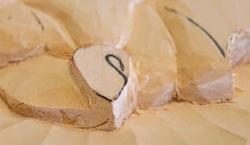
The three main steps in relief carving are: outline, contour, and detail. The remainder of this article is largely pictorial with explanatory captions. I used basswood that is ½” thick and 6″ square. You could use a different wood, but basswood is very easy to carve, especially for novice carvers.
Cartoon caricature
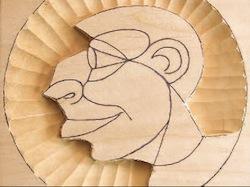
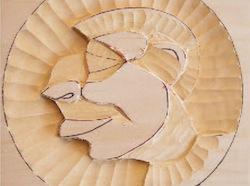
Outline the Entire Bust
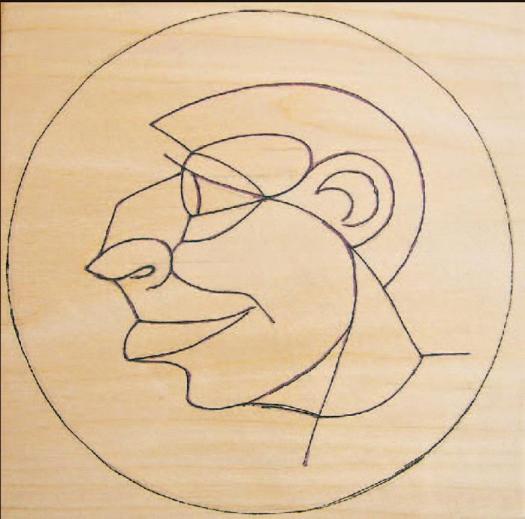
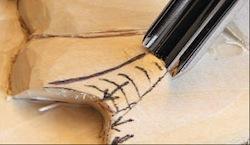
• Copy pattern onto wood
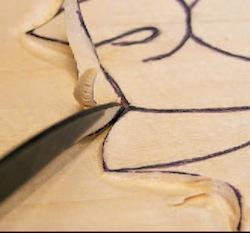
• Start outline with V-gouge
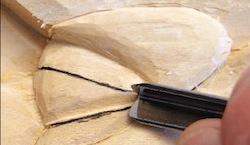
• Use knife for sharp corners
• Match gouge to curvature
• Remove wood with #5 gouge
• Repeat process to a depth of ⅜”
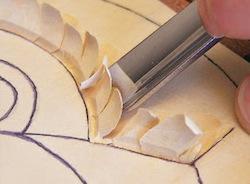
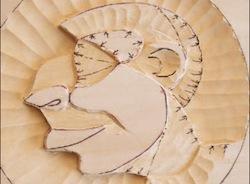
Outline the Major Masses
• Outline the masses marked by red
• Reduce ¼ of the thickness
• Remove more wood in red areas
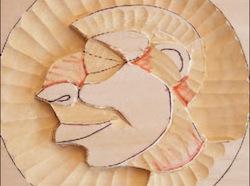
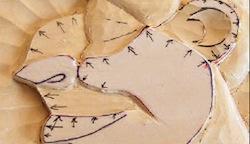
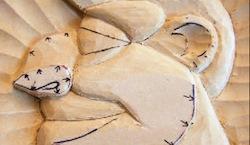
Contour Features
• Round edges marked by black arrows
• Use #2 gouge face down
• Arrows indicate the next edges to be rounded
• Profile view shows how contours are developing
• Rounded edges complete the contours
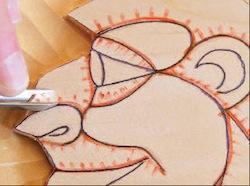
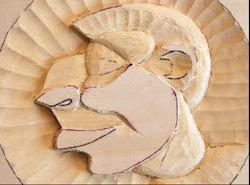
Add Details
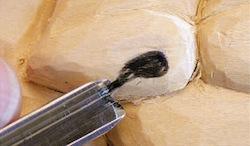
• Use #9 gouge to hollow the ear
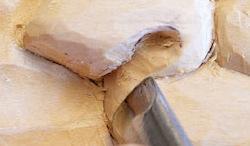
• Undercut the lip with #9 gouge
• Carve nostril with V-gouge
• Round lip into nostril with #2 gouge
• Outline eyelids with V-gouge then round eyeball
Finishing the Project
For this carving, I wanted the skin areas to be smooth with the background and the hair textured. When I sanded the face, I tried to avoid the background and then refreshed any grooves that had been scratched by the sandpaper. Then, I textured the hair using a small #11 gouge. Finally, I sealed the carving with lacquer, although paste wax would have been just as nice.
Now that you have experienced the joys of carving a cartoon cameo, copy a photograph and try carving a realistic profile. You will be surprised how easy it is.
Copy pattern onto wood
Start outline with V-gouge
Use knife for sharp corners
Match gouge to curvature
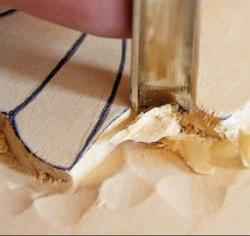
Remove wood with #5 gouge
Repeat process to a depth of ⅜"
Outline the masses marked by red
Reduce ¼ of the thickness
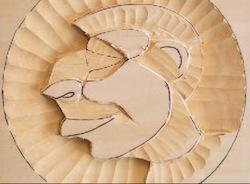
Remove more wood in red areas
Major masses ready for contours
Round edges marked by black arrows
Use #2 gouge face down
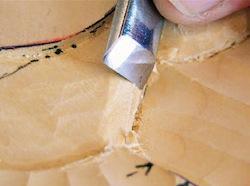
First step in contouring is complete
Arrows indicate the next edges to be rounded
Profile view shows how contours are developing
Rounded edges complete contours
Use #9 gouge to hollow the ear
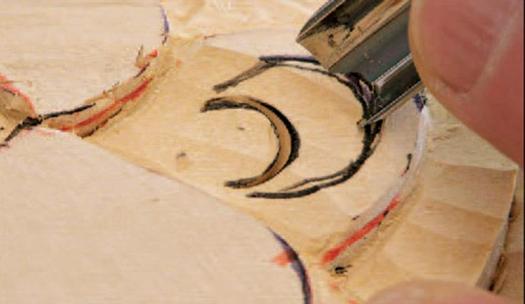
Undercut the lip with #9 gouge
Carve nostril with V-gouge
Round lip into nostril with #2 gouge
Outline eyelids with V-gouge then round eyeball