PROJECT
Build a hanging bedside table

Robert Zakarian

Find more Tables projects
These elegant nightstands are the ideal companion for a modern bedroom. With both a drawer and an open compartment, they hold all the typical bedside essentials like books, magazines, glasses and electronics.
The design of these hanging bedside tables provides flexibility to place them at any height and save valuable floor space. The units measure 11-5/8″ in height by 14″ in width and 15″ in depth.
Build a hanging bedside table
Materials
Most of the parts are made from veneered birch plywood or particleboard. The drawer front is solid birch and the drawers are constructed with Baltic birch plywood. Veneered birch has simple wood grain, is easy to work with, is durable, accepts paint well and is cost effective. I applied an iron-on edge banding to the exposed plywood edges to give a smoother and more even surface to finish. You could easily make these bedside tables out of another wood species and apply a clear coat or a stain if that blended with your bedroom décor better.
I chose to use 5/8″ material, though 3/4″ thick material is also very common. The extra thickness isn’t needed for these small units, but the choice is up to you.
Measure twice, cut once
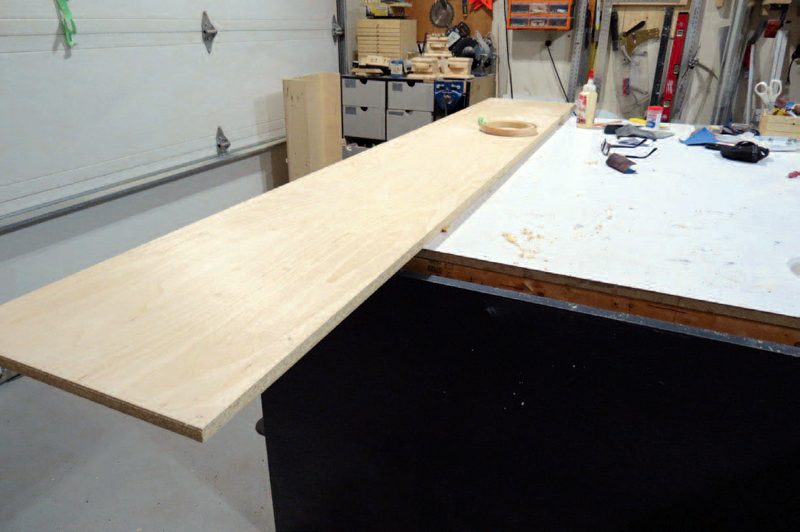
The cabinet can be completed with one piece of veneered birch 96″ × 16″. Measure and cut out all parts as shown in parts list. If the units will be stained with a translucent stain or left natural, pay attention to the direction of the grain and adjust the cuts as necessary.
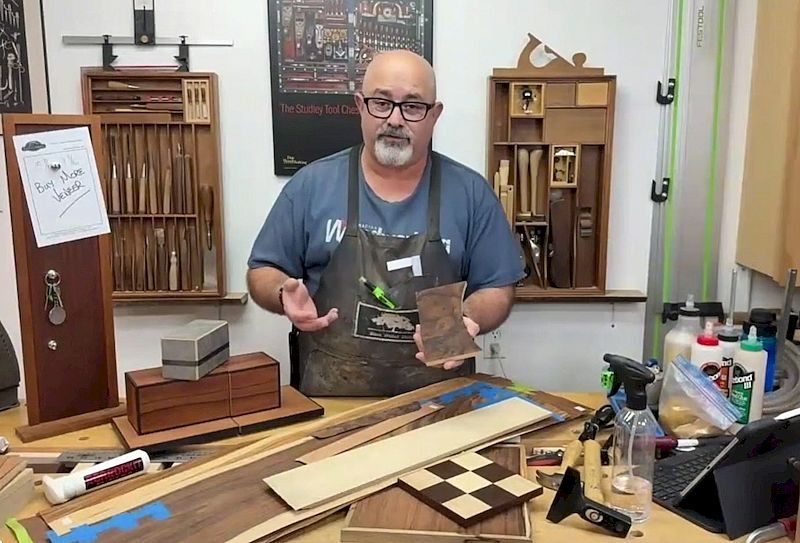
Ironing isn’t just for clothes
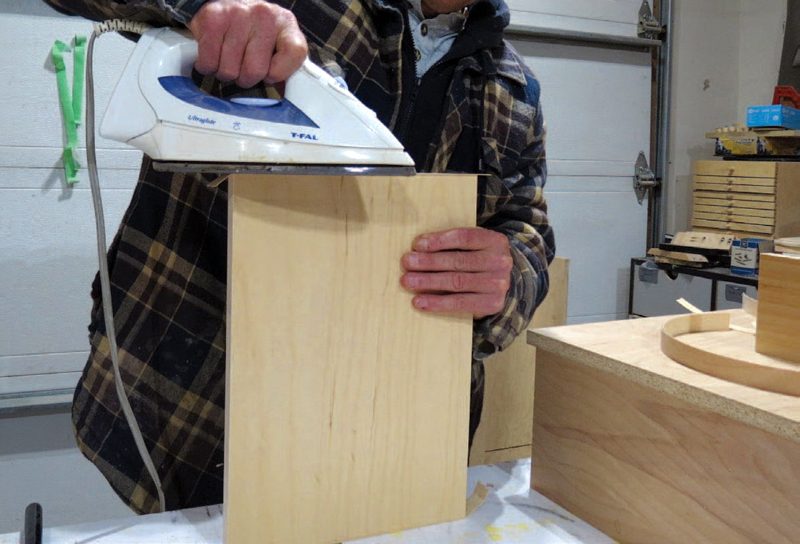
Once all parts are cut, label all the components. This will help in identifying the visible exposed edges that will need to be covered with the veneer. Use a standard household iron to heat the banding and then press it on. I often use a piece of hardwood that has had its ends rounded to apply even pressure. Trim excess veneer off with a sharp edge trimmer or a file with teeth on its edge.
Biscuit joints
Though biscuit joints aren’t bomb-proof, they are a simple way to fasten two parts together and they provide a joint that’s strong enough for this project. The joint consists of a slot made on both sides of the stock. The depth of the mortise is set by the plate jointer. There are three sizes of biscuits used to fix the two boards together: #0, #10 and the largest size, #20. The most common sizes used are #10 and #20. The biscuits are inserted into one of the mortises in each joint and the joint is held together with glue.
If you don’t have a biscuit joiner you can use dowels, though be sure not to drill through any of the finished surfaces. Alternatively, stopped dadoes could work, though they are much more complex to make. Butt joints are often shied away from, but they would be strong enough for some of the joints in this bedside table. Using small brads to secure the joints as you clamp them works fine.
Lay out the sides and marking
Lay out the sides and the bottom braces so the inside of the cabinet is face up. Then, mark a line on both parts to be joined. It’s often easiest to bring the parts together the way they will eventually join when completed and mark both parts at once. Repeat this step for each joint of the cabinet. One biscuit is sufficient for the bottom braces.
A 90° joint where a fixed part meets the sides of a cabinet is where biscuit joints shine. The front-to-back wiggle room that biscuits allow gives you an opportunity to get the edges of the boards and the sides perfectly flush. When assembling this joint don’t add too much glue to the edge of the plywood, as it will cause a lot of squeeze-out that will be hard to clean up. These parts don’t need to be bomb-proof in this situation.
Making the slots
Before cutting the slots, I made a right angle fence out of scrap plywood. I find this fence ensures the process is clear in my mind and the results are consistent. The fence can be clamped down on the work bench to securely hold the workpiece in place while the slot is made. Another approach is to clamp the parts to be joined together so the mating edge is aligned. Making one biscuit slot, then rotating the biscuit joiner 90° to make the mating slot is a good approach.
Once all the parts are marked, set up the jointer with reference to the biscuit size to be used. In this case I used #20 biscuits. Once the machine is set, align the joiner’s centre point with the line on your workpiece. Do the other side of the cabinet the same way, making sure the shelf is oriented the correct way: front to front, bottom to the bottom. Proceed to cut all the slots.
Dry fit and glue-up
Once all of the slots are cut, insert the biscuit and dry fit and align the boards so they are flush at the front and back. It’s at this stage you’ll start to see the benefits of the slight adjustability of the biscuit joints, as they can be flushed on their ends. Sand all the inner faces of the cabinet then assemble the parts.
Drawers
The drawers are made from 1/2″ Baltic birch plywood. Joinery should be considered at this stage, as not everyone is comfortable making drawers the same way. Feel free to use different joints depending on your tooling and comfort level. I used simple rabbet and dado joints, and I’ll describe how I machined them below.
Cut the boards to size and mark where the joints will be cut. Start with the dadoes on the drawer sides. Measure 1/4″ in from the boards’ ends. Set the blade on the table saw to no more than half the thickness of the board, though machining a shallower dado is also fine. Cut 1/4″ dadoes on both ends of all four boards.
If you raised the blade exactly half the thickness of the sides you can keep the height of the table saw blade the same to cut the mating joints. Using a scrap piece of birch, cut the rabbet and test fit the two boards to ensure a snug fit. Make adjustments as necessary. Proceed with the eight rabbets on the two fronts and two backs.
For this project, I added two additional 1/8″ dadoes to accommodate partitions for dividing the drawer into sections. This is a practical solution for organization, and it can be removed and reinstalled when required. Next, cut the dadoes to accept the base of the drawer. Measure 1/2″ inward from the bottom of all the parts and cut a 1/4″ wide dado.
Drawer assembly
Sand all inner faces of the drawers, then assemble the parts with glue and a few brad nails. Do not glue the base. Once the glue has set, sand the exterior and fix the slides to the drawers and the cabinets.
Finishing and mounting
Sand all parts, then prepare for your desired finish. I used a white primer and then sealed it with a tinted white clear coat. The drawers were sealed with a clear coat lacquer only. A few clear coats of finish over a veneered plywood would also work nicely. These bedside tables won’t receive a lot of heavy use, so a finish choice mainly comes down to the colour and feel you’re after.
Prior to fixing the units to the wall, insert the two 1/2″ thick Baltic birch plywood reinforcement pieces on the inside, back of the cabinet. This will serve as a stronger point to fix the cabinets to the wall.
Photos by Robert Zakarian
One Length
One length of material is all that’s needed for the case of a bedside table. Drawer material will be extra.
Heat It Up
A household iron provides enough heat to warm up the adhesive on a piece of iron-on veneer tape so it can be pressed onto the edge of a piece of material. It can be trimmed with a simple trimmer. As long as it has teeth on its edges, a basic file will also work to trim the overhanging iron-on tape.
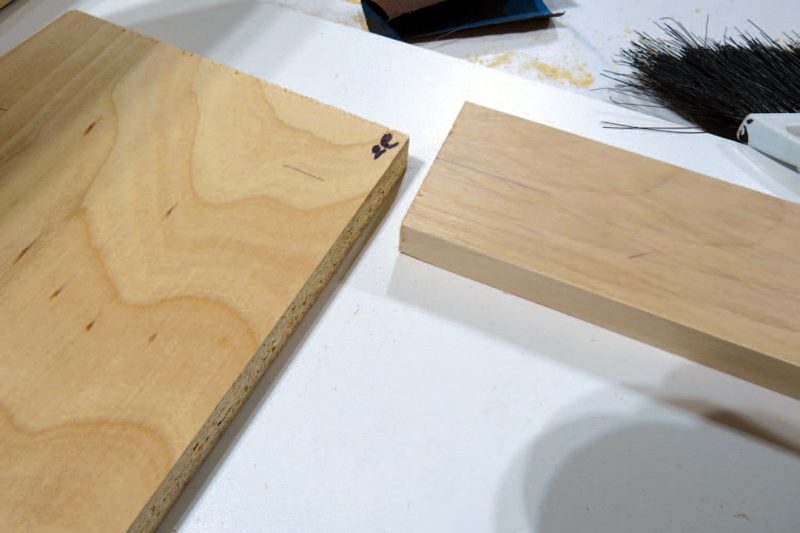
Mark the Joints
Align the joints then make a pencil mark on both halves of the joints, centred on the narrower lower rails.
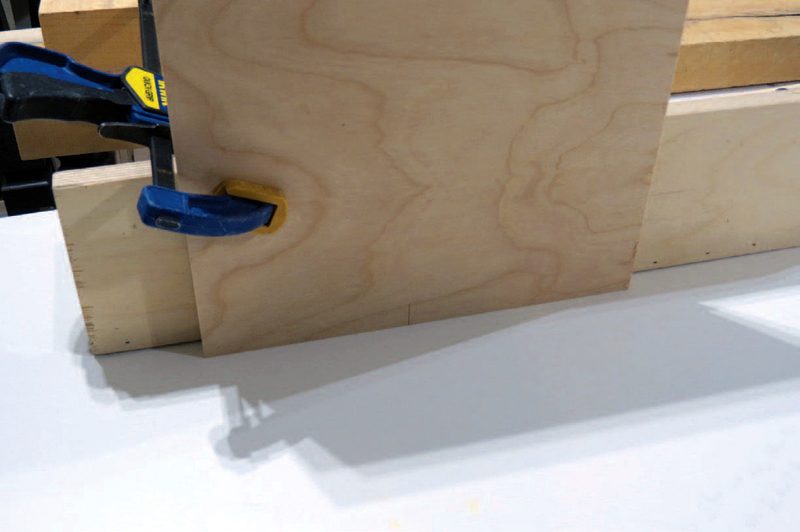
Angled Assistant
One approach to machining biscuit slots includes using a 90° jig to clamp some of the parts. Blocking on the rear corner of this jig would make it even stronger.
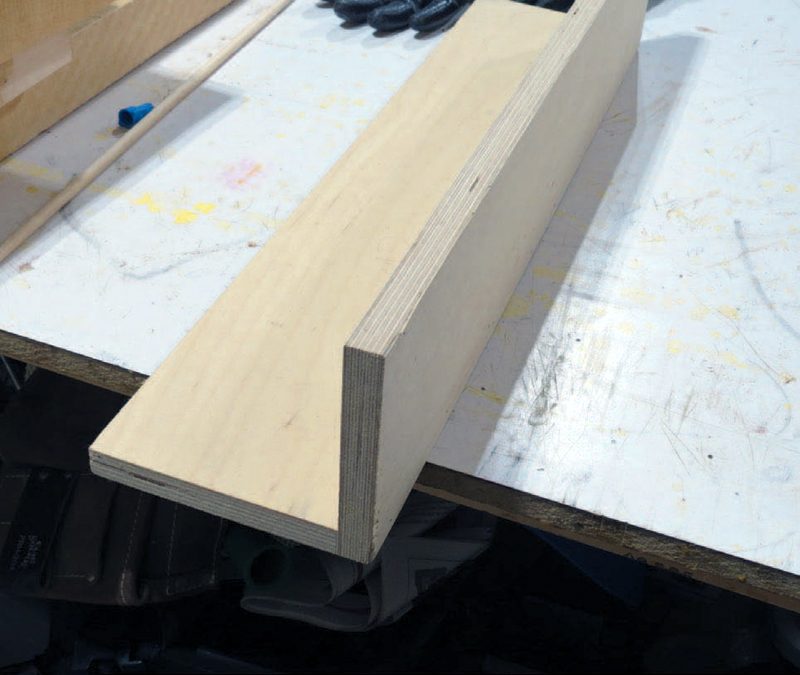
Ready for Cutting
The side gable is now clamped to the jig and the biscuits slots can be cut into it. A biscuit joiner will often allow you to see the line through it, though if you can’t you will just have to extend the line with a square.
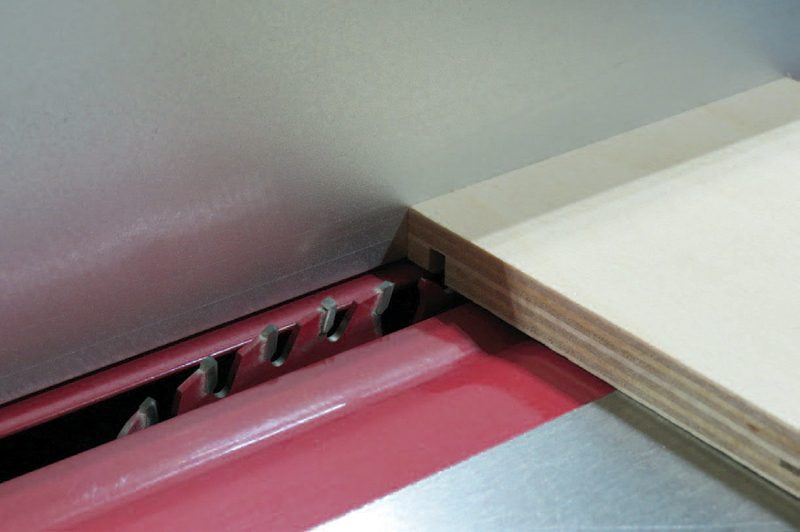
A Small Dado
When it comes to drawer joinery, machine a small dado in the drawer sides first.
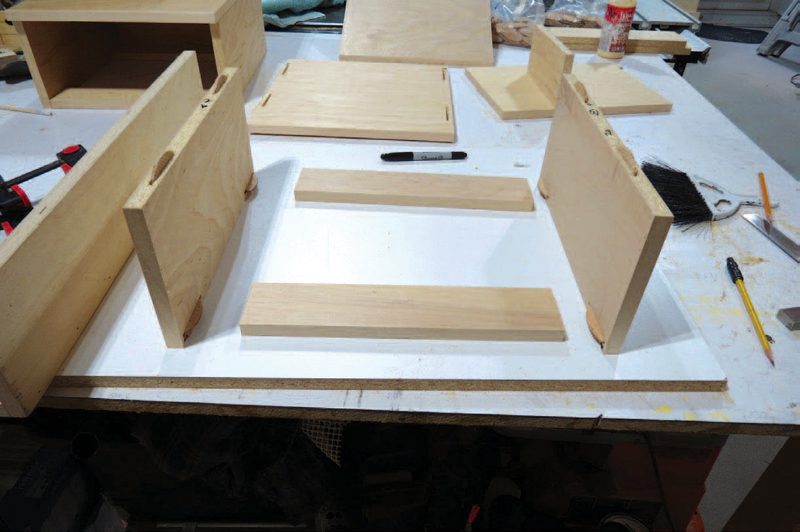
Dry Assembly
Do a dry assembly once the joints are cut. It’s always best to learn of any joinery problems before applying glue.
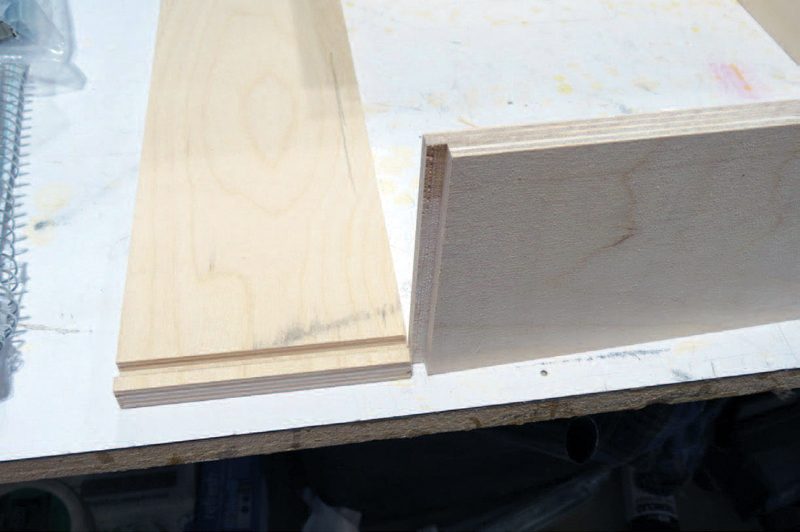
A Rabbet to Fit
Once the dadoes are cut in the sides, machine the rabbets on the ends of the drawer front and back.
Partition Dadoes
If desired, machine dadoes that will accept thin partitions in the drawers.

Installed Partitions
Though they could be removed later if desired, the partitions can be positioned wherever you need them, and will help organize the contents of your drawer.

Hanging Strips
Glue and pin nails will secure the hanging strips to the inside of the cabinet. These hanging strips will disperse the pressure of the screwhead on the back and ensure the cabinet is well secured to the wall.
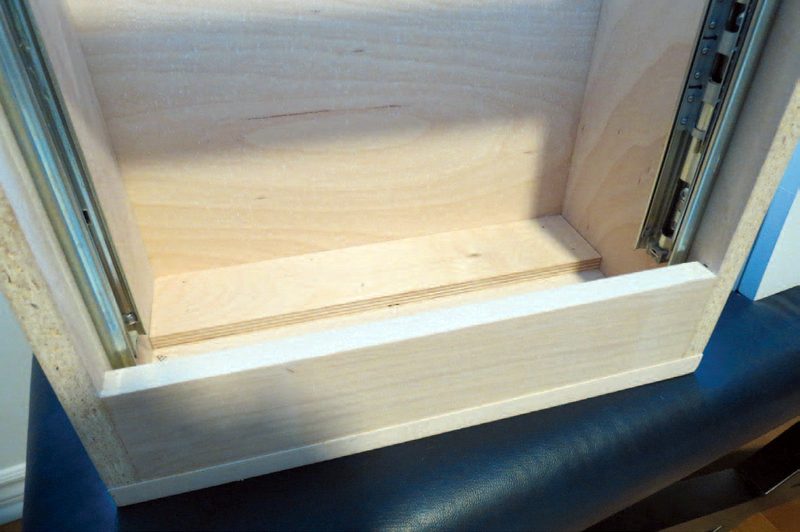
Illustration by Len Churchill


thank you for making this article very useful and keep up the good work
How do you mount it to the wall
Looks like a good plan but I would be concerned about those sharp corners beside a bed.