FROM ROB'S BENCH
White lies haunt a woodworking editor

Rob Brown

Blog for January 2, 2025
Sometimes woodworking magazine editors have to tell small white lies and do their best to predict the future in order to get weekly columns complete before their deadlines.
This is what happened two weeks ago, when I wrote about how much I love (not much) installations. In that column I mentioned that I wrapped up the install, returned home from the client’s house and the clients were happy. I guess my mom was right; even little lies will catch up to you, and this is what happened here.
A few weeks ago, I spent the morning at the jobsite and returned home for a few hours midday to have lunch and quickly write my weekly column. At that point, the install was going smoothly, and I had no reason to think it wasn’t going to be finished by the end of the day.
This installation happened in two phases, even though it wasn’t a large job. My client needed the cabinets installed as soon as possible so the countertop company could come in and measure for the stone top, which would take a couple weeks to produce. Once the drywall was up, and the dimensions where the vanity cabinets were going to be installed were determined, I quickly built the cabinets and installed them. This allowed the countertop folks to come in, measure things up and get that ball rolling. This was the end of phase one.
Next, I built the drawers, drawer fronts, toe kicks, a few floating shelves, and a few other small bits and pieces. With everything done, I waited for the call to let me know the stone top was installed so I could wrap everything else up. The reason I didn’t install everything before the countertop was installed was because the sinks were integral to the countertop and the plumbing under the sinks wasn’t installed yet. Some of the drawers I was going to make had large notches at their backs to fit around the plumbing. There were two drawers under each sink, and I was hoping to not only make the notches as small as possible (to maximize drawer storage area for the client) but also potentially omit the notches from the lower drawers if the plumbing didn’t drop down too far. The client was good with me taking an extra day or two after the countertop was installed to maximize their storage space.
I got the call, measured up the drawers and went back to the shop to build. A day later I had everything ready and headed over to the client’s home. “This shouldn’t take more than a few hours,” I told the client, as I packed everything in the car. I’d write my weekly column at lunch, once everything was installed. This is often how I work; changing my “hats” between furniture maker and magazine editor as I go through my day.
“A few hours”
By lunch I was about half done. Things were going more slowly than anticipated, but that’s normal. At least things were going smoothly. Home for lunch, write a column about not enjoying installs and sprinkle in a few white lies about being finished with the installation, then head back to the client’s home to actually wrap things up.
Queue the problems - #1
Although the morning went well, the afternoon started out poorly right away. To be honest, it was all such a blur that it’s hard to recall in what order things happened. Before lunch I installed all the drawers and fronts on the far right side of the vanity, along with the middle drawer front. The upper front below both of the sinks is false, and just gets attached to either side of the cabinets. With the cabinets fairly wide (42″) there’s a lot of room for movement / warping along that length and that’s exactly what happened. The plywood false front (plywood is notorious for warping) bowed inward by at least 1/2″ in the centre. But since there was no structure in the centre of the cabinet, except for the short stringer across the upper section of the cabinet, there was nothing to brace the lower portion of the false front against, near where it sat directly above the working drawer front. I tried to push a shim in between the false front and the top stretcher of the cabinet, but since the integral sinks needed some extra room during the countertop installation, the stringer got reduced in width to about 1″ and now offered no strength at all to press the warped false front outward so it was in-line with the drawer front below it.
I thought of adding some sort of long rail across the rear face of the false front, but instead decided to bring the false front back to the shop and add a series of 3/8″ deep kerfs in the rear face of the false front. That would have to wait until later, as I still had more work to do before heading back to the shop.
Problem #2
Because I couldn’t take the drawer front installation any further, I decided to install the floating shelves that would store towels. They were to be installed between two walls. At the shop I ran a groove in either side of the 1-1/2″ thick shelves and made a hard maple cleat that could be attached to the wall. The shelves would simply slide over the cleat and sit in place.
The first thing I did was check for studs. I quickly found them, though my stud finder was telling me there was also electricity on / near them. Although this didn’t make much sense, as there weren’t any switches or outlets nearby, but the last thing I needed was to sink a few screws into a wire, causing much larger problems. I called the contractor who renovated the bathroom, and he said he didn’t know why any electrical wires would be in that area. As this was the only area where he installed only drywall (and didn’t actually add or deal with any electrical wiring), he didn’t have photos of the walls before he installed the drywall. We both agreed that I should proceed with caution. This back-and-forth, along with looping the client in to see if they had any knowledge of wiring in that area, took about 45 minutes. There was also an ample amount of head scratching happening on my part, as well. The final decision was to sink screws into the studs away from the wiring, and use drywall anchors far enough away from the wiring to further support the cleats that would hold up the floating shelves.
Cleats installed, I started to size the shelves to fit snugly between the two side walls, which wasn’t easy. Sadly, the front edge of the opening was the narrowest portion of the area, which meant there would be a gap along most of the shelf edges. It wasn’t huge, though, nor was there much I could do about it, so life went on.
As it turned out, the width at the rear of the opening was the narrowest of all, which meant I needed to get out my track saw and power cord, and cut about 1/8″ off both sides of two shelves at their rear areas. While doing this I had to be careful not to mark the nicely finished faces of the shelves. Once that was done, and I brought the shelves back to the bathroom, I slide them into place, only to have them stop about 5″ away from the back wall. More head scratching and lots of measuring revealed the cleats were now deeper than the groove in the sides of these shelves. Since I cut the shelves down slightly in width, the groove was essentially shallower and wouldn’t accept the cleats. I contemplated applying some pressure to see if I could press the shelves into place, but the thought or cracking drywall seams and doing further damage was enough to rule out that approach. I removed the cleats and slowly used my block plane to shave their rear faces down so they would fit into the grooves in the sides of the shelves. Installing the shelves took at least two hours, while I was only banking on about 10 minutes. Such is life during an installation.
Done for the day
It was now fairly late in the day and the end was not near. I decided to wrap up for the day and head to the shop to add those kerfs in the false front. If that helped straighten the front, great. Otherwise I’d have to consider another option. Back at the shop, about 15 kerfs added to the rear of the false front straightened it up nicely. I headed home for the day.
At that point I badly needed a break from a frustrating day. I’ll pick back up next week with the challenges I faced on the following day. I won’t spoil everything, but the next day included an angry glass shower surround installer and an errant hole during the very last step of the install. There’s nothing worse than messing up the very last step on an install.
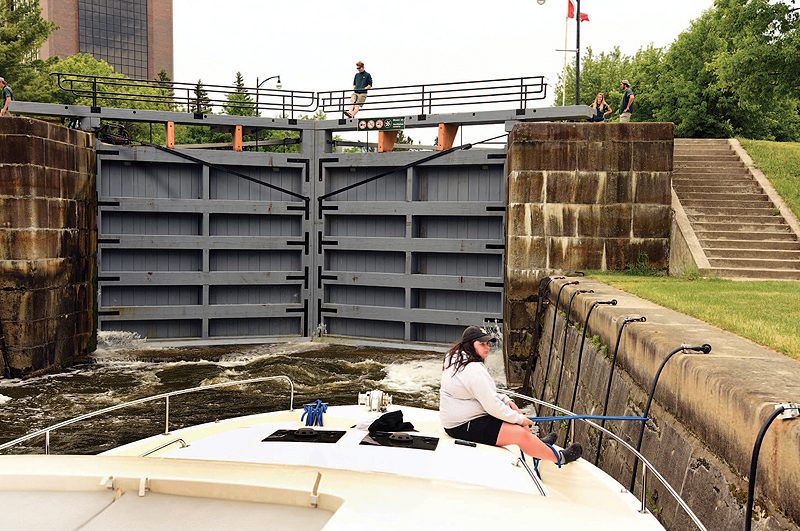
Part Way Done
This was the scene part way through the day. Drawers were installed and some of the drawer fronts have been fit. You can see where the false front will go, on the left side of the vanity. It gave me a whole bunch of trouble. Also, you can see the nook where the floating shelves will go in the left of this photo.


I had a built-in dresser project last year that I topped with two two-foot square tiles left over from the previous year’s bathroom renovation. I knew there was no way I could scribe fit the tiles between the walls at the dresser ends, so I cut them slightly oversize and sank the cut edges into grooves in the drywall. A narrow bead of caulk fills the small gap in the drywall and leaves a nice tight finish. Actually, a few years earlier I had seen the kitchen stone countertop fitted into the wall in similar fashion where it was straighter than the wall.
Sounds like the way some of my amayeur do-it-yourselfer projects have gone. You make me feel better.
Hi Rob,
As my first journeyman used to tell me during long complex jobs, “it’s a process, not an event.”
Thanks for sharing this story.
Howard Rosenberg