FROM ROB'S BENCH
Juggling sheet goods

Rob Brown

Blog for June 27, 2024
As I mentioned last week, I’m building a storage unit for our secondary entrance way.
As I mentioned last week, I’m building a storage unit for our secondary entrance way. I opted for 5/8″ thick classic maple melamine, as it’s a bit lighter to handle and a little less expensive than thicker melamine sheets. This unit won’t be storing massive amounts of stuff, nor will it be sat upon, so high strength wasn’t high on my list.
I usually have the lumberyard rip or crosscut most of the sheets I buy, mainly so I won’t break my back handling them. Getting them out of my trailer isn’t too difficult, and my table saw and track saw are just inside my double shop doors, but maneuvering half sheets is always easier than lugging full sheets, especially if the wind picks up or rain or snow are pelting down on me.
A secondary reason to have any sheets trimmed to rough size is so I can fit them in my small SUV. I could always bring my trailer, but it’s usually just easier if I don’t have to.
Plan ahead
The downside of having the lumberyard make the first cut or two on each of my sheets is I have to plan where those cuts need to be before I head out, not to mention keep track of all the cut parts so when I return to the shop I know what parts are what.
Working in a small shop
This particular sheet good isn’t available at my regular retailer, so I had to adjust my plans. The local retailer of this product doesn’t offer a saw service, so I trailered the sheets to the shop and cut them up there. My shop is mainly set up to build furniture, though I do projects as large as kitchens and full-size wall units from time to time. Cutting 4′ x 8′ sheets isn’t easy for me. There’s a dividing wall that gets in the way of some table saw operations and the distance from the blade to the rear wall of my shop is about 7′ 8″. Frustrating, but shifting the saw is always an option.
A mixture of solutions
Instead of using a sliding table saw, like many other small- to medium-sized shops, I use a mix of track saw, circular saw with a guide, and table saw to break the sheets down and cut them to finished size.
If I need a rip first, I often head to my table saw for the initial cut. If I need a crosscut first, I usually start with the track saw, as it’s accurate, leaves a clean cut and can easily cut 4′. From there, if there’s a bit of extra length in the long piece of material (that allows me to not be super accurate with the crosscuts) I use my circular saw to further trim the 8′ long piece down to a more manageable length.
At this stage it’s mainly the table saw, with my rip fence and crosscut sled, that allow me to bring all the parts down to finished size. It’s sometimes an exercise in logistics, making sure I have all the parts broken out so like parts can be ripped at the same time ensuring they’re all identical in width, or one crosscut setup can be used for all parts of that length.
Current issue of Canadian Woodworking & Home Improvement
Our current issue includes an article (“Sheet Good Essentials“)about most of the different types of sheet goods on the market. It covers each of their pros and cons and even talks about how to deal with adding different edge coverings to them, how to get clean cuts in different types of materials and many other little tidbits of info to help you get the most out of sheet goods.
Clean edges are tricky when it comes to cutting melamine. I shared a few pointers in the article. One of the things that’s rarely talked about, in relation to chipping, is blade height when cutting melamine or other materials. A high blade will create a clean upper face, though will very likely blow out the underside of a material like melamine. When the blade just barely peeks out above the melamine’s upper surface during a cut, the lower surface will be greatly improved, due to the less steep exit angle of the blade during the cut, but the upper surface may show signs of chipping.
I was in the lucky position of not needing a perfectly cut edge on the underside of the parts I was cutting the other day. This was because it was a job for me, so I could be a bit less picky. It was also because I could often (though not always) place the worst faces inward so they wouldn’t be seen. To be clear, I didn’t actually want a rough edge on the underside of all these workpieces, but the edge didn’t need to be perfect.
One approach I used when cutting up all of the material was to play with the height of the blade to give me a clean upper surface and a fairly good lower surface. With the blade protruding about 1/4” above the workpiece was where the magic happened. This isn’t always the sweet spot, so play around with it sometime and see how the material you’re machining reacts to that approach.
Don’t Break Your Back
Positioning my trailer carefully helped me bring the sheet goods into my shop and break them down.
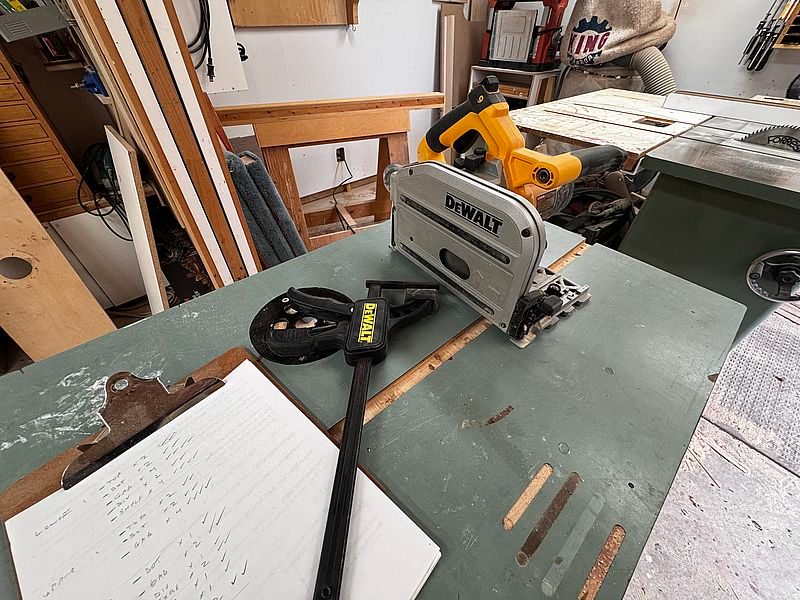
Track Saw
A track saw is pretty accurate and easy to use to break down full sheets.
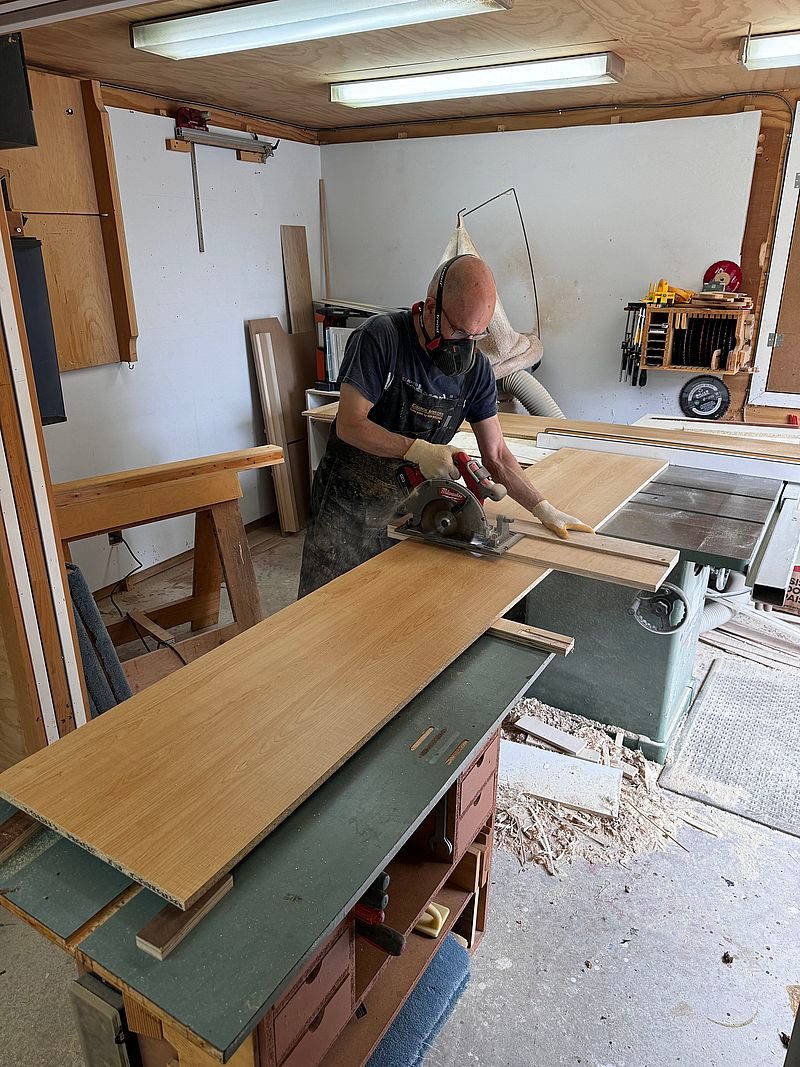
Circular Saw
A circular saw and simple jig make quick work of crosscuts up to 24" wide, though it leaves a rougher edge than my track saw. This is the approach I use for rough crosscuts. Just ensure the two halves of the workpiece are supported level with each other when making these cuts.
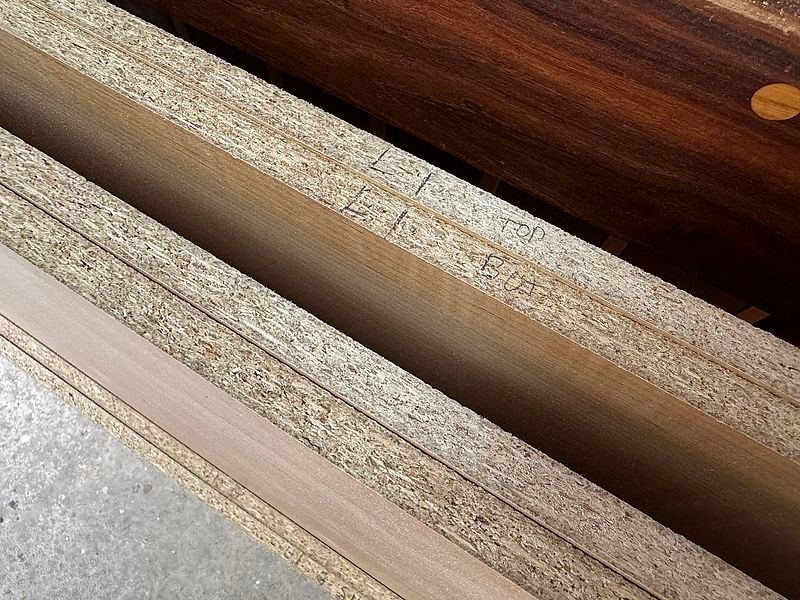
Keeping Track
Short notes on the edges of the parts allow me to keep track of everything during the breakout process.
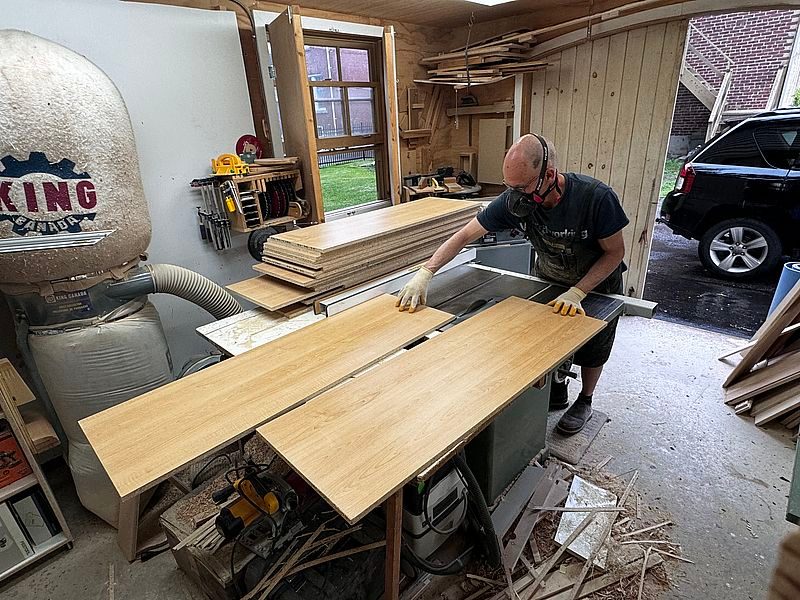
Almost There
My table saw gives me accurate, repeatable, clean cuts. It’s also easier to machine smaller parts on it, which is why I break them down beforehand.
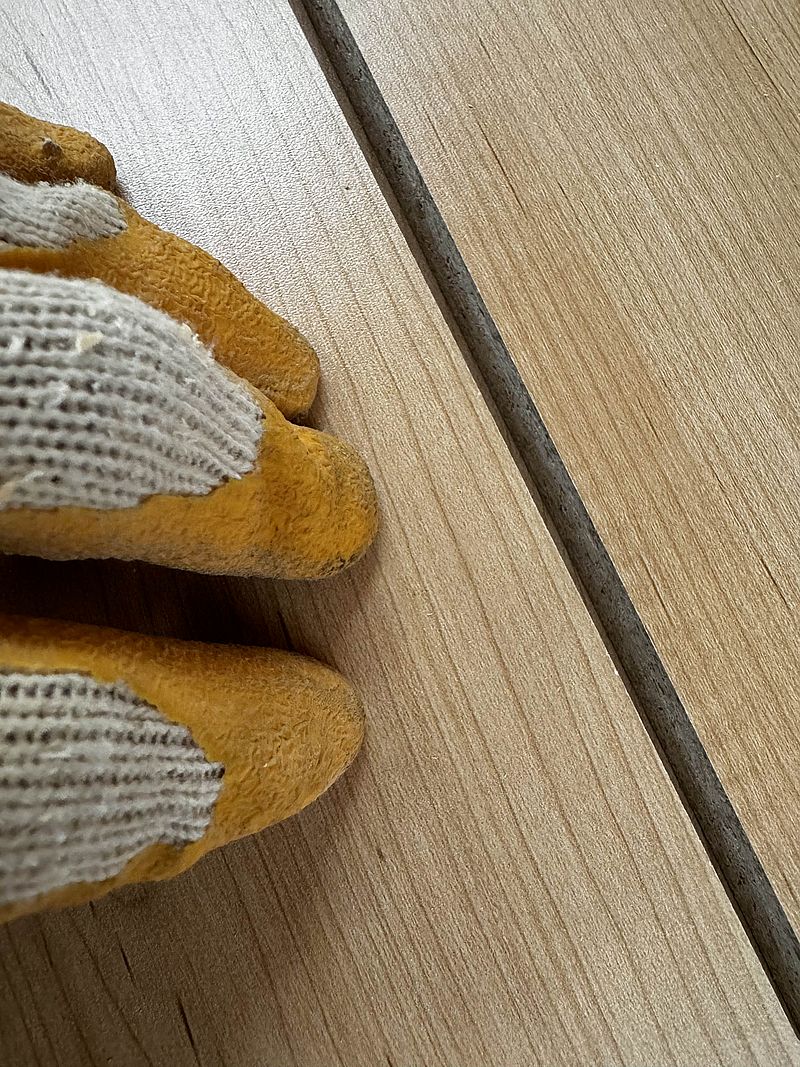
Upper and Lower Faces
After playing around with blade height, I was able to get nearly perfect edges on both the upper and lower faces of the material. A sharp blade is also critical. The upper edge during the cut is in the upper right, while the lower edge of another piece is in the lower left of this photo.


Great article. I already follow many of your great ideas due to back limitations. In my case I sometimes work backwards and choose case goods by ones I can get roughly cut to size at the yard or big box. Keep up the great work
Good info thank’s Rob