FROM ROB'S BENCH
A foot to stand on

Rob Brown

Blog for June 1, 2023
It’s one of the final pieces of the puzzle as you build a piece of furniture, a jewelry box or other piece of woodwork: adding some sort of foot to the piece.
The function of an installed foot might be to allow you to level something like a table, cabinet or bookcase. A foot can provide a cushioning effect for a smaller box or stand, or it can simply add a finished look to the piece. Whatever the function, a foot is a nice addition to a project and an important part of the process.
A small option
For smaller pieces I usually take a very simple approach by drilling a 5mm diameter hole and using a press-in soft bumper. I purchase them from Lee Valley (product #00S2104). They’re very cost effective and provide some cushioning to the piece when it’s placed down. These bumpers also stop the piece from sliding around on a surface and scratching it or maybe even falling off the surface.
If the piece is really small, I’ll often add an adhesive-backed bumper (either rubber or felt) to its underside. These are the sorts of things that you’ll find on the backs of kitchen cabinet doors to reduce the whack of wood-on-wood when a door gets shut.
A larger option
For larger pieces I often add a series of holes on the end of the leg or base and install a T-nut followed by an adjustable plastic glide. Both these products can be found at most hardware stores. Because they both have 1/4-20 threads they can be used with a lot of other hardware to modify how they work and exactly what they do.
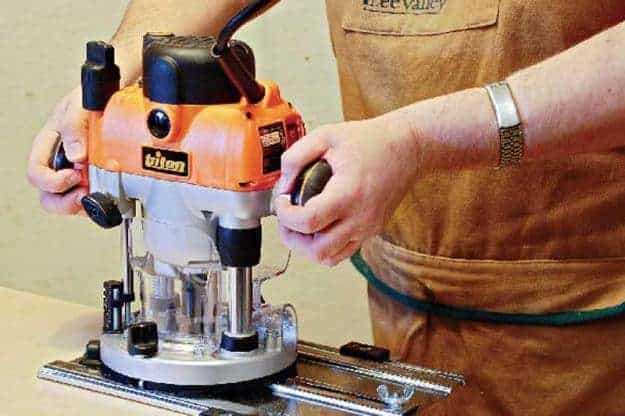
I start by drilling a 7/8″ diameter hole, about 1/2″ deep. This hole allows the head of the glide to sit completely inside the leg or base if needed, though it’s usually proud of the bottom of the leg or base so the glide comes into contact with the floor. After the first hole is drilled in each location, I add a 5/16″ diameter hole that’s about 1″ deep. This hole provides space for the threaded centre of the T-nut and allows for the threaded portion of the glide to extend up into the leg or base.
Once the holes are bored, I hammer the T-nut into place and thread in the glide. All done. Once the piece is in its final location, I can adjust the glides so the piece sits flat on the ground and doesn’t rock.
If the piece of furniture is very large, like a dining table, I use the same double-stage approach to drilling a hole, though adjust the diameter of the holes to accept a larger T-nut and glide. I usually purchase these at Lee Valley (product #00H5001).
Kitchen cabinets and some bathroom vanities get the standard cabinet levelling support, which supports all corners of each cabinet, allows you to adjust the height of the cabinet during installation and also gives you something to secure the toe kicks to. Levelling supports are available in many hardware stores and building-supply retailers. They’re downright ugly on a piece of furniture but work great when hidden by a toe kick.
The above list is by no means a comprehensive guide to everything available on the market. There are many pieces of hardware that can be used to support, level and accentuate a piece of furniture or woodwork. Reading a catalogue or searching through a website is a great way to find out what’s available. And as always, make sure you know what approach you’re going to take, and purchase those pieces of hardware well before you start breaking out lumber. This approach might save you a lot of trouble late in the woodworking game.
Small, but Mighty
These 5mm diameter press-in soft bumpers are often used to stop kitchen cupboard doors from slamming, though they also make great feet for a small project like a jewelry box or tablet stand. Just drill a 5mm diameter hole and press them in. They’re also available in 10mm diameter versions.
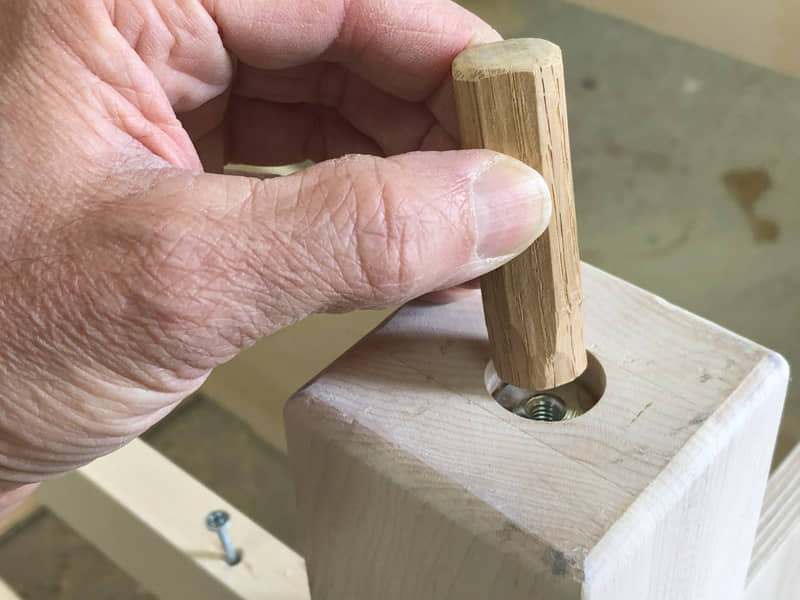
Hammer in T-Nuts
Once I drill the foot clearance hole and the T-nut / thread clearance hole, I tap the T-nut in with the help of a piece of solid wood.
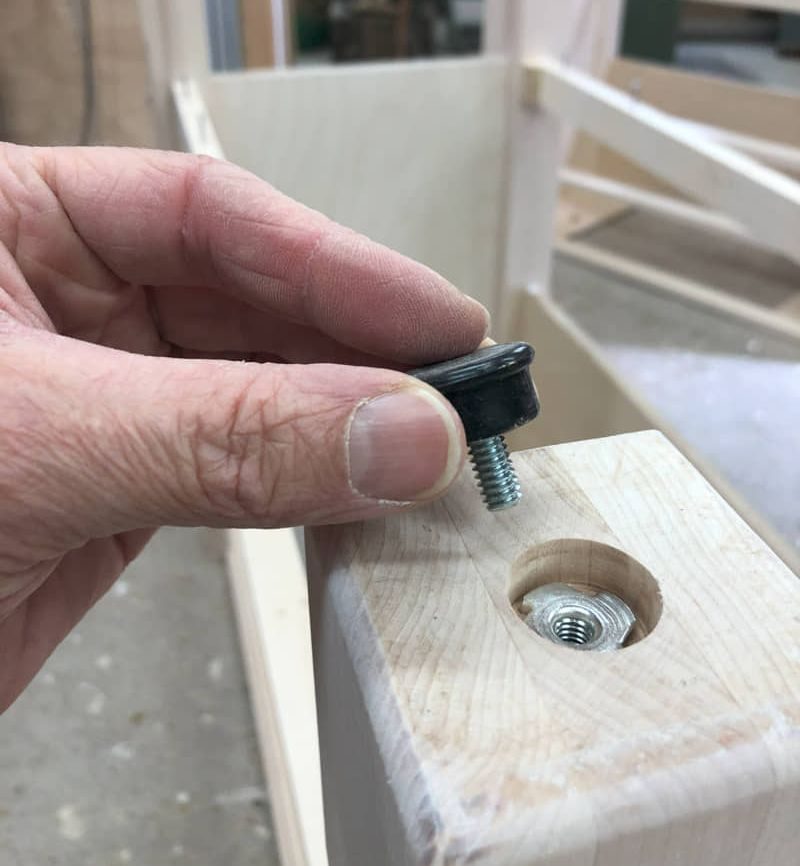
Adjustable Feet
After the T-nut is installed, simply thread in the glide. This vanity now has adjustable feet to level the cabinet and keep any water from wicking up into the legs if something goes wrong.
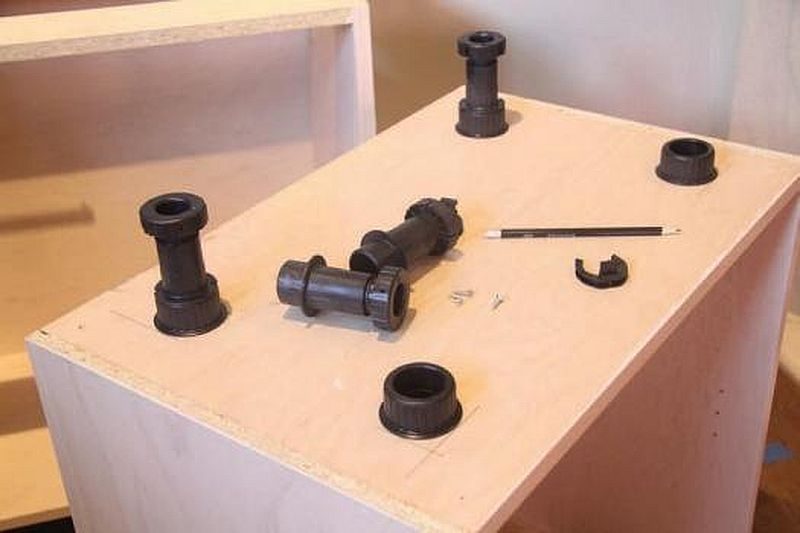
So Ugly, Only a Kitchen Installer Would Love Them
Once these adjustable legs are hidden behind a toe kick they look great. They also work wonders when it comes to attaching the toe kick


Glad you liked my T-nut approach, Paul. Those things are good for so many things!
Thank you! It has never and would never have crossed my mind to sink the t-nuts.