TIPS & HOW TO
Flattening a Bench Top

Ted Brown

A surface that’s out of flat will do nothing but hinder your skills while working with hand tools. Once in a while, every woodworker should take the steps to flatten their work surface.
Your workbench is the heart of your shop. It is an indispensable tool that, if kept in tune, becomes a welcome partner in your woodworking experience. To me, making your own bench is part of becoming a fine furniture maker. To get the best out of your bench, it is essential that the working surface be flat. This article shows a practical way to keep your bench top flat, using both hand tools and power tools.
I used to get over-excited about bench flatness, but having run a shop for five years with 14 cabinetmakers’ benches, I soon became familiar with the essential process to keep the benches both flat and looking great. Over time, I capitulated to using the belt sander, as I found that many of the techniques can be transferred to the power tool and, in the right hands, it shaves time off the process without diminishing the results.
A Dead Flat Tail
The bench should be flat so that your work piece is held on a true reference surface. It is absolutely essential that the bench be dead flat around the area of the tail vice. I say this to spare those with benches that have become cupped and twisted with time. You have to ask yourself: if the bench is 1/16″ high or low across from the front vice, does it matter? In my opinion, no it does not, for most of your woodworking. However, it is very important that the area adjacent to the tail vice, and for about 36″ in front of it, be kept flat for hand-planing.
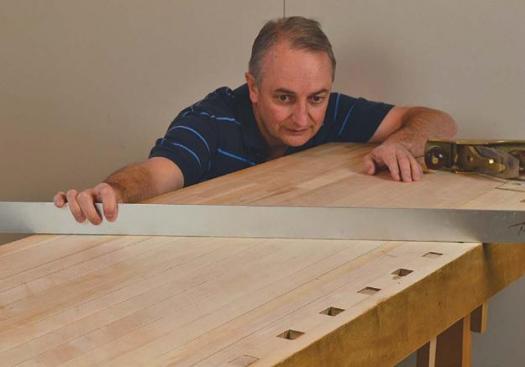
To begin the process of flattening, first evaluate the flatness of your bench using a four-foot aluminum rule or similar straight edge. Use a strong oblique light and draw a circle directly on the bench top areas where the light passes under the straight edge, and hash marks where the straight edge pivots on a high point.
The Longer the Better
Initial flattening is done with the longest plane you have. A number 7 jointer plane will give you a long sole reference, and thus remove the high points while avoiding the low points. However, a reasonable job can be done with a plane as small as a number 4 smoothing plane. Begin by planing the bench on the diagonal, somewhere between 30° to 45° to the side of the bench. Make successive passes over the full length of the bench, overlapping plane strokes. Now do the same process from the opposite side of the bench, making diagonal cuts across the bench, at about 90° to the first set of cuts.
Keep checking with the straight edge to observe your progress. Re-mark the bench top to show high and low spots. Once the bench is relatively flat, it is time to begin planing parallel to the bench sides, down the length of the bench. The planks in the bench top will inevitably have some reversing grain, so you will have to deal with tear-out. If you are getting excessive tearout in specific areas, mark the area with directional arrows and plane them from the opposite direction to clean up the surface.
Another way to deal with tear-out is to employ a scraping plane. I prefer the scraping plane to a cabinet scraper because it cuts cleaner and it has a flat sole to keep it from diving into depressions. The scraping plane will clean up areas that resist your efforts with the hand plane. Just use the scraping plane in the problem areas; do not do the entire surface.
Reach for a Belt Sander
Once you are satisfied that the bench top is flat, you can save yourself some time by using a belt sander. (I heard that!) You can actually repeat the entire process with the belt sander if you feel you need to. The key is never to dwell with the tool, but to keep it moving.
If you need to do some fine flattening, begin by making passes on the diagonal, just as we did with the plane, but implement an oval motion, keeping the sander in motion all the time. Go to the other side of the bench, and make diagonal passes at 90° to the first pattern. Finally, make full-length passes with the length of the bench, overlapping as you travel the full length, back and forth. If the surface was flat after planing but suffered some minor tear-out, then go directly to belt sanding with the length of the bench. Avoid dwelling on the reversal of direction at the ends of travel. Use 100-grit sand paper to do the belt sanding.
Final sanding is done by hand, with a softwood block and 150 grit paper, followed by 220 grit paper. Remember, it is a bench, not the furniture you are supposed to be making, so 220 grit paper is the finest you will need.
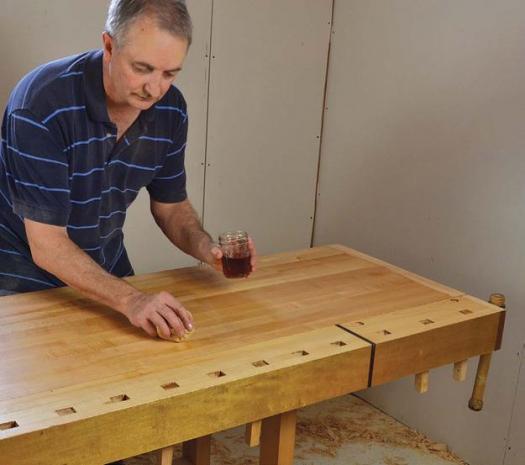
Apply a Finish
Finish the flattened top with a mixture of oil and varnish. Mix even portions of semi-gloss urethane, double boiled linseed oil, and Tung oil. This mixture will give a deep, durable finish that you can re-finish every couple of years. The oil penetrates into the wood, while the urethane makes a somewhat liquid- proof coating. I put two coats on a bench. Apply the first coat liberally and let it sink in, wiping the excess finish off with the length of the bench. Allow at least 24 hours or until the surface is completely dry to the touch. Scuff the surface with 220 grit sand paper, and then apply a second coat. Two coats will seal the surface, without turning it into a slippery surface.
There you have it: a quick and easy way to flatten and refinish your bench. If you wish to challenge your hand skills, by all means hand plane and scrape the entire surface. If you wish to expedite the process, you may use the belt sander, but keep the process the same as with the hand tools to achieve the desired result.
Check for Flatness
With a long straight edge, find the low spots. A light behind the straight edge will make life easier.
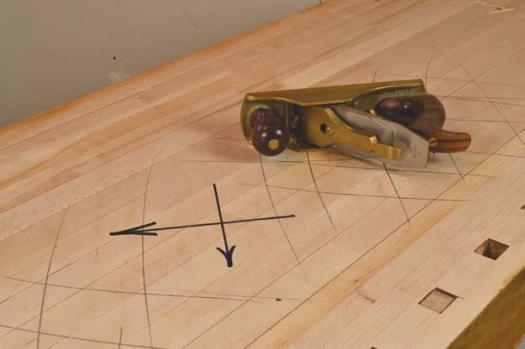
Mark the Surface
After having a good look at your bench, use hash marks to indicate all high spots. The arrows on the bench indicate the direction plane passes should be made while removing the high spots.
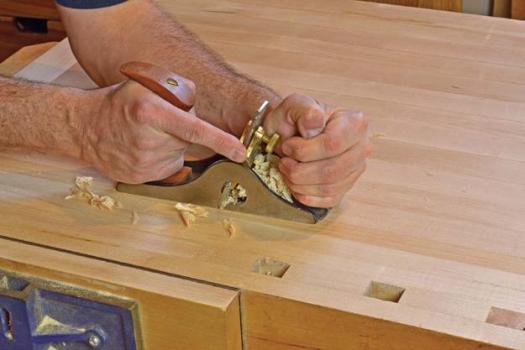
Consider a Scraping Plane
To reduce tear-out on tough areas, a scraping plane is a good option.
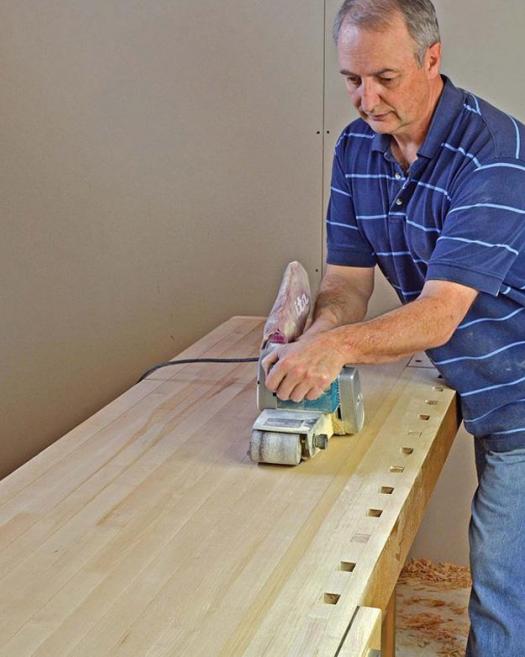
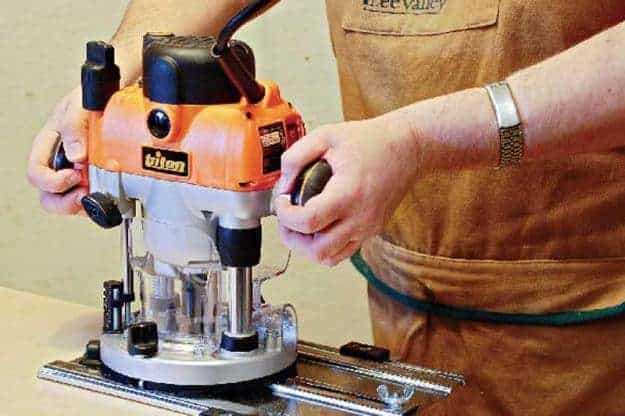
Add Some Power
A belt sander may be scoffed at by some purists, but if used properly makes fast work of smoothing a bench top’s surface.
Final Touch
A mixture of Tung oil, double-boiled linseed oil and urethane is the perfect finish for a bench top. It can also be reapplied when needed.


Glad you enjoyed the article. I now teach guitar making at http://www.blackwoodguitar.ca, cheers, Ted
This is a timely article for me because I’m just starting to build my first workbench. I have a whole lot of material removal ahead of me before I get to the fine flattening stage, but these tips will help.
I agreed with your advice up to the belt sander suggestion. I’ve alway found them to have a mind of their own. Since my bench is 36”wide , controlling it can be difficult. I have a hard enough time reaching across with a #7.
I’m going to try your finish though.
Thanks, Doug
Hi Ted,
Great article. I’ll have to flatten my own bench soon so your tips are quite useful.
Thanks.