TIPS & HOW TO
Finger joint

Michel Theriault

The finger joint is a router joint that not only adds strength to glued-up boards, it can extend your scraps by joining them together end to end for use in a hidden area.
This is the method used to make inexpensive pine moulding that is meant to be painted.
You can see the finger joints along the length of the moulding where smaller pieces were joined. The finger joint excels at this type of joint.
What You Need
This type of joint is typically made with a table mounted router bit. You can use an adjustable bit like the one used here, or a fixed bit.
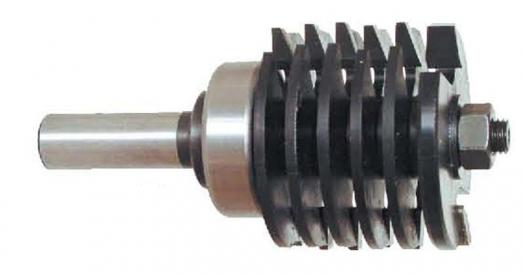
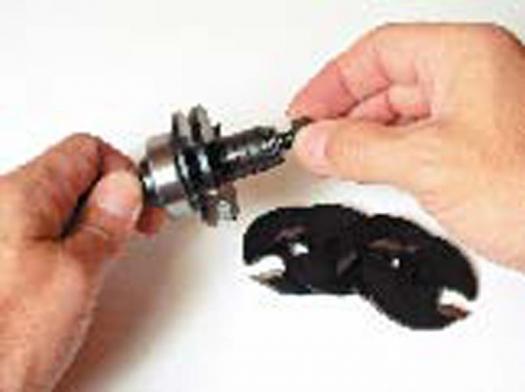
The advantage of the adjustable bit as the wide range of stock thicknesses you can use it with. There are 5 finger cutters and a wide end cutter. For 3/4″ thick stock, you only need one of the fingers and the wider end cutter.
Keep in mind that because of the way the joint interlocks, you will lose about 3/8″ or so width or length for each joint, depending on the bit.
How to Make the Joint
Mount your finger joint bit on a router table with the fence in line with the bearing. This gives you the best support for your stock and improves safety, particularly when routing end pieces.
Set up the bit by eye and take a test cut on two scrap boards. Flip one board over and assemble the joint. If the surfaces don’t line up, raise or lower the bit and take another test cut. Continue to adjust until you have a flush joint. Put aside your final test pieces to use as a set-up-piece the next time you use the bit.
For joining boards edge-to-edge, simply run the boards through the bit, flipping every second board over to make the matching cut.
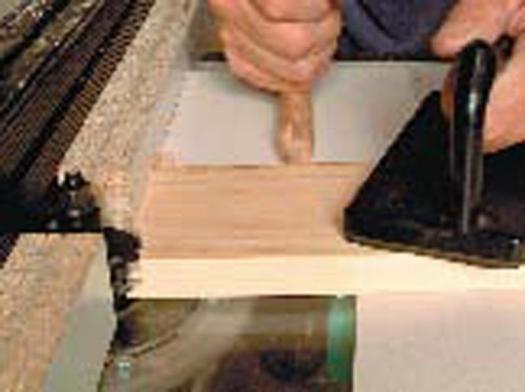
Be sure to use a push stick and keep the board tight against the table and fence. For joining boards end-to-end, use a square push stick to keep the pieces stable as you feed them through the router bit.
As with edge joined pieces, flip every second board over to make the matching cut.
Finger joint bit
Adjusting the bit for 3/4” stock
Routing edge grain
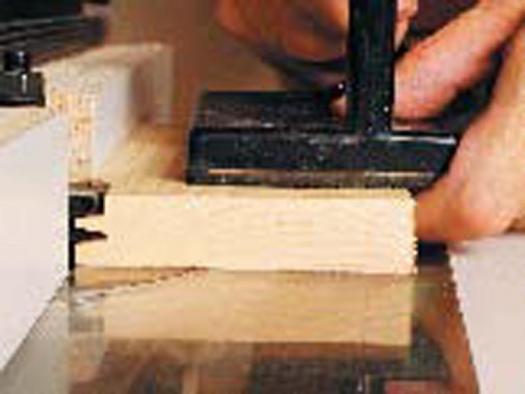
Routing end grain