PROJECT
Make a table saw cut-off sled

Rob Brown

Find more Jigs projects
This easy-to-make jig will help you cut non-standard angles on all sorts of workpieces.
A standard table saw crosscut sled is great for cutting workpieces square and to length. A shop-made mitre jig is great for making 45° cuts. In theory, a mitre gauge that comes with a table saw will take care of all the other cuts, but shop life isn’t always that simple.
A mitre jig has its limitations. It’s difficult to fix a workpiece to a mitre gauge in a way that minimizes the chance of kickback. It’s also hard to cut large workpieces with a mitre gauge, even if you attach a longer fence to it. It’s also often hard to make repeated cuts of the exact same length on a mitre gauge. Another challenge is that, even though the mitre gauge is marked with degrees between 0° and 90°, you often don’t know what angle you want to cut, so trial and error has to take place in order to sneak up on the correct angle. These are the times when another jig comes in very handy. Luckily, it’s very easy to make.
Make a table saw cut-off sled
A simple approach
I find one very simple jig helps me out with many of the cuts that aren’t ripping, crosscutting or making 45° mitres. To be honest, I’m not sure what to call it. It’s similar to a 90° crosscut sled, but it doesn’t have a fence to butt a workpiece up against.
There are really only two parts required to make this jig, though you’ll need a few stop blocks or hold downs, and potentially a few blocks of wood to strengthen the cut areas of the jig.
Before we get started, I have a confession. If you have a large crosscut sled you could even do these same operations directly on your sled. You could clamp stops to the sled’s surface and make these cuts there. There are two main downsides to this, though neither are awful. First, a larger crosscut sled can be heavier and awkward to deal with, so making a smaller, lighter sled might prove advantageous. Second, if you use your crosscut sled for these sorts of cuts often, you’ll start to chew up the surface of your crosscut sled fairly quickly due to all the stops you screw into it.
The basics: a top and a runner
Start by machining a piece of 3/4″ plywood to about 30″ × 24″. The exact size isn’t critical. You may notice I built my jig with 1/2″ thick plywood, though that makes it harder to attach stops and hold-down devices. My next one will be 3/4″ thick.
Next, mill up a piece of solid hardwood to act as a runner. It should be quarter cut so expansion and contraction are reduced as the seasons change. A good-fitting runner is important. Too tight and sliding the jig won’t be easy or smooth; too loose and there will be extra movement when using the jig and you’ll lose accuracy.
Glue and screw the runner to the underside of the base. Do this so the base overhangs the blade by about 1/4″ or so when the runner is in the mitre gauge slot to the left of the blade. There’s nothing wrong with using particleboard or even MDF for the base of this jig. In fact, they’re both less prone to warping, even if they aren’t going to be as durable over time. Longevity isn’t critical with this simple jig, as you can easily make a new one when needed.
Drill pilot holes into the hardwood runner, as screws will otherwise split this small piece of wood. Although I’ve driven screws down through the base into the runners, there’s nothing wrong with laying out the location of the runner, then driving screws up through the runner into the base. Screwing up through the runner into the base will work even better if you use 3/4″ thick sheet goods, as this will give you a bit more thickness to work with. A bit of glue will ensure the runner stays put for a long time.
A simple handle attached to the used-end of the jig will go a long way in allowing you to make controlled cuts with this jig and return the jig to its starting position after a cut is made.
Your first cut
Once the glue is dry you can make the trim cut to flush the base with the blade. This gives you the main cutting line you can use to align future workpieces.
From now on, once you have a cut line marked on the workpiece you can align it over the cut edge of the jig, fix it in place and make the cut. To position the workpiece for repeated cuts you can add simple stop blocks with screws directly to the base of the sled. Additional screws on the sides or ends of the stop blocks will allow you to position the workpiece accurately. Adjusting the piece is as simple as using a screwdriver to drive the screw in or out. One important tip is to make sure to add a stop fairly close to the edge of the workpiece that’s being cut. This will offer support close to where the force is being generated and ensure the workpiece doesn’t move while being cut.
To hold the workpiece in place during a cut you have the option of adding some hold-down devices, though this is usually only necessary when working with smaller pieces. I generally just hold the workpiece in place with my hands, similar to a standard crosscut sled or mitre gauge.
Secondary cuts
As you can tell, when making a cut with a workpiece overhanging this edge the workpiece will only be supported on one side and the waste will fall to the table once the cut is made. There are times when it’s helpful to have the workpiece supported on both sides of the cut. For these operations, I move the sled to the mitre gauge groove that’s to the right of the blade and make a second cut. This cut isn’t supposed to remove a section of the jig that ends up beyond the blade, as that would eliminate the support on the far side.
Before you make this cut be sure to attach a block of solid wood to the front (and potentially the back of the jig) to keep the far section of the base attached to the rest of the jig. The size isn’t important, as long as the block is high enough that your blade won’t cut through it while being used.
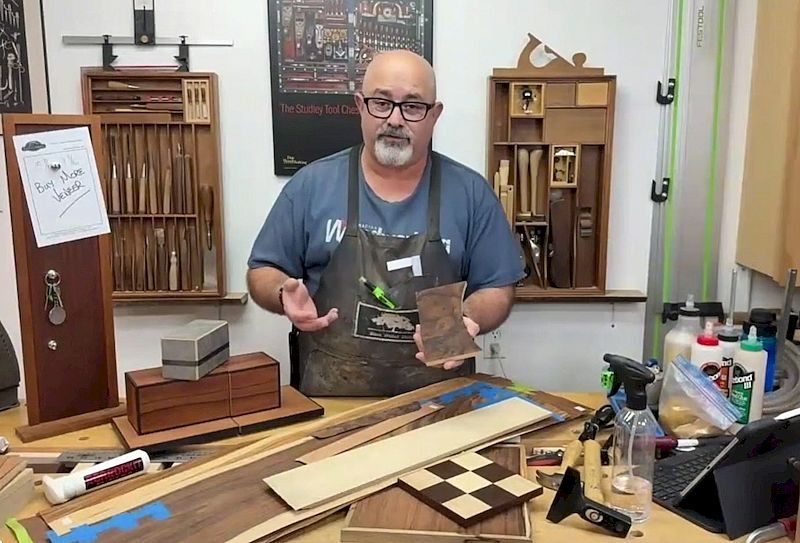
I’ve often cut veneer into geometrical shapes with this jig. In these cases, it’s a lot easier and faster if both the resulting edges of the veneer are cut clean. This means I align the veneer with the slot that has support on both sides of it, and I use a piece of solid wood or sheet good to apply downward pressure to the stack of veneer. This ensures the pieces of veneer stay put during the cut, and the freshly cut edges on both sides of the blade are finished and usable.
There are many other instances where this sort of setup will assist you while woodworking. Keep your mind open to using this jig to assist with different operations as you build and I’m sure it will save the day many times.
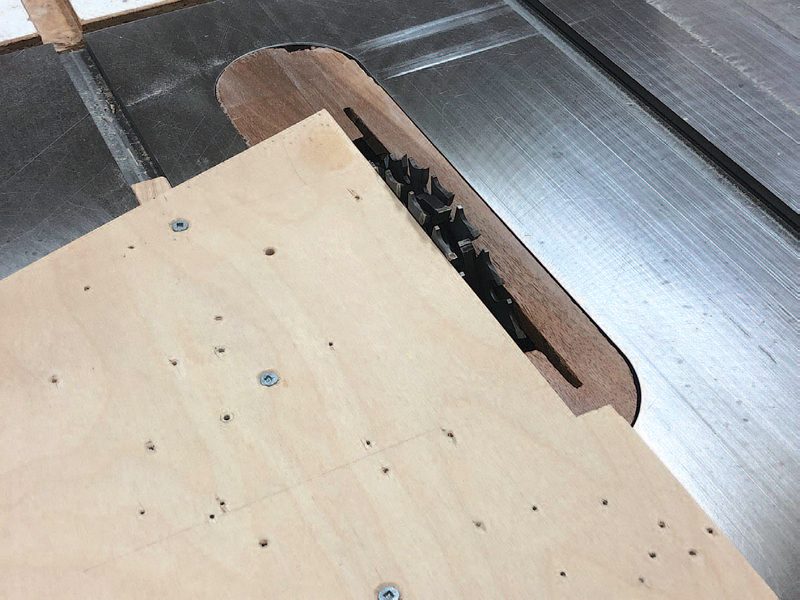
Dealing with dadoes and grooves
If you need this jig to machine joints like dadoes or grooves in some unique pieces, it might be a good idea to make a second jig, depending on the type of saw you have. With my right-tilt saw, if I were to install a dado set it would cut further into the right edge of the jig, ruining the jig’s edge in relation to a standard blade. Making a second jig is a quick fix, or you could orient the jig in the other mitre gauge slot so the width of the dado or groove doesn’t affect the jig. Every situation is a bit different, but this general approach can be used to solve many unique machining operations on a table saw.
Photos by Rob Brown
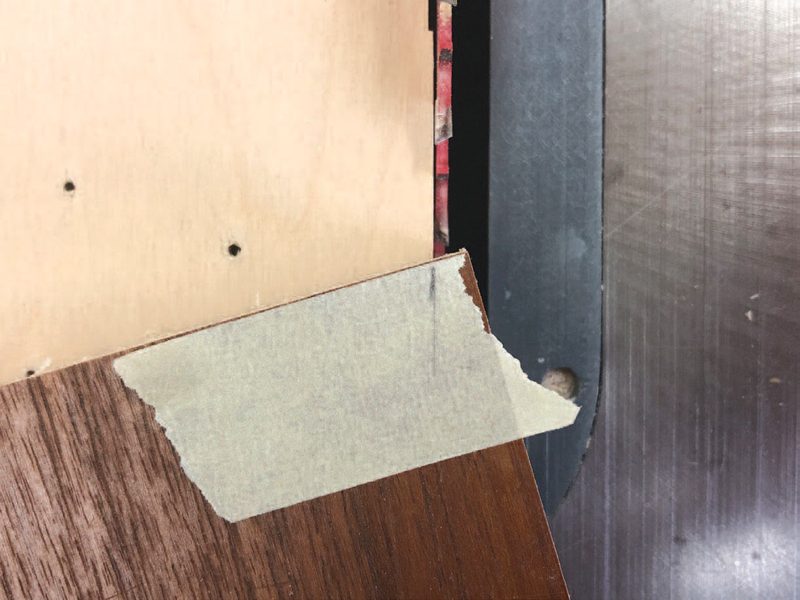
Alignment Marks
Once a pencil mark is added to both edges of the workpiece Brown aligns the marks with the edge of the jig. Protractors aren’t needed.
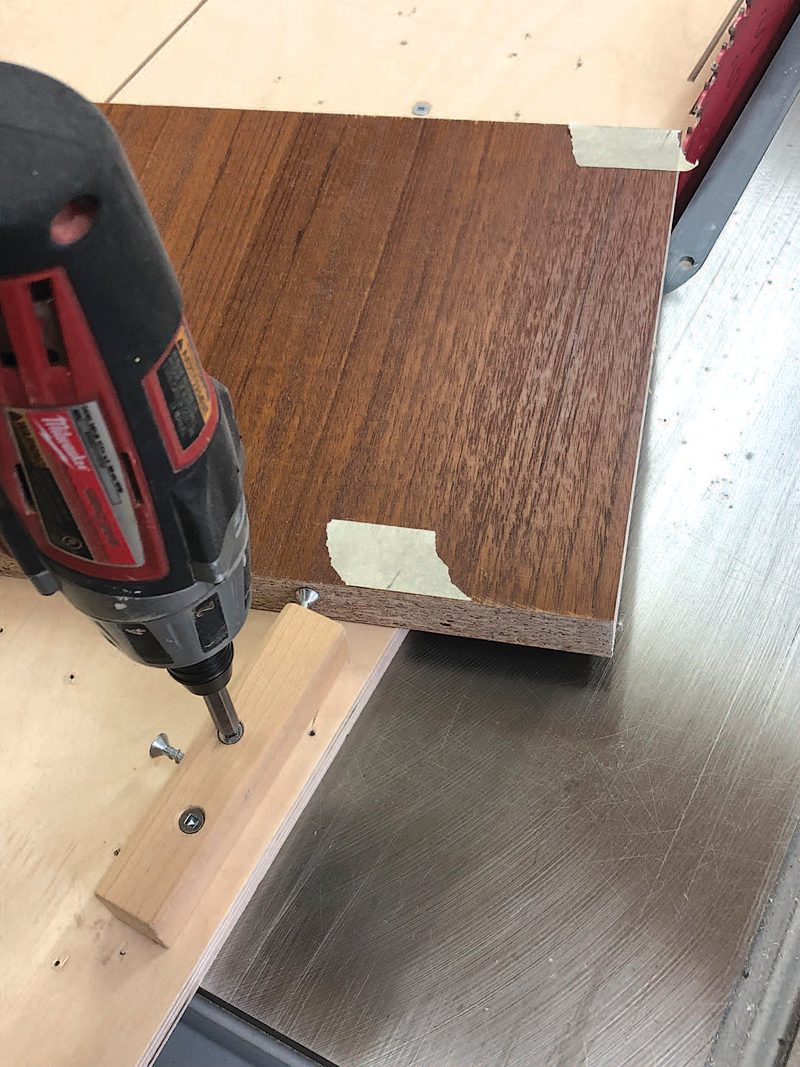
Simple Stops
A few pieces of scrap wood with screw clearance holes in them work well as stops. Drive a screw into both the end and face of the stop to give you an adjustable stop.

Near the Cut
The area close to where the cut is taking place needs to be supported so the workpiece doesn’t kick back.
Optional Hold-Downs
Hold-down devices come in handy in certain situations, so don’t be afraid to use them. Smaller workpieces are a great example of this.
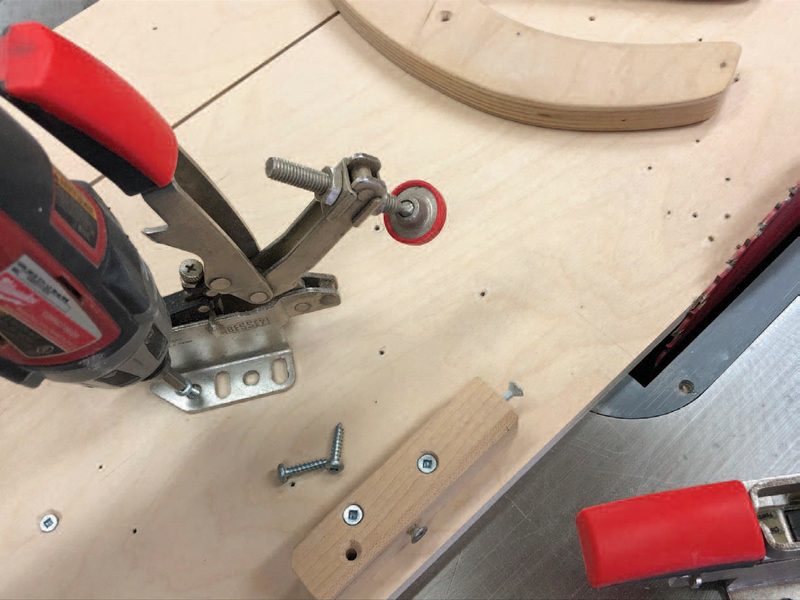
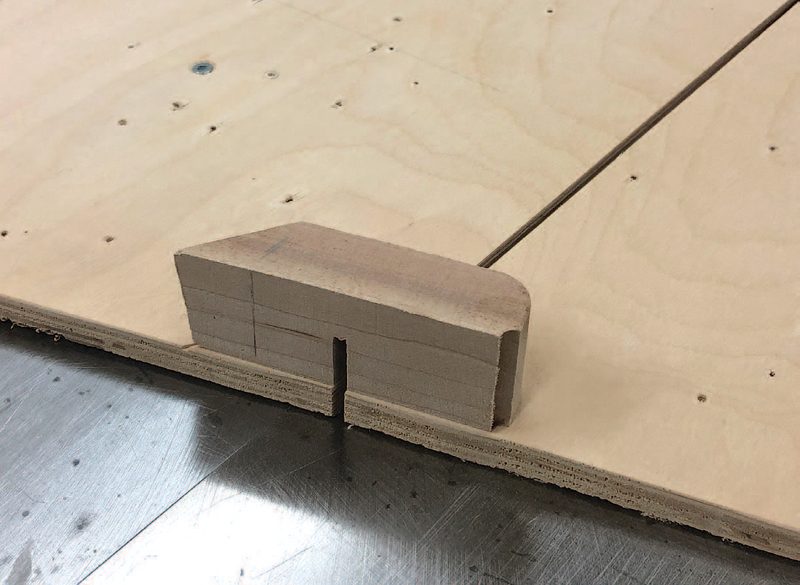
Keep It Together
A solid wood block spanning the cut will keep the two halves together. Just make sure to add it before you make the cut and ensure it’s high enough that you won’t cut through it while working.
Two Clean Sides
There are times when Brown needs the workpiece supported on both sides of the cut. In these situations, he moves the jig to the other mitre gauge groove. Here, he’s cutting veneer with the help of a piece of plywood to hold the veneer down during the cut.
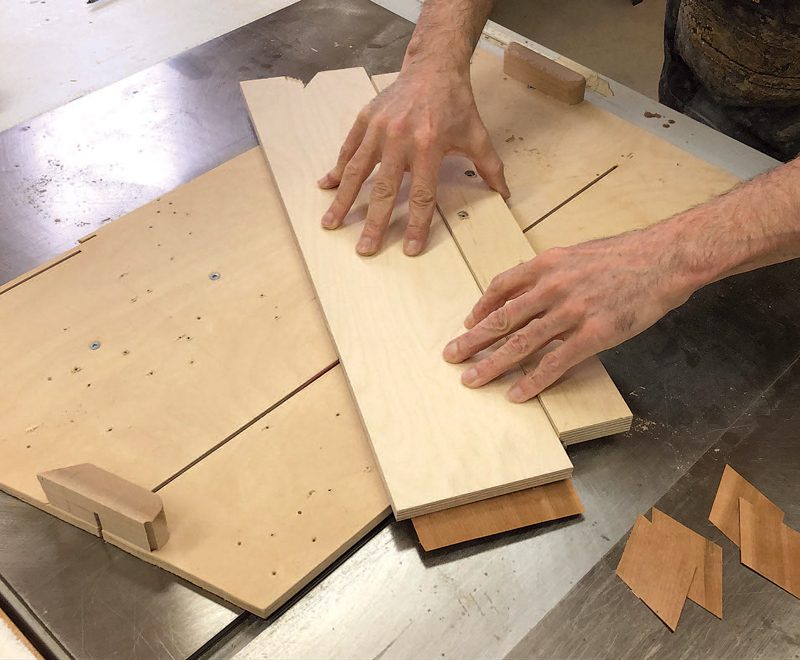
Nice Cut
The piece of plywood helps keep pressure on both cut edges, ensuring a clean cut on both pieces. Once Brown adjusts the angle of the plywood fence, he can cut these strips of veneer up into diamonds to form a veneer match.

Don’t Dado the Edge
If you’re using a dado blade with this jig be sure not to cut into the jig and ruin the main straightedge. You can either make a new jig specifically for cutting dadoes and grooves or just use the forward 8" or so of this jig for these operations, as Brown is doing here.