FROM ROB'S BENCH
Revisiting a Classic: Arc Coffee Table

Rob Brown

Blog for October 22, 2025
Last week I wrote about the different types of woodworkers and DIYers out there.
The photo I included was of one of the projects I made a few years ago. I received three emails about the project, so I thought I’d answer those questions here, as I’m guessing others may have similar questions.
Arc coffee table
I built this table for a client about 15 years ago. They had just finished building a new home in midtown Toronto when they met me at a design show. They were after something sleek yet simple and also wanted to include figured wood in the design. After going over a few designs, we settled on this approach.
There are only two main parts to the table: the curved base and the top. Two solid wood cleats fix the top to the base. The base is made up of about 20 different parts and the top has multiple parts to it, too.
The condensed versions of the questions I received were:
- How did you make the base?
- What materials did you use for the base?
- What type of veneer is on the base?
- What did the top of the finished table look like?
Start with the base
To mirror the construction process, I’ll start with describing the base. I can’t honestly remember some of the specifics, as this build took place almost two decades ago, but I do remember most of the general construction details.
I started with building the curved form to vacuum press the base layers with. I remember the form was surprisingly heavy when completed and was a pain in the neck to get in and out of the vacuum bag. I also saved it for about 10 years, as I thought I might build more, but eventually decided to pitch it because it was taking up too much shop space.
Layers of flexible plywood were cut to rough size, then formed in the vacuum bag. There were likely four layers of 5/16″ thick flexible plywood. When it was dry, I cut a gradual arc on a piece of scrap flexible plywood to guide my router so I could trim the two side edges of the base to shape. The base would have been much easier to build if the two edges were parallel, but that didn’t give me the look I was after.
Solid wood edges
I’ll admit, this is where some of the order of operation details are a little foggy. I can’t remember what order I did some of these steps, nor do I recall exactly how I did some of these steps. I took a few photos of the process but didn’t document the entire build well enough to jog my memory.
I needed to create the bent laminated edges for the two sides. I milled up some strips of ash and used the same curved form to glue them up in my vacuum bag. This ensured the curve of the solid wood sides was the same as the main section of the base. Once dry, I ripped the lamination into two strips, each about 3/8″ wide, for either side of the base. I glued them on, let them dry and flushed the solid wood edges with the main section of the base.
At some point I also needed to add a few flexible layers on the two ends of the base. The curves were shaped with a flush trim bit in my router, allowing the bearing to follow the curve of the offcut from the two longer edges of the table. I also used the belt sander to shape the four corners, giving them all a slight flair upwards, as you can see in some of the photos.
Honestly, today I’ve spent many minutes going back and forth between the two images of me shaping the two ends of this base, both with the router and belt sander, to try and figure out the order of operations, with little success. Did I apply the macassar ebony face veneer to the base before or after the edges? I think I applied the laminated solid wood edges before the veneer, but I’m not sure. And when did the layer of veneer on the inner face of the base get applied? I also would have figured I applied the solid wood laminations to the two base ends, then overlapped the two longer sides, to hide the edges of the base laminations, but the photos seem to hint otherwise.
Whatever order of operations I took to make the base, the last major step was to shape the solid wood edges to give me the look I was after.
The top
Thankfully, the top was much easier than the base to build. I’m guessing I started with a layer of slightly oversized Baltic birch plywood, then added a layer of 1/4″ MDF to both upper and lower faces. This layer provided a smooth surface to apply the veneer to and its face is also more dent-resistant than plywood.
With the core of the top prepared, I applied the maple back veneer, then cut the top into an elliptical shape with a simple router jig.
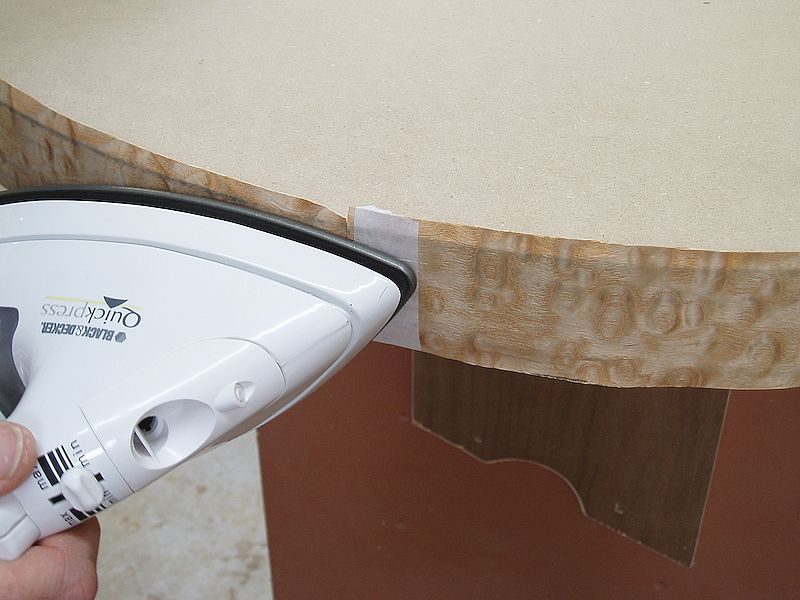
Add some heat
PVA glue has the great characteristic of softening when heated, and that’s something I took advantage of when applying the Tamo ash veneer edges. I applied a coat of glue to both the core and the veneer edge, let it dry for about 15 minutes or so, then added another coat on the core, as the porous nature of the plywood and MDF soaked up much of the first coat. After letting that dry for a bit, I lined up the veneer on the edge with some masking tape and applied some heat with an iron. Working my way around the perimeter, I heated the area, then pressed the veneer onto the edge of the core. I worked my way to the other end, where I had to line up and trim the mating edge. In fact, there’s a good chance I had to leave two joints, as the Tamo ash veneer I had likely wasn’t long enough to wrap around the entire perimeter in one go. Once the edge was applied, I trimmed it and applied the Tamo ash veneer to the face of the top with my vacuum bag. I love my vacuum bag.
Fun to look back
It’s always fun to look back at past projects. Sometimes I can see details I’d like to change if I were to make the piece again, though usually I look back at projects with satisfaction.
I’m guessing if I was hired to build this exact same table today, I’d almost certainly change the way I did it. Not necessarily because there are improvements to be made, but because I can’t remember how I did it. I have also honed my skills and acquired new tools, which may lead me to construct something differently.
The moral of this story might be that construction details are always important to consider before you start making sawdust, but there are many times when you get part way into a project before you either make a decision on how you’re going to build something, or you change your mind and use an even better approach. I’m certainly not saying you should just start a project without considering any of the joinery and construction details. I am saying I sometimes can’t figure out how to do something until I have it there in front of me. Going over different approaches with a partially completed project in the shop is often easier for my brain to comprehend, though it can get me into a jam now and then.
Overall, this was a fun build and the clients were very pleased with the finished table. I also had fun reminiscing about the simple form of this table and how complex it was to create.
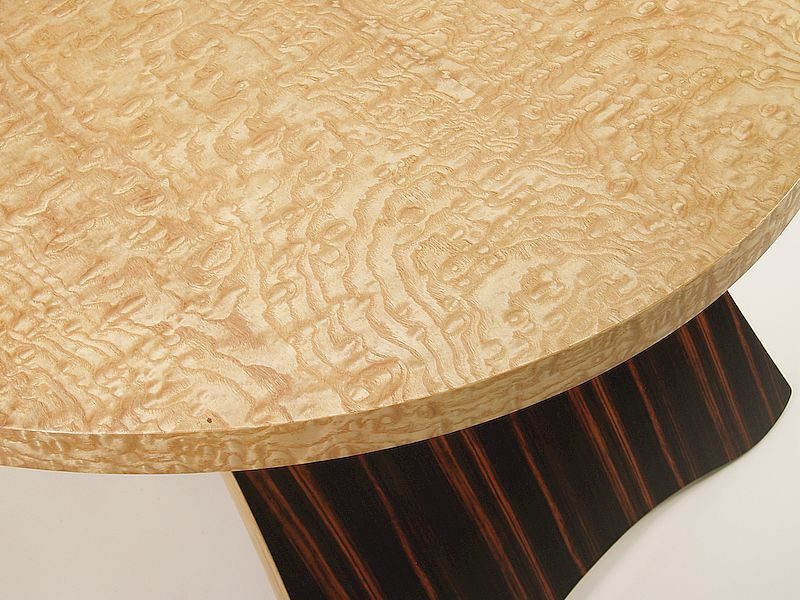
Arc Table
Visually simple, but somewhat complex to build. The top was the easy part, with many steps in the base making it the main challenge. Tamo ash, which is the veneer used for the top, is from Japan. I used macassar ebony for the base veneer. This table would be pretty much impossible to make without veneer.
Tamo Ash
I remember this flitch of Tamo ash was fairly wide, which allowed me to use only four pieces or so to complete the book matched pattern on the top. Tamo ash is like bird's-eye maple on steroids. The “eyes” are much larger than are typical with maple.
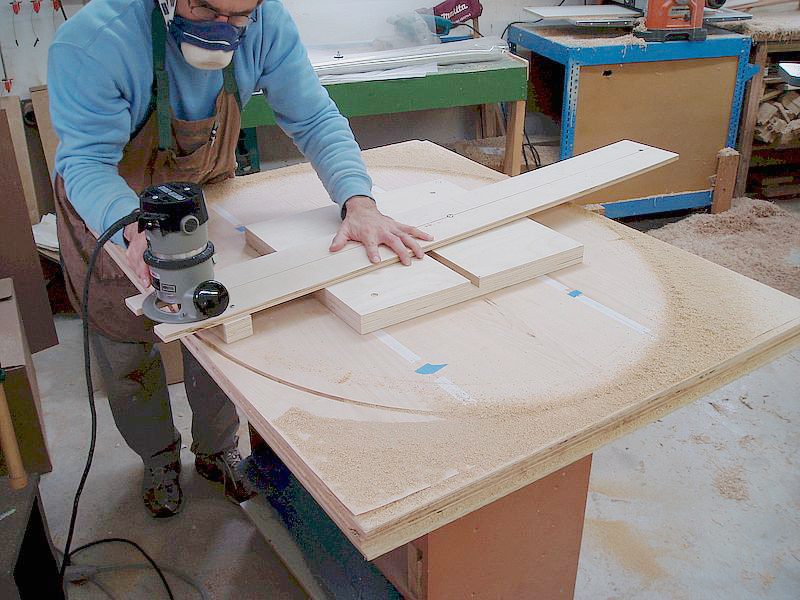
To Each Their Own
This is the photo I shared last week. I thought the most intriguing part of this image was my baby blue sweater and the lack of apron, but most of you seemed to think the curved base was more eye-catching.
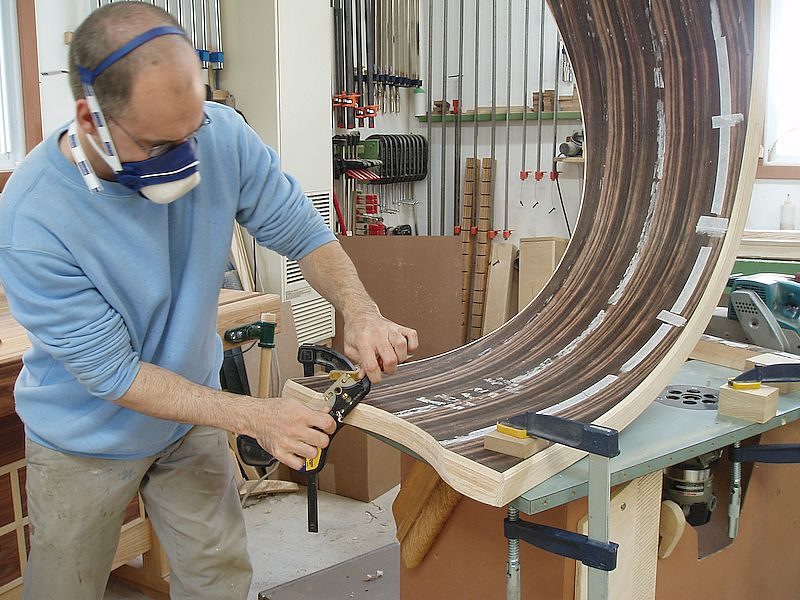
Shaping the Base End
I used an offcut from the side of the table to shape the end of the base. At this stage it looks like the side solid wood laminations are in place. I'm not positive whether I'm trimming the core of the base to shape or the solid wood lamination at the end of the base to shape.
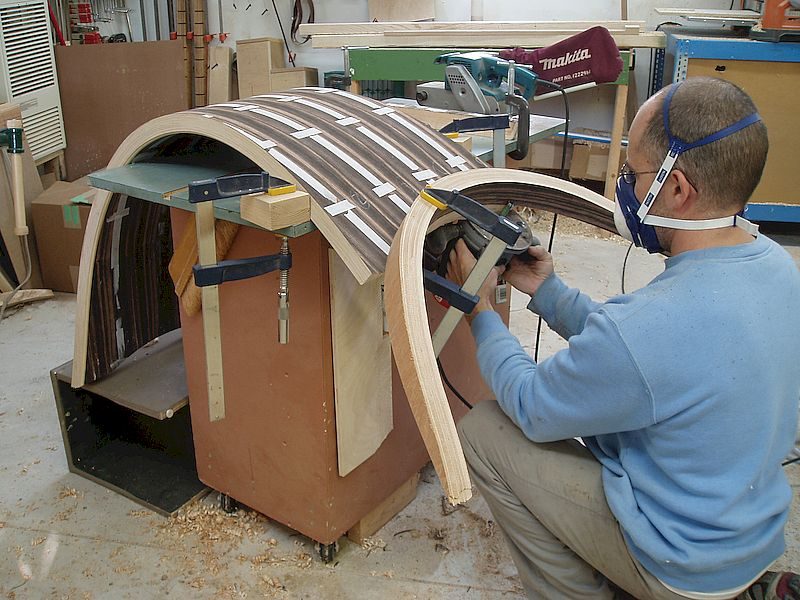
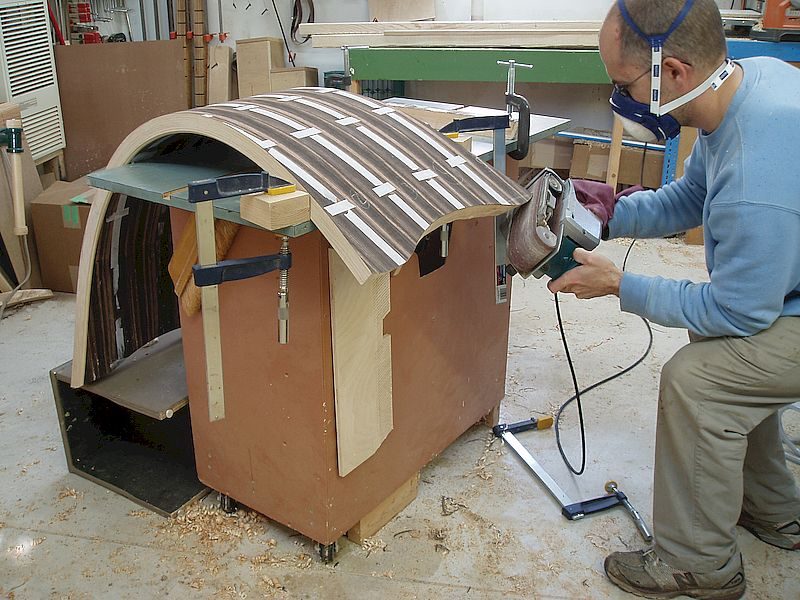
More Shaping
Many woodworkers think a belt sander is an aggressive, brute force way to smooth wood, but I love my belt sander. When I was young I got all the belt sanding jobs while working in a medium-sized wood shop, which allowed me to become at one with this wild tool.
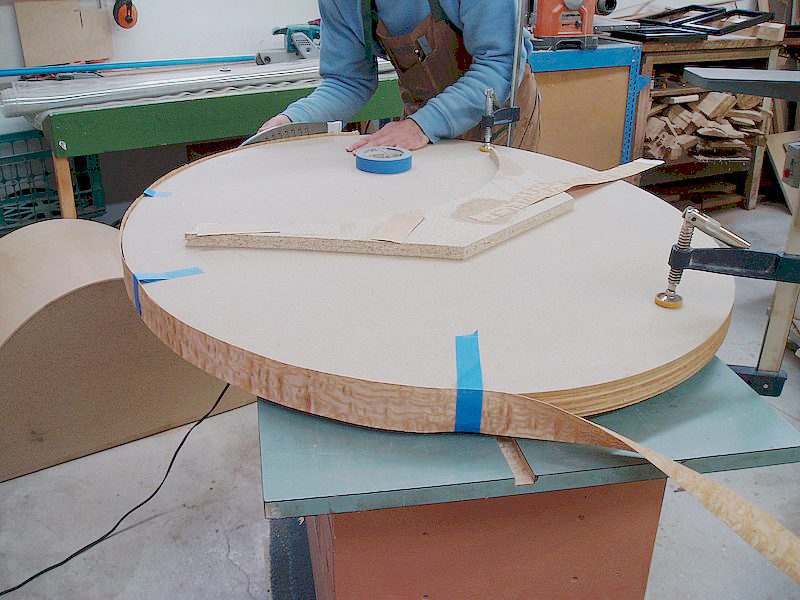
Ellipse Time
I wrote an article about how to make and use this simple elliptical jig in a past issue. It's a great tool when an ellipse is what you're after.
Start to Apply the Edge
With the pre-glued veneer edge loosely taped to the core, I use an iron to heat the glue so I could press it onto the edge for good.
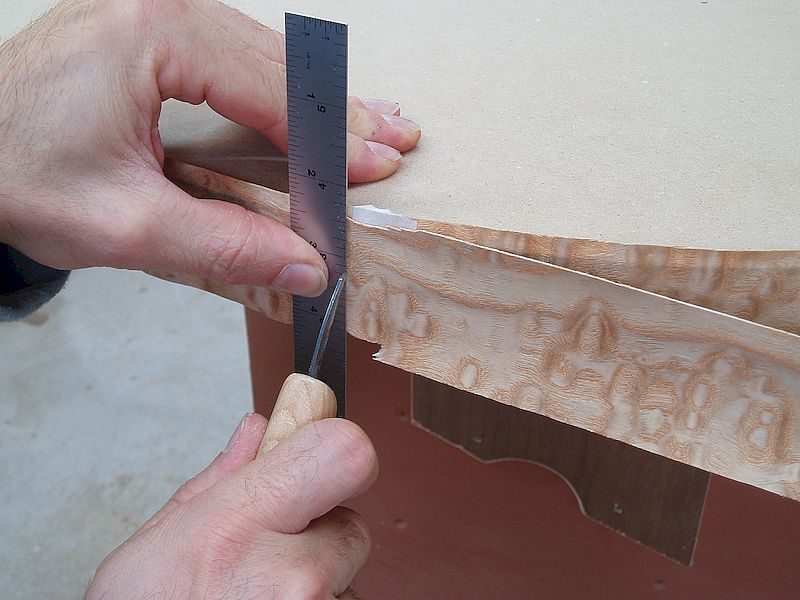
A Careful Cut
A 6" rule helps me trim the mating edge to fit nicely.
Barely Noticeable
Once done, the joint between the two edges is almost invisible. The wild grain makes the joint even less visible.
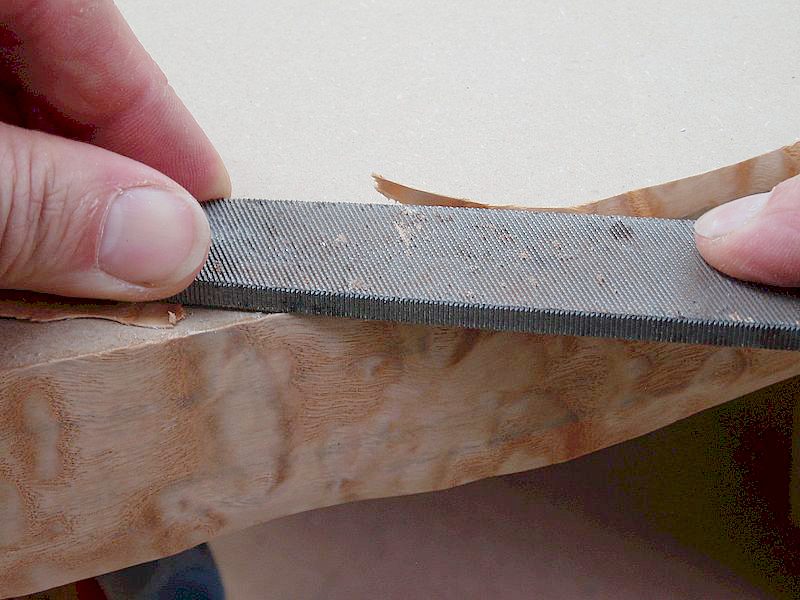
Trim It Flush
A file, carefully used, does a good job at flushing the veneer edge.
The Union
To fix the top to the base, I used two large, angled cleats.


Always liked that particular project of yours, very nice design and gorgeous wood veneers. Deceptively simple yet striking. To my eye, it looks like you applied the ash end caps after the veneer to leave it framed by the lighter colour wood.