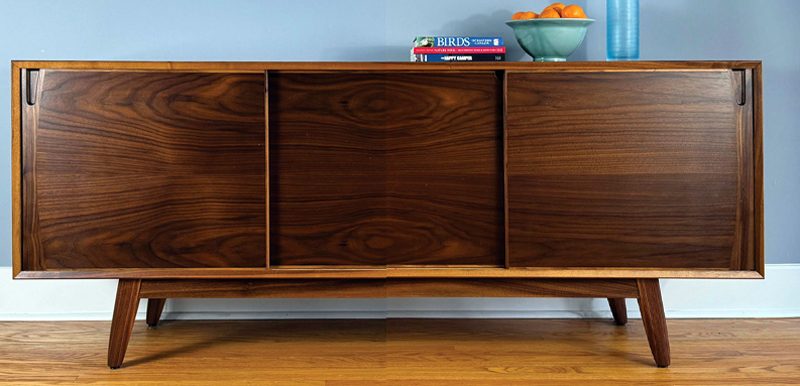
Build a classic coffee table
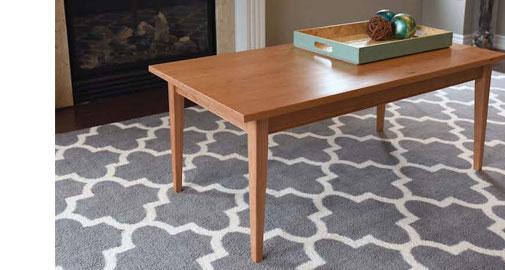
A coffee table is a great woodworking project, as it’s not overly large or hard to build, and it will be the focal point of your living room. The elegant look of the tapered legs and understated decorative bead make this table a respectable place to rest your coffee or books for years to come.

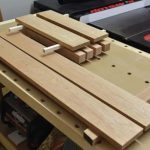
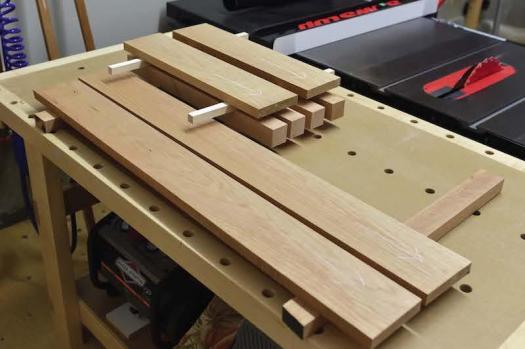
Keep it Flat
Sticker your workpieces to help keep them flat while you work on other aspects of the build.
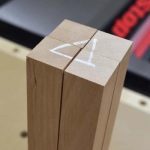
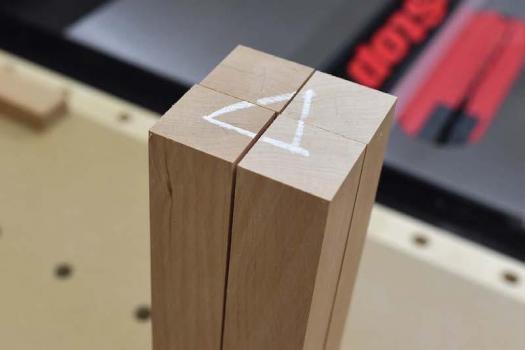
Organization is Key
Using a chalk triangle on the end grain of the legs will go a long way in keeping the parts organized in your mind, and avoiding any mistakes in joinery and tapering.
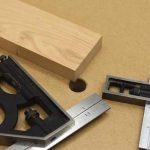
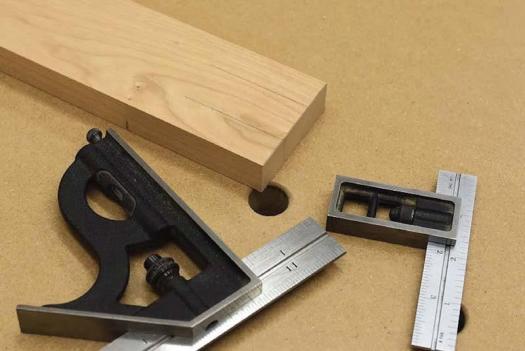
Consistent Layout
Using two combination squares, and not changing their settings during your project, will help keep layout accurate and consistent.
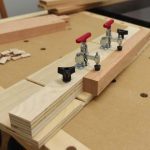
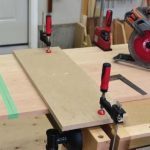
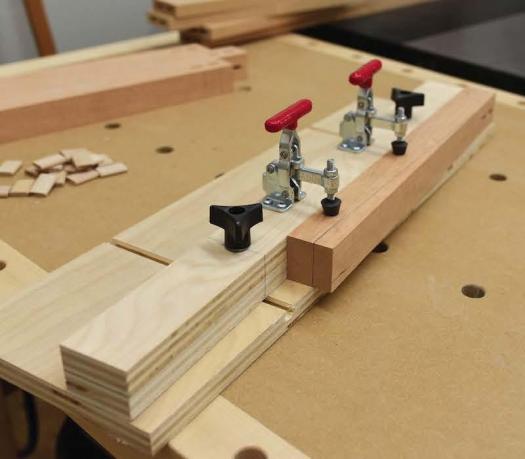
Time to Taper
A table saw taper jig makes creating tapers safer and more consistent. It's also an easy jig to make.
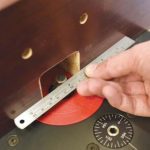
Proper Alignment
Use a steel rule to zero the front quadrant of the router bit bearing to the face of the router table fence.
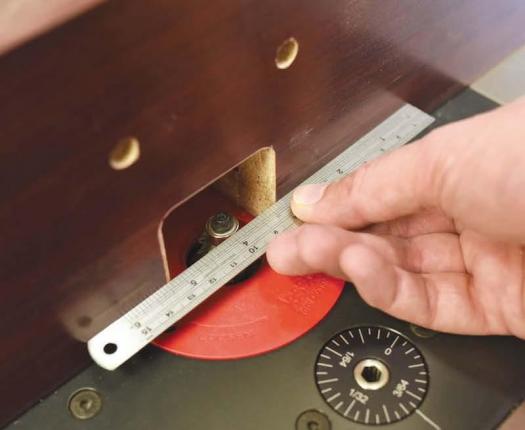
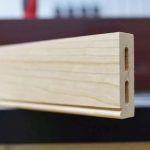
An Even Bead
Having the fence and bit aligned will go a long way to ensuring you end up with an even bead.
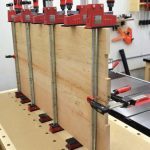
One Step at a Time
Gluing up the base in two stages reduces assembly stress.
Gluing in Stages
Glue up the top in two assemblies, dress them both to final thickness, then joint their mating edges and glue them together.

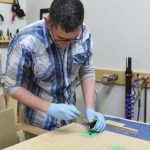
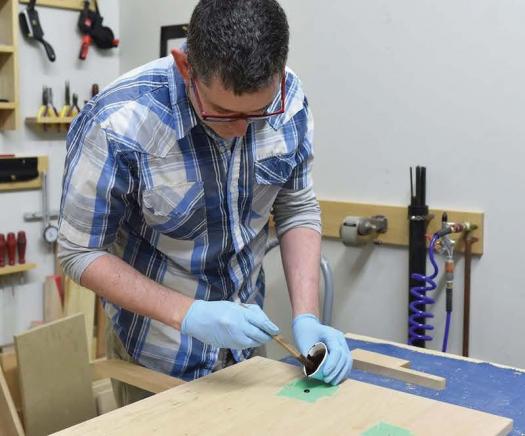
Fill any Gaps
Small imperfections can be filled with coloured epoxy, then sanded flush.
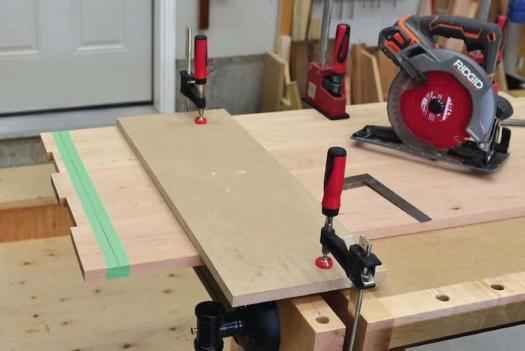
Many Options
Although a large panel saw would work nicely, a circular saw or router that runs against a straight edge also cuts the top to length.
A Smooth Surface
Once the finish is fully cured Nicholson used wax and #0000 steel wool to smooth the surface, and provide an additional level of protection.

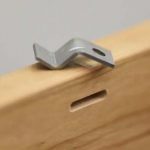
Attach the Top
Specialized hardware, known as Z-clips, are used to secure the top to the base, yet still allow it to move with seasonal changes in humidity.

A tale of two squares
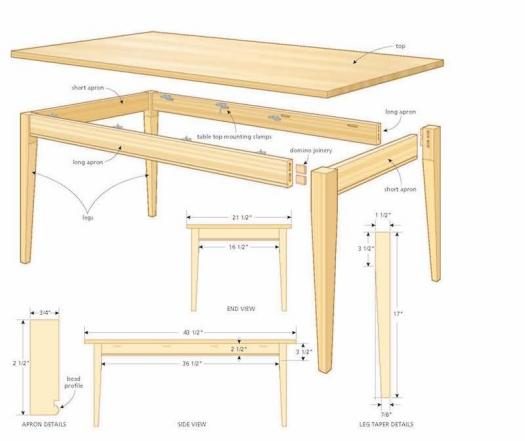
After you’ve decided which leg goes where, set one combination square to 3/4″ and a second combination square to 1-1/2″. These settings should not be adjusted throughout the remainder of the base construction. Using the top of the leg as your reference surface, make a mark on all the faces that will receive a mortise using the first square, then repeat the process with the second square. Score the lines and transfer them to the appropriate adjacent faces for laying out domino mortises.
Without adjusting the squares, and using the top and inside faces of the aprons as your reference surface, draw the mating lines on the faces of the aprons.
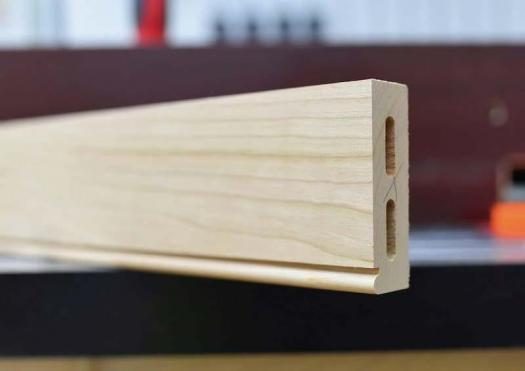
Cut the mortises
I am using the Festool Domino for loose mortise and tenon joinery, but the apron to leg joint could be made using dowels or an integral mortise and tenon. Avoid biscuits, as they are not designed for this application.
Ensure the depth of your mortise is appropriate; you don’t want the mortises to “meet” in the middle of the leg. I used two 5mm x 30mm dominos for each joint, at a depth of 15mm. I placed the mortises in the center of each leg and apron to provide a 1/4″ reveal. After the mortises are cut, do a quick dry fit to ensure everything fits well.
During the dry fit, if you find your aprons don’t meet the tops of the legs perfectly, remove the dominos and sand the edges of them a bit using a sanding block. This should give you just enough play to be able to adjust the aprons. This will not sacrifice any strength, as the strength of the joint comes from the faces of the tenons.
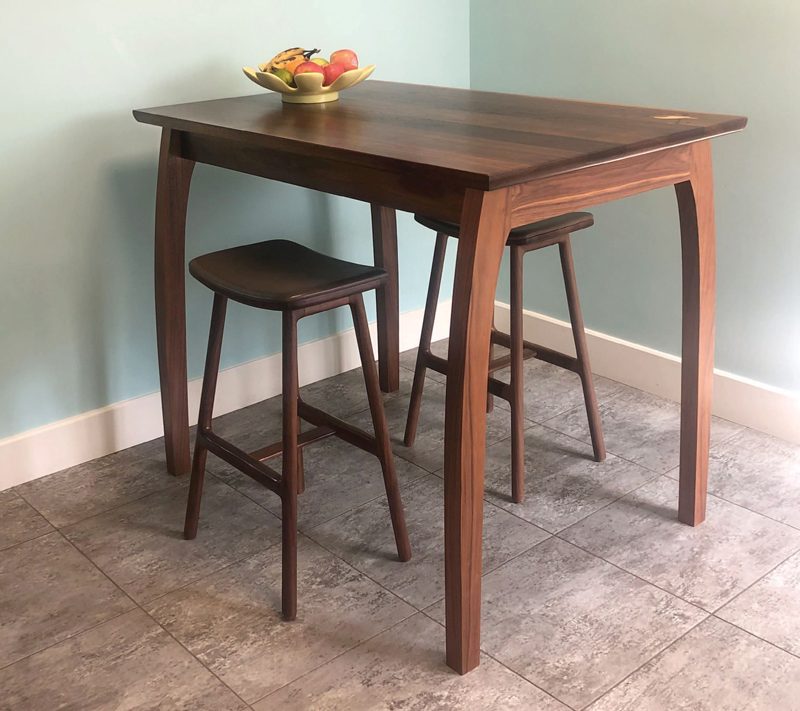
Taper the legs
Tables look far more elegant with tapered legs, as it gives the table a more delicate feel. Start by making a line 7/8″ in from the bottom of one leg, on two adjacent faces (the faces without the mortises). Then make a second mark 3-1/2″ down from the top of the leg on the same two faces. Connect the lines with a straight edge. You now have all the information you need to create a taper jig.
Start with a plywood base about 10″ x 24″, and cut some appropriate sized dados for two short sections of metal T-Track (about 10″ apart). Fasten the tracks down with screws. For the fence, stack up two 3/4″ pieces of plywood (about 2″ wide), and glue/screw them together and ensure the two long edges are even and parallel. Drill some 1/4″ holes through the top of the fence to align with the T-tracks in the base below. Slide a 1/4-20 T-bolt into each track, place the fence on, and spin a star knob and washer onto each bolt. Finally, screw two hold down clamps on top of the fence and your adjustable taper jig is ready to go.
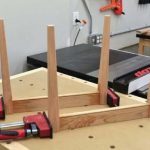
With your jig made, organize and place your table leg blanks on your bench in such a way as you will not get confused on their orientation. Marking the different faces of the legs can go a long way to ensuring you don’t taper the wrong face. Set the first leg in the jig by aligning your reference line on the work piece with the edge of the jig. One set of mortises should be facing up and one set should be facing the blade. Angle the fence of the jig so it supports the full length of the work piece. Clamp down the jig’s fence using the star knobs, and then use the toggle clamps to secure the work. Raise the blade to an appropriate height, place the sled along the table saw’s fence, and slide the tablesaw’s fence so the edge of the jig lines up with the blade. Lock down the saw’s fence, and make your cut, keeping your hands away from the blade. Turn off the saw, retrieve your sled, and remove the leg. Repeat for the three other legs.
Rotate the leg 90 degrees counterclockwise, hot glue the offcut on top of the leg where it was just removed, and clamp it back in the jig. When repositioning the offcut the lower end of the offcut won’t line up with the lower end of the leg. It’s crucial the face of the tapered side aligns and is co-planer, so the leg sits on the jig properly. This is due to the fact that material was removed from the leg during the tapering process. Repeat the cut for the second taper, standing well off to the left to avoid a potential kickback. Finally, remove the glued-on offcut and clean up the saw marks on the tapers with a sharp smoothing plane.
Cut the bead
Mark the lower outside face of each apron with a pencil line to indicate where the bead will be cut. With the router unplugged, chuck up a beading bit in the router table, and set your fence in line with the bearing. Using a feather board to keep constant pressure of the work piece against the fence, do a test cut on scrap. Once you have it just right, cut beads on the bottom of all four aprons using push pads.
Back at the bench, it’s time to begin sanding and surface prep. Use a card scraper and/or sandpaper to get a finish-ready surface and to ease the edges.
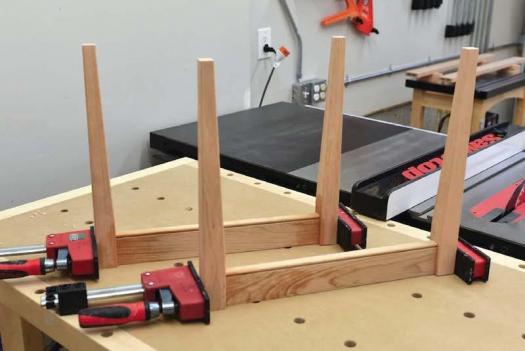
Glue up in stages
Glue up the two end assemblies first, leaving the long aprons aside for now. This will help to maximize your chances of getting a perfect glue up. Apply glue to the tenons and the mortises. Tap the parts into position and apply a parallel style clamp. Clean up any glue squeeze-out with a wet rag, and set aside the assemblies to dry.
Next, glue the long aprons to the end assemblies. Again, clean up any squeeze-out. After breaking all the edges and doing a final sanding on the base, set it aside and turn your attention to making the top.
Make a solid wood top in two pieces
In order to accommodate a typical 13″ planer, the top will be built in two individual glue-ups, each being about 12″ wide. Then these two “sub-tops” can be thicknessed separately and glued together to achieve the final width.
To begin this process, return to the oversize pieces you set aside earlier. Mill them down to about 13/16″ thick. Joint one edge of each piece, and rip each piece to 6″ on the table saw. This should give you four pieces with parallel edges.
Select two pieces, taking some time to decide which faces look best together. Your goal here should be to create as invisible a glue line as possible. Once satisfied, mark some lines across the joints for biscuits or dominos. The biscuits or dominos will really help with alignment. Just be careful to place them a few inches from the ends so you don’t cut into them later. Glue up the assembly, clean off any glue squeeze-out, and repeat with the other two pieces.
After letting the assemblies dry overnight, remove the clamps and scrape away any leftover hardened glue. Set your planer for very a light cut, and send each 12″ assembly through the planer to clean up any inconsistencies in the joints. It should only take two very light passes on each side to get everything flat and clean.
Joint a fresh edge on each of your 12″ sections, and repeat the domino/biscuit exercise from earlier. There is no power planing after this step, so take all the time you need to ensure the two pieces go together well. Clamp your top up, clean off any squeeze-out, and set it aside for the night.
If you have any imperfections in your top, you can fill them with a bit of 2-part epoxy and some dye. Simply mix up some epoxy in a paper cup, add one drop of ebony dye, and then stir for five minutes. Pour the epoxy into the voids (slightly overfilling), and let the air settle out. Allow the epoxy to cure overnight before attempting to flush it.
Finalizing the top
The next day, scrape off any hardened glue with a cabinet scraper and sand the faces of the top up to 220 grit. Clean up one edge at the jointer, then take the top to the table saw. Rip it with the fence set to just over 21-1/2″ (to allow for some hand plane work). Using a track saw (or circular saw and edge guide), square off an end of the top. Measure over 46-1/2″ from your cut, and cut the top to its final length. Finally, use a random orbit sander or card scraper to prepare the top for finish.
Applying a finish
I applied three coats of satin wipe-on polyurethane I made from Varathane’s oil based polyurethane to the base, and four coats to the top.
After allowing the project to dry for a week, I applied a light coat of wax with #0000 steel wool. This will give your project a nice feel and rid it of any remaining dust nibs.
Attaching the top
A solid wood top will expand and contract with the seasons, so it needs room to move. To help accommodate this, cut some shallow slots in the apron using a biscuit jointer or domino machine. These slots will house some specialized hardware designed to allow for wood movement. Simply place the tongue of the fastener in the slot, and screw the other end to the underside of the top. For a project of this size, about eight fasteners is enough.
All that’s left to do is to place your new table in its home, and enjoy a hot cup of coffee with your favorite magazine.

Rodger Nicholson - [email protected]
When not working in his small (but highly organized!) shop, Rodger can be found perfecting his recipes in his kitchen and on the grill.