SITE MAINTENANCE IN PROGRESS
Depth stops — your shortcut to consistent drilling
Ensure consistently accurate depth when drilling screw holes.
Carl Duguay
Rob Brown

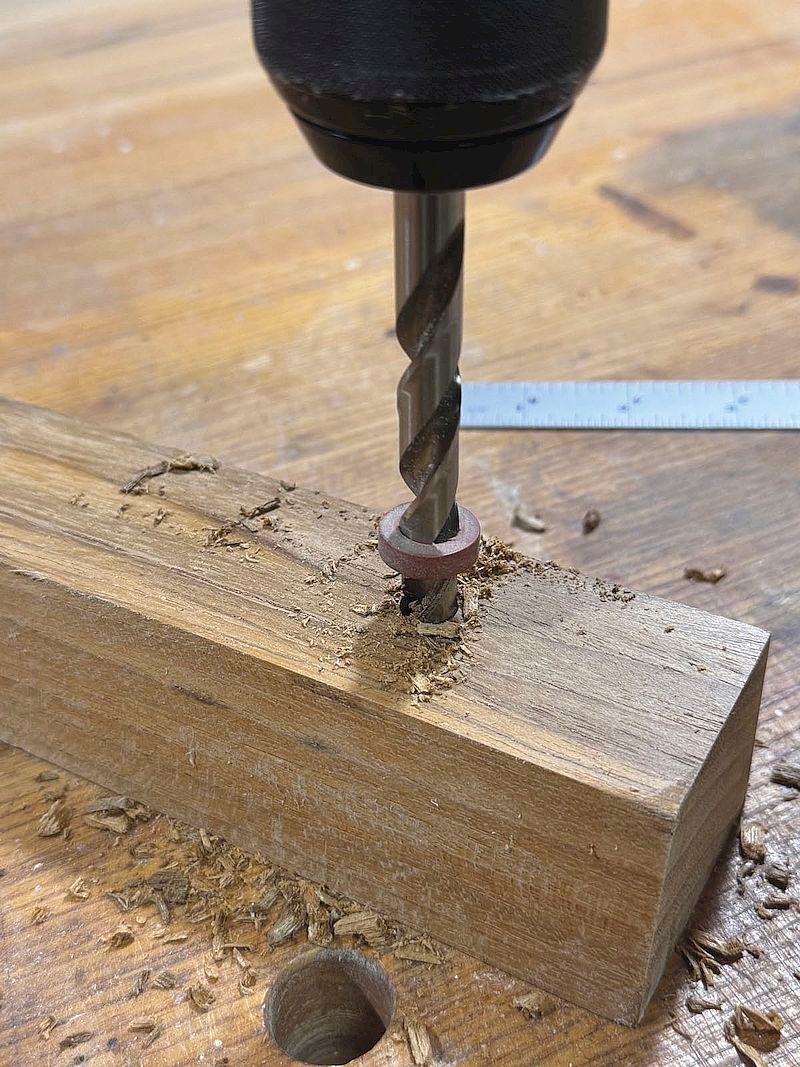
When drilling stopped holes, such as for screws, inserts or dowels, you generally need a way to limit the drilling depth. On a drill press, this isn’t an issue, as most models have built-in depth stops. However, when drilling freehand, maintaining consistent depth can be challenging. Fortunately, there are several ways to make the process easier and more precise. Let’s explore a few options.
Masking tape
One of the simplest and most common methods for setting drilling depth is to wrap a piece of masking (or painter’s) tape around the bit just above the required depth. This works well when drilling only a few holes and when precise depth isn’t critical. However, the tape can shift easily, especially after multiple holes. The edge of the tape that contacts the workpiece can compress after drilling even a few holes, altering the drilling depth. If using this method, it’s a good idea to frequently check that the tape hasn’t moved and replace the tape when it has moved.
Also consider just how critical the operation is if you’re using masking tape as a depth stop. Some materials, like plywood, particleboard, ring porous woods and very soft woods, have different densities within the material. This means you have to push the drill somewhat hard at some points, while at other points the drill bit is more likely to plunge easily into the wood. The likelihood of boring too deep is increased when using masking tape, as it isn’t a physical barrier to drill depth. Even if the material is very uniform in density, there’s still a chance you will bore too deep.
Commercial drill stops
For drilling multiple holes, a depth stop (also called a stop collar) is a more reliable choice.
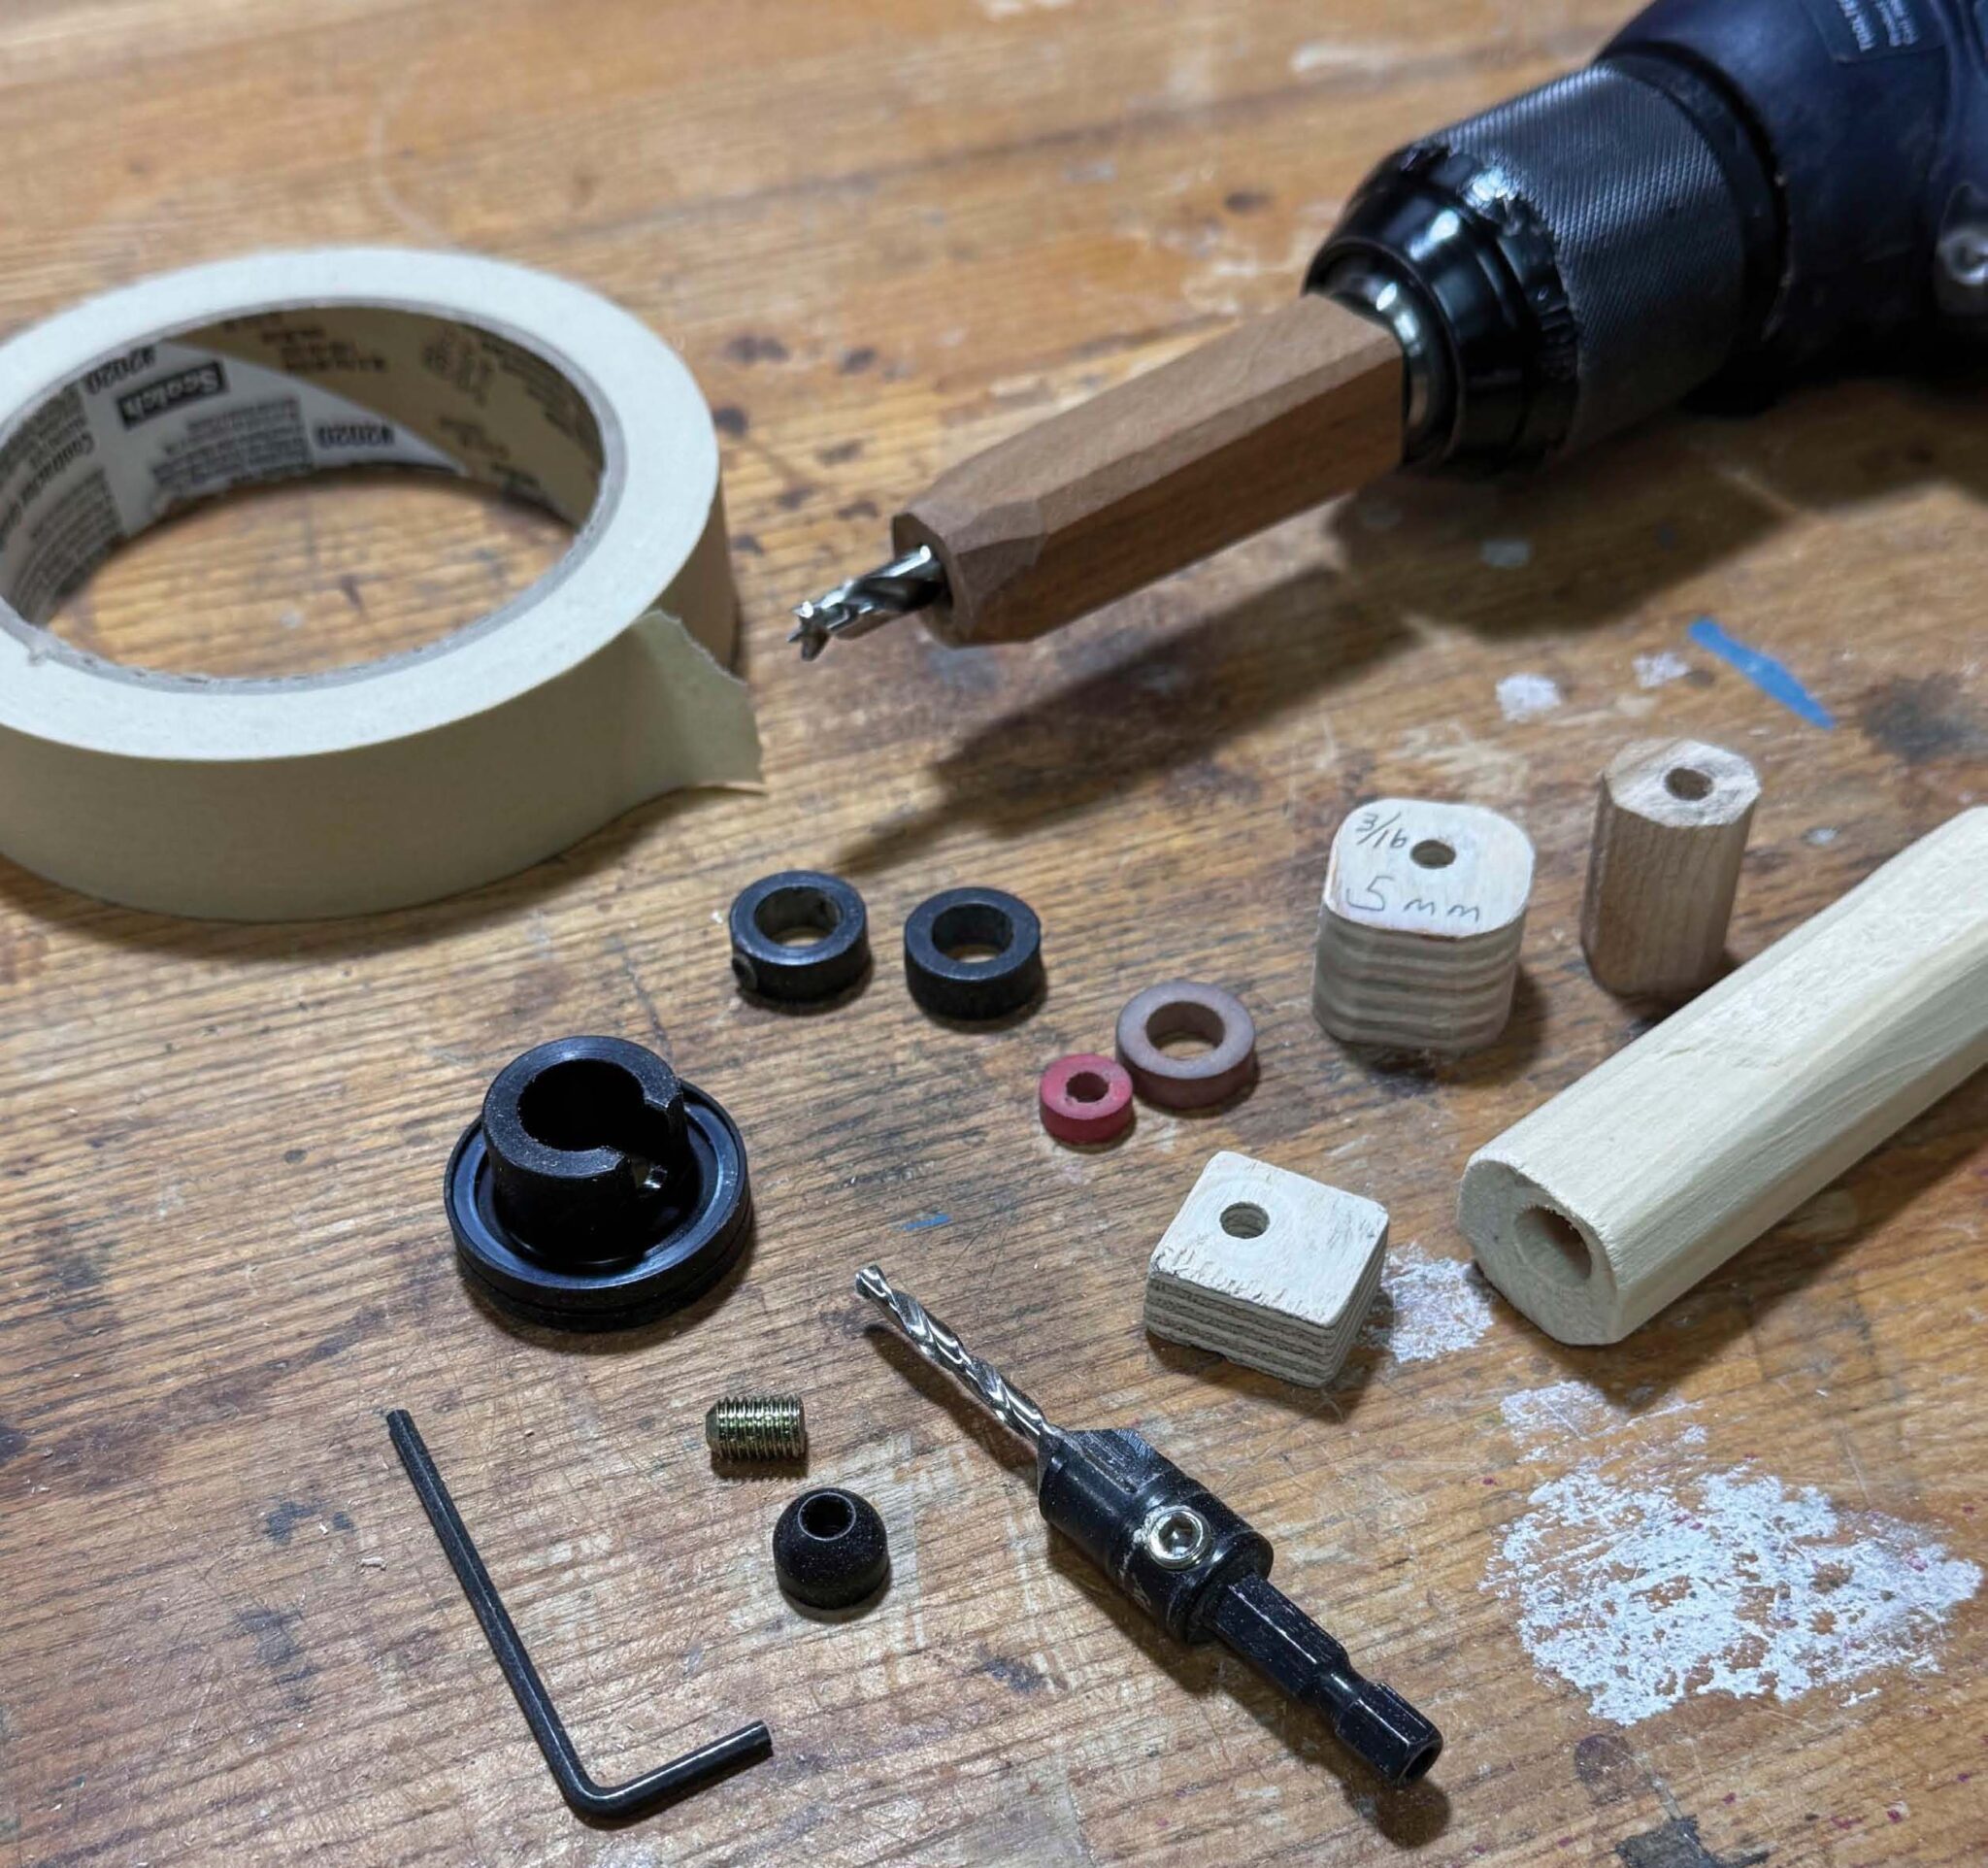
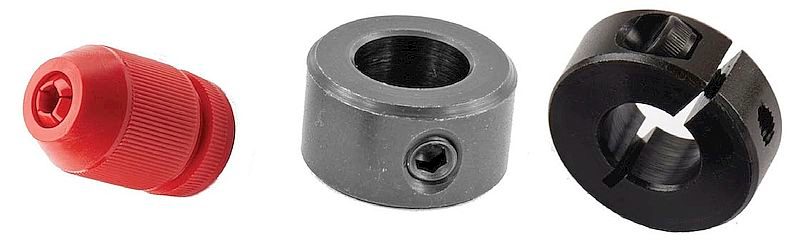
The red plastic twist-on stops are inexpensive but generally ineffective. Also ineffective are the rubber rings that fit around a bit and can be slid up or down the bit to mark a depth. Both of these stops can easily move on the bit without the user knowing. They also don’t provide a positive stop to keep the bit from drilling too deep.
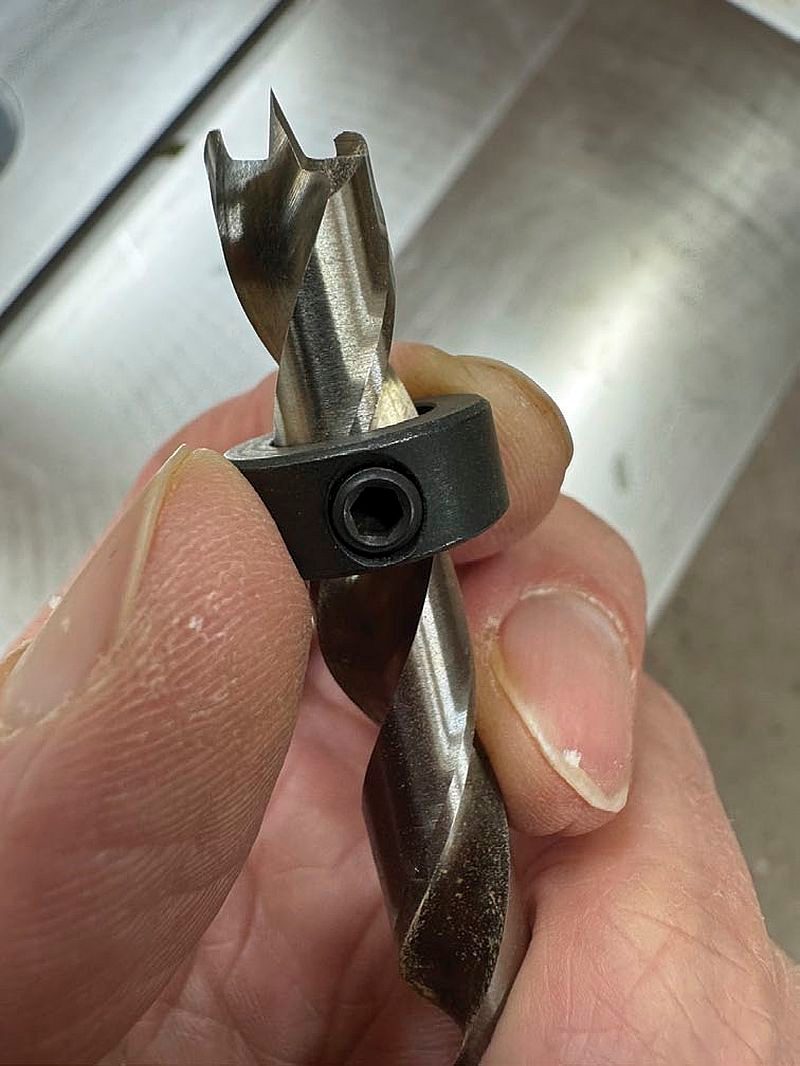
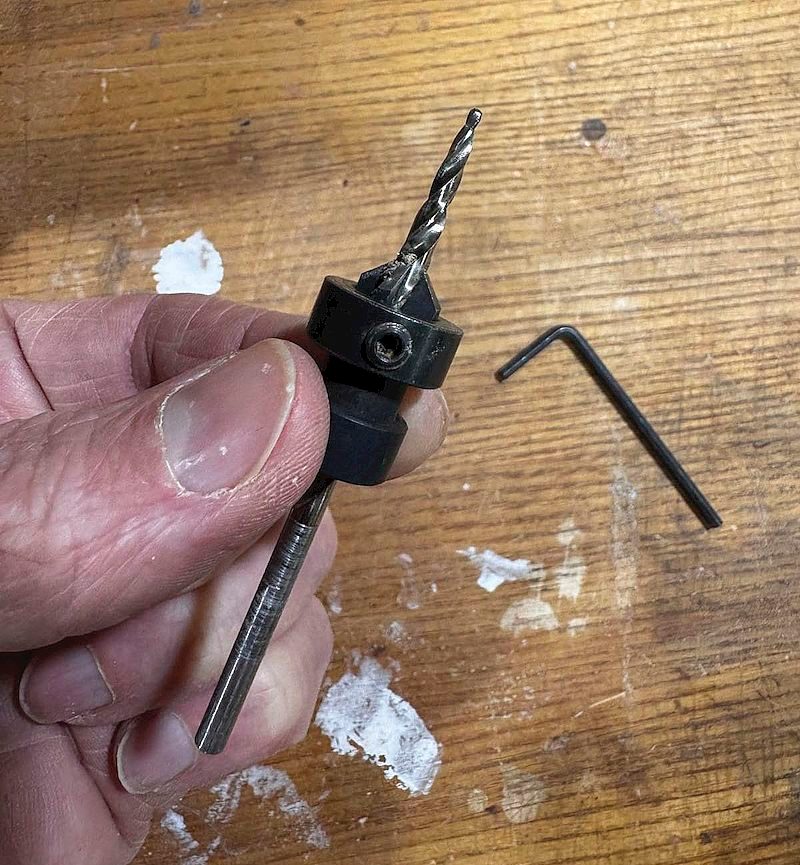
Round metal depth stops are more secure as they attach to the drill bit using a set screw. However, some designs have drawbacks. Stops with a set screw that tightens directly against the drill bit can damage the cutting edges (lips) of the bit. Depth stops can also tilt slightly when the set screw is tightened, affecting accuracy. Some versions use a clamping-style collar that tightens around the bit instead of against it. While this prevents damage to the bit, it can be difficult to tighten securely enough to prevent slipping. If using any of these drill stops be aware that over-tightening the set screw can damage the drill bit. Snug it down just enough to hold firm.
Generally, for each drill size you’ll purchase a matched depth stop. If you use a wide range of drill bit sizes in your work you can end up with a half dozen or more depth stops. However, Amana Tool (Amanatool.com) makes two adjustable depth stop collars that will accommodate drill bits from 1/8″ to 1/4″ and 1/4″ to 3/8″.
Shop-made drill stops
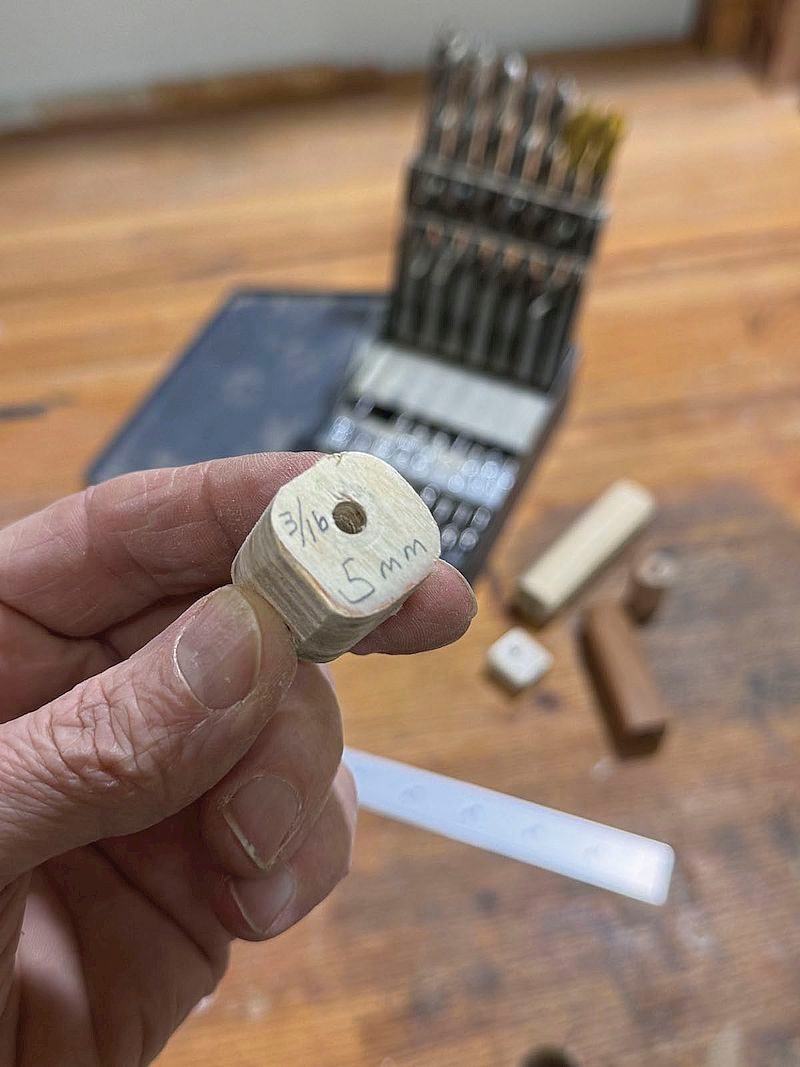
My preferred method is using shop-made drill stops. They’re quick and easy to make, provide accurate results and can be custom-sized for any drill bit. Most commercial drill stops are only available in a limited range of sizes, but with a homemade version, you can create stops for any bit diameter.
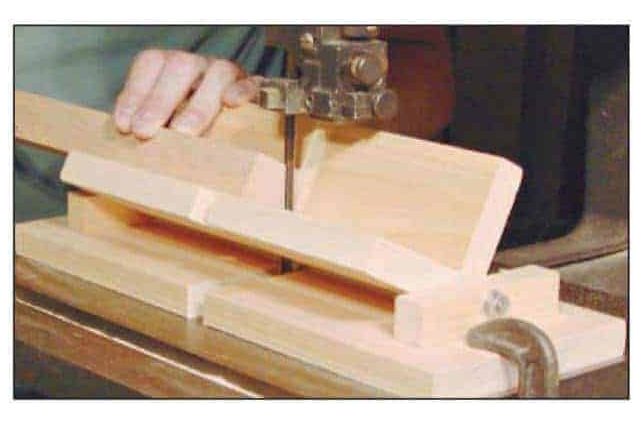
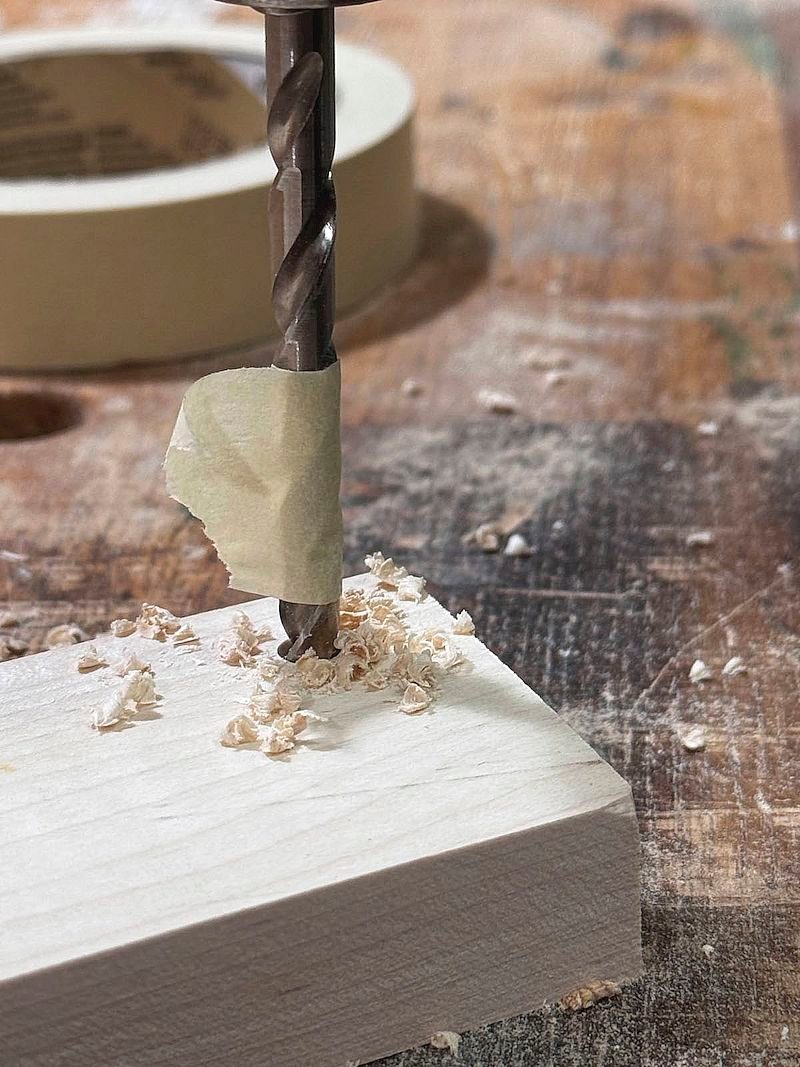
While you can use any wood, hardwood works best. Dowel rods are a great option. Use a bandsaw to mill a blank wider than the bit diameter. Then use a drill press to bore a hole through the blank, matching the drill bit size. If you started with square stock, chamfer the edges for a clean finish. Cut the stop to length based on the required hole depth and the drill bit length. You can further fine-tune the depth by adjusting how far the bit extends from the chuck.

When using a wooden depth stop, the last thing you want is for it to break during use. When making wooden depth stops, ensure the material left around the central bit clearance hole is strong enough to stand up to normal use. Not only do you want the material to be on the denser side (hard maple and many exotics work well) but you also want the walls of the stops to be thick enough to have enough strength. Another thing to consider is ring porous woods; they have naturally weak areas where the open pores are located, and could break more easily if stressed, allowing you to plunge the bit through the workpiece and out the other side, potentially ruining that workpiece. Quality plywood, especially Baltic birch, is another option for making depth stops. Just be sure to bore the bit clearance hole perpendicular to the plies, rather than parallel to them.
By using shop-made stops, you gain better control over drilling depth while avoiding the limitations of commercial alternatives.
Countersinks with adjustable stops
Sometimes you want to drill to a certain depth and also set a screw head to rest flush or below a surface. For this you’ll use a countersink with an adjustable depth stop. There are a number of these on the market. They typically have a quick-release-style 1/4″ hex shank and are available in drill sizes that match common screw diameters: 3/32″; 1/8″; 5/32″; 9/64″; and 11/64″.
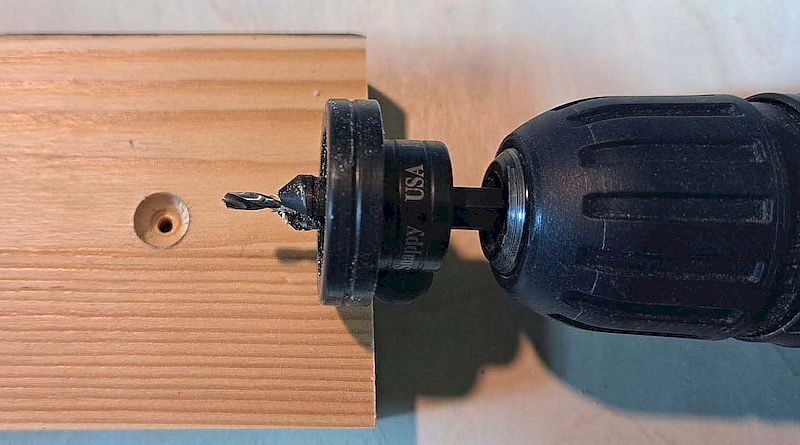
Snappy Tools (Snappytools.com) makes a rotating depth stop collar that works with countersinks from 5/64″ to 11/64″. The free-spinning stop collar does a good job of preventing burn marks on your workpiece as long as you don’t apply excessive pressure when drilling. You can adjust the depth stop collar to drill a shallow hole enough for flush-mounting screwheads or deep enough to accommodate a plug to cover the screwhead. The Snappy countersink has a standard 1/4″ hex shank.
Amana Tool (Amanatool.com) has an adjustable non-marring brass depth stop collar that you use with Amana countersinks from 1/8″ to 1/4″. Countersink hole depth is from 1/16″ to 3/8″. The Amana countersink has a 3/8″ shank.

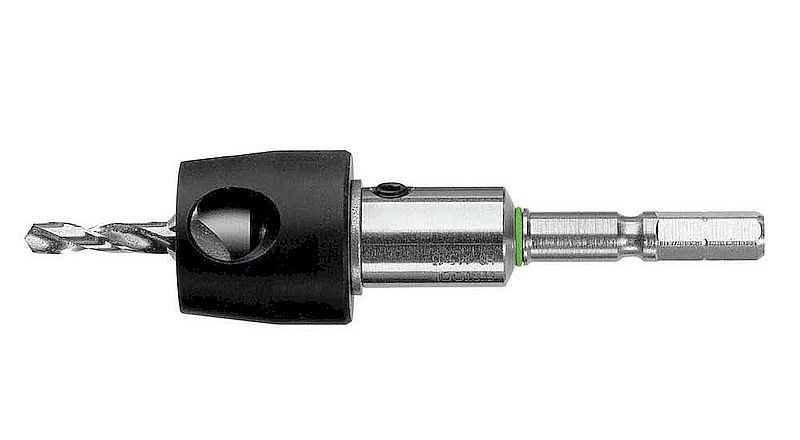
Festool (Festoolcanada.com) has three adjustable countersinks with 3.5, 4 and 4.5mm drill bit diameters. All have free-spinning depth stops to prevent surface marring. While designed for Festool cordless drills with CENTROTEC interface they have a standard hex shank that fits most drill chucks.
Depth stops and adjustable countersinks provide a reliable and easy way to set precise drilling depths. Just make sure you use sharp bits; dull bits will cause tear-out and require more force, leading to inconsistency.
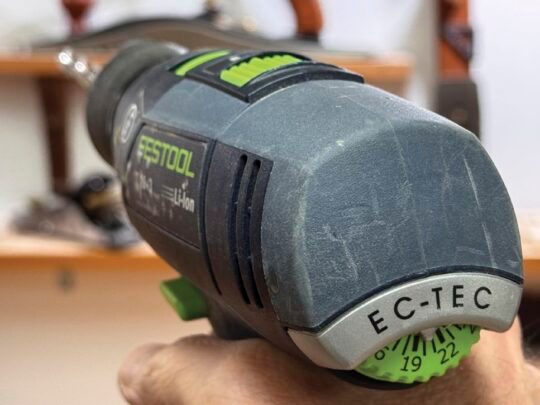
What About the Drill Clutch?
If you need to drill a hole to a specific depth, you might instinctively think of using your drill’s clutch. However, the clutch is designed to manage torque, which is the rotational force of the drill. Its main purpose is to prevent screws from being driven too far and to minimize screwhead stripping. While it can help with sinking screwheads, it’s not designed to control the precise depth of a drilled hole.
June 15, 2025
Last modified: June 16, 2025

Carl Duguay - carlduguay@gmail.com
Carl is a Victoria-based furniture maker and the senior editor at Canadian Woodworking & Home Improvement.
Check out other tool articles
More articles in Accessories