SITE MAINTENANCE IN PROGRESS
Milescraft DrillMatePRO
An economical way to drill straight or angled holes precisely.
Carl Duguay

A portable drill press can be invaluable when you need to drill holes beyond the throat capacity of a stationary or benchtop drill press. It also makes drilling holes in large, heavy panels much easier than trying to manoeuvre them onto a drill press table. If you have a very small shop and don’t own a drill press, drilling freehand with a drill/driver is unlikely to give you the level of precision you need — especially when drilling angled holes.
With the Milescraft DrillMatePRO you can drill consistently precise straight and angled holes quickly and easily using your drill/driver.
Manufacturer: Milescraft
Model: #1348 DrillMatePRO; #1349 DrillFence
Price: $184.99 DrillMatePRO; $42.99 DrillFence
Warranty: 5 years
Source: Find your retailer
Features:
DrillMatePRO
- 1/2″ chuck capacity
- .55″ stainless steel guide rods
- Large 7-1/16″ square footprint
- Drill holes from 0° to 60°
- Drill bit enters material at the same point regardless of drilling angle
- Includes: angle adjust knob, support handle, two centering pins, alignment disk, chuck key
DrillFence
- 5/16″ x 9-13/16″ stainless steel rods
- 7-1/8″ wide fence
- Drill holes 1-7/16″ to 12-5/8″ from stock edge
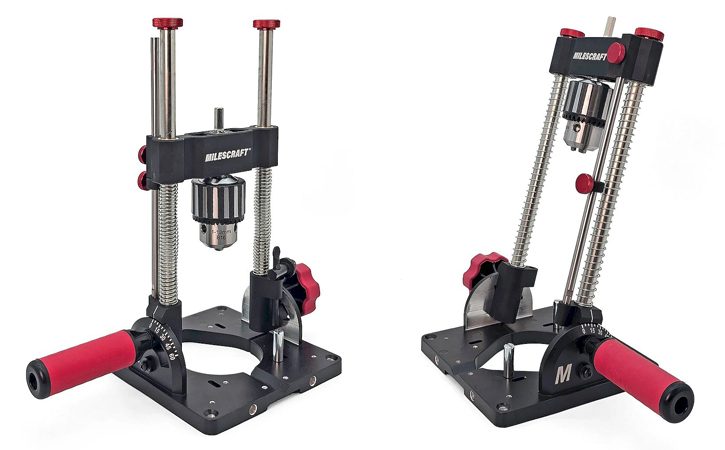
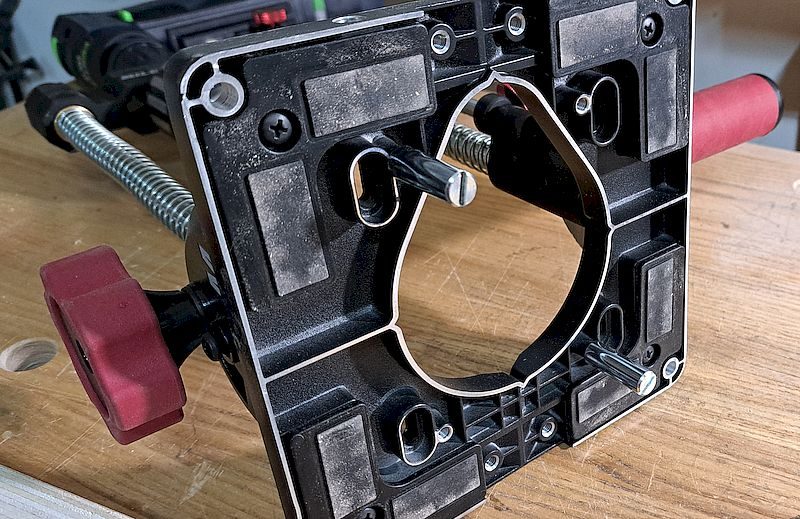
The DrillMatePRO is precisely machined from hardened aluminum and stainless steel. It consists of a top sliding guide head with an integrated drill chuck, a base with locking handles and dual stainless steel guide rods with compression springs along which the carrier slides up and down.
The keyed chuck, which features a 1/4″ hex shank fitting, accepts drill bits with shanks up to 1/2″ in diameter and rotates smoothly on a dual ball bearing spindle. The chuck key is conveniently stored on the base.
I found that the guide head moves smoothly along the two 0.55″ diameter stainless steel rods without any wobble or resistance. It doesn’t require much hand pressure to move the chuck downward, and when pressure is released, the dual compression springs return the guide head to the top. Drilling depth is controlled via a convenient depth stop. A lock knob allows you to secure the guide head at any position along the rods.
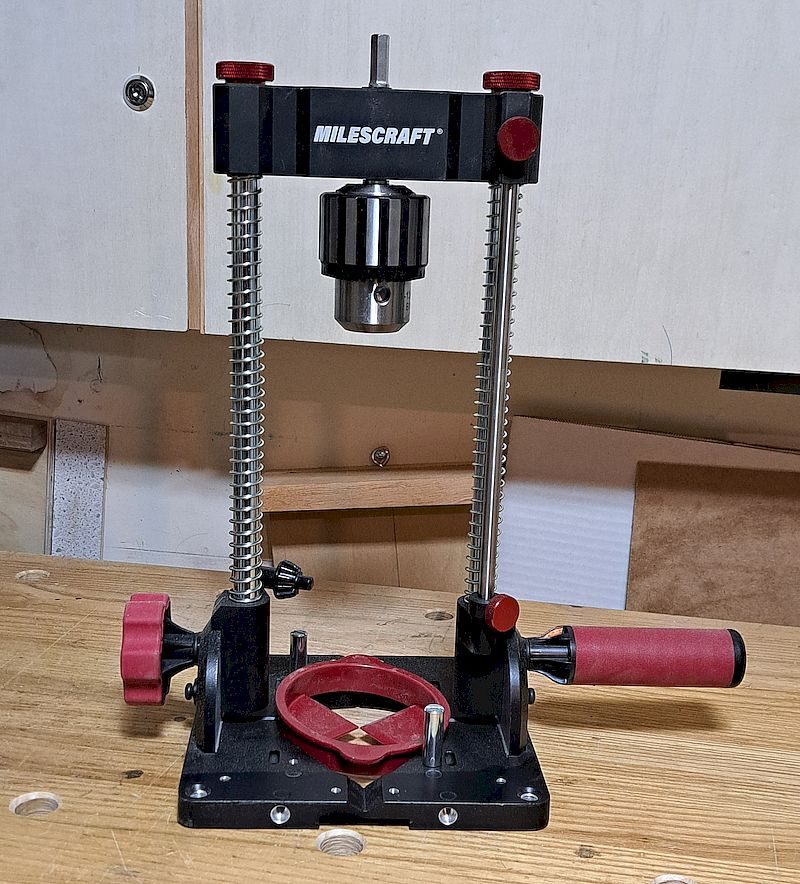
Measuring just over 7″ square and equipped with rubber pads on its bottom corners, the base offers excellent stability and resists sliding during use. There’s ample space to clamp the unit to your work surface. Alternatively, you can mount it to a sub-base using the corner holes. For straight drilling, I often don’t need to use clamps, but when drilling at an angle, clamping the base securely is essential to prevent the DrillMatePRO from tipping.
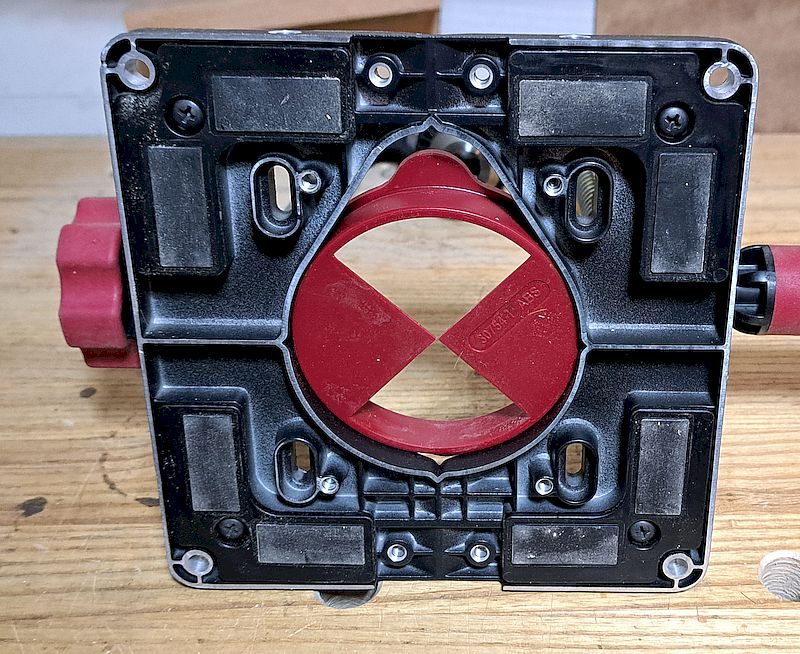
The 3-1/2″ wide opening in the base provides a clear view of your drilling location. Depending on your preference, the handles can be attached to either side of the base to help steady the unit during use.
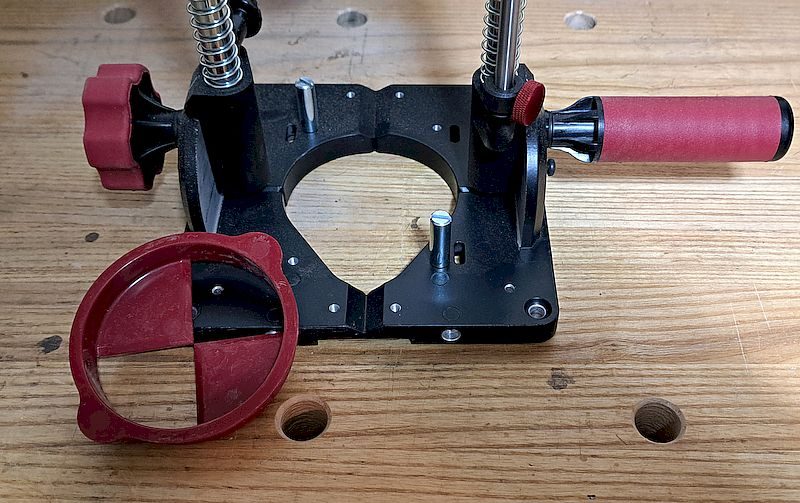
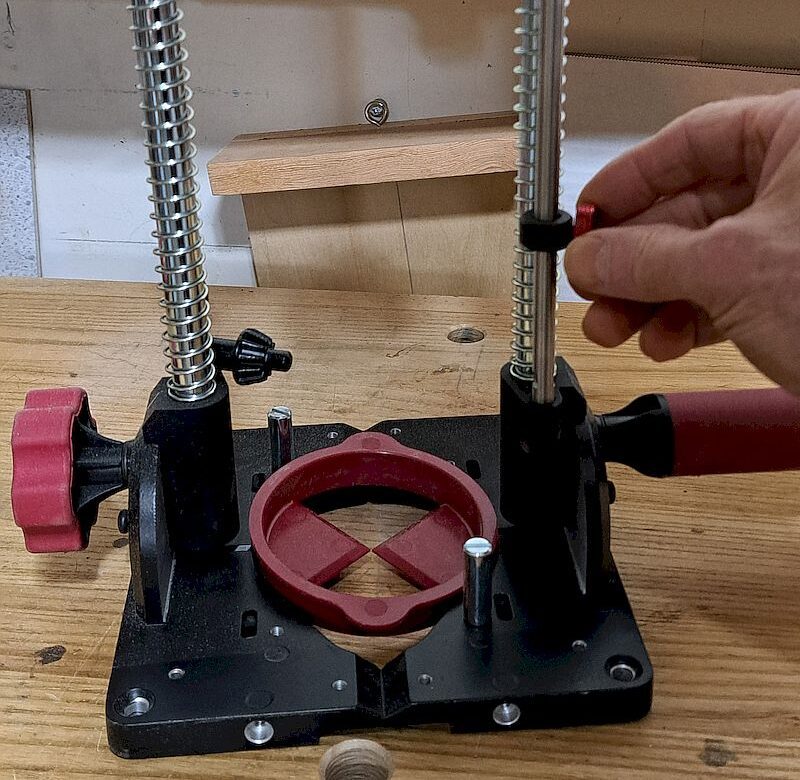
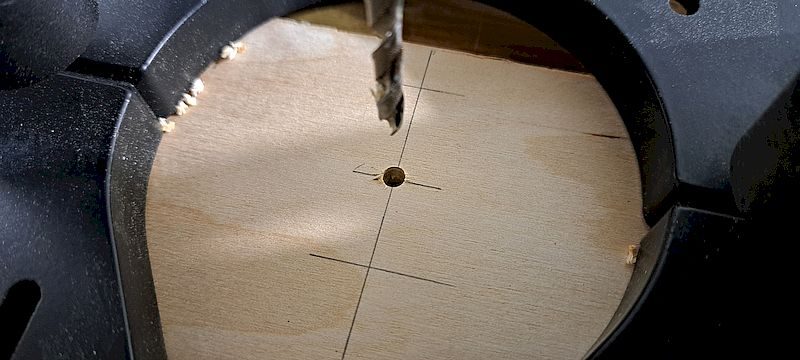
The DrillMatePRO includes a handy alignment disk that makes it easy to position the unit accurately. After marking your hole locations — either with pencil dots or horizontal and vertical registration lines — simply align the disk over your marks, remove the alignment disk and start drilling. The process is intuitive and efficient.
With the springs installed, I found that the shortest usable drill bit is 2-1/2″ long. This allows for 1/2″ of the bit’s shank to be inserted into the chuck and still drill 1/2″ deep into the stock. By removing the springs, you can utilize nearly the full length of the bit.
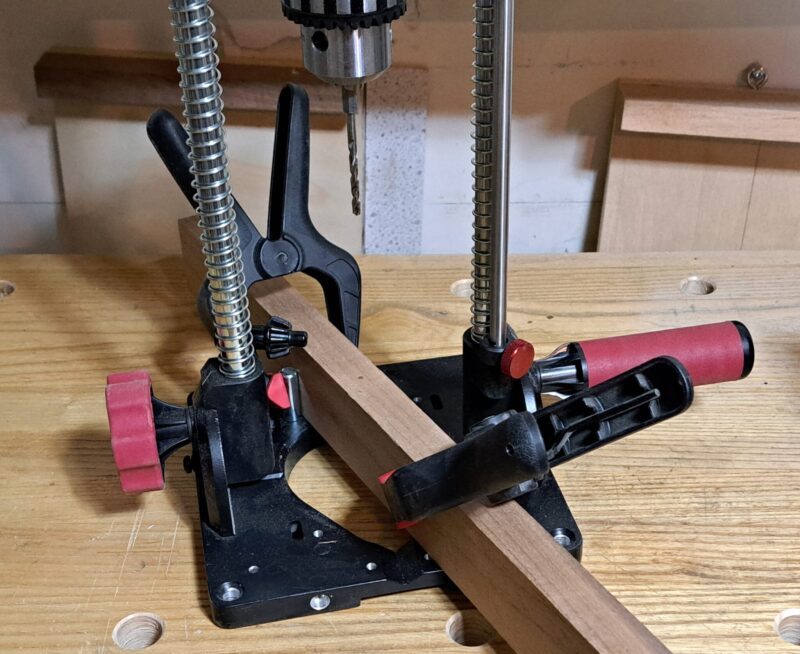
The DrillMatePRO also includes a pair of centering pins — stored on the top of the base — which are used for drilling into round or square stock. A V-groove on the top of the base helps prevent round stock from shifting. You can also install the pins on the bottom of the base to help you align narrow stock. I use spring clamps to hold the stock to the centering pins.
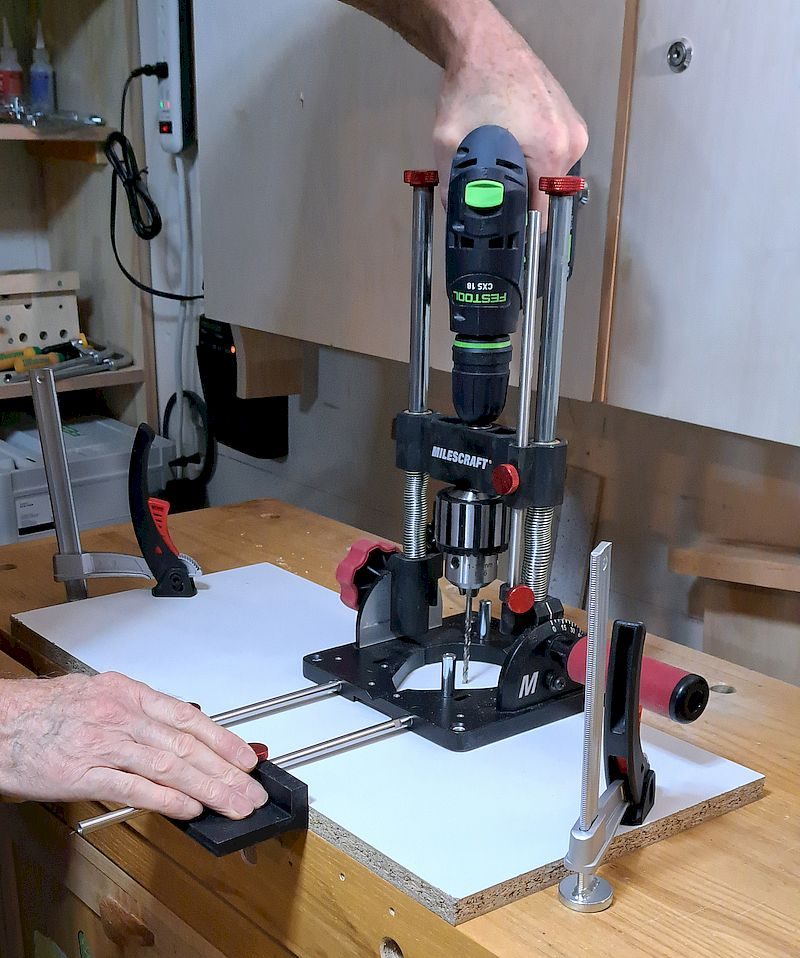
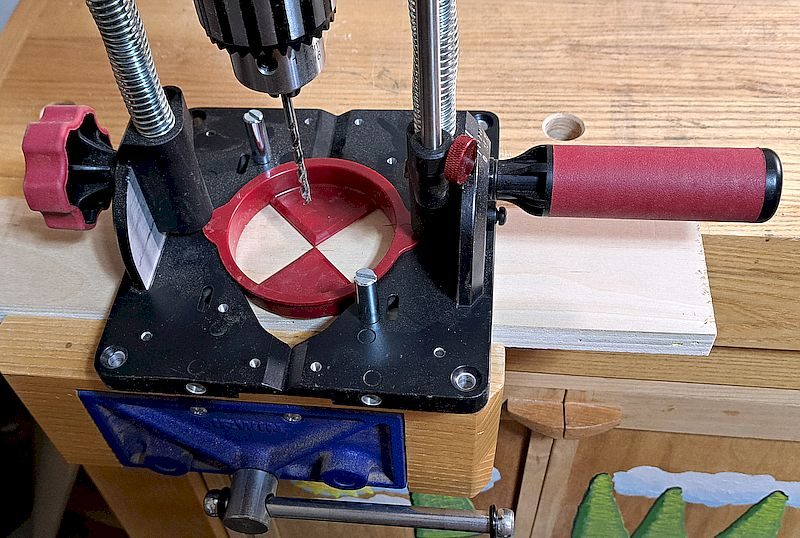
Drilling on wide stock is straightforward, but when working on narrow pieces, be cautious to prevent the unit from tipping forward or backward. As I’m doing in the photo below, you can use the centering pins installed below the base to help stabilize the DrillMatePRO. Alternatively you can use one or more support blocks beneath the base to help maintain stability.
Similarly, when drilling near the edge of wide panels, the unit may tilt forward. In these cases, clamping the base to the work surface is recommended.
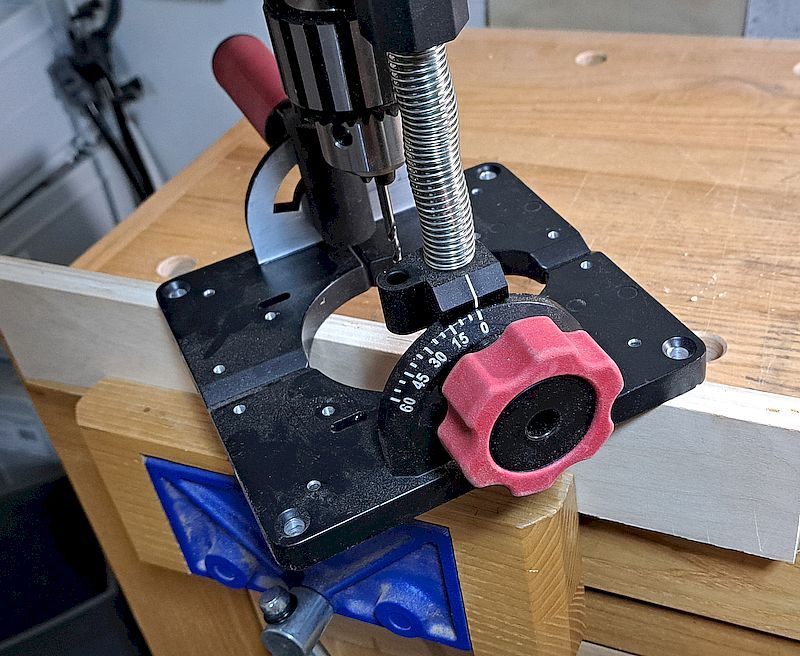
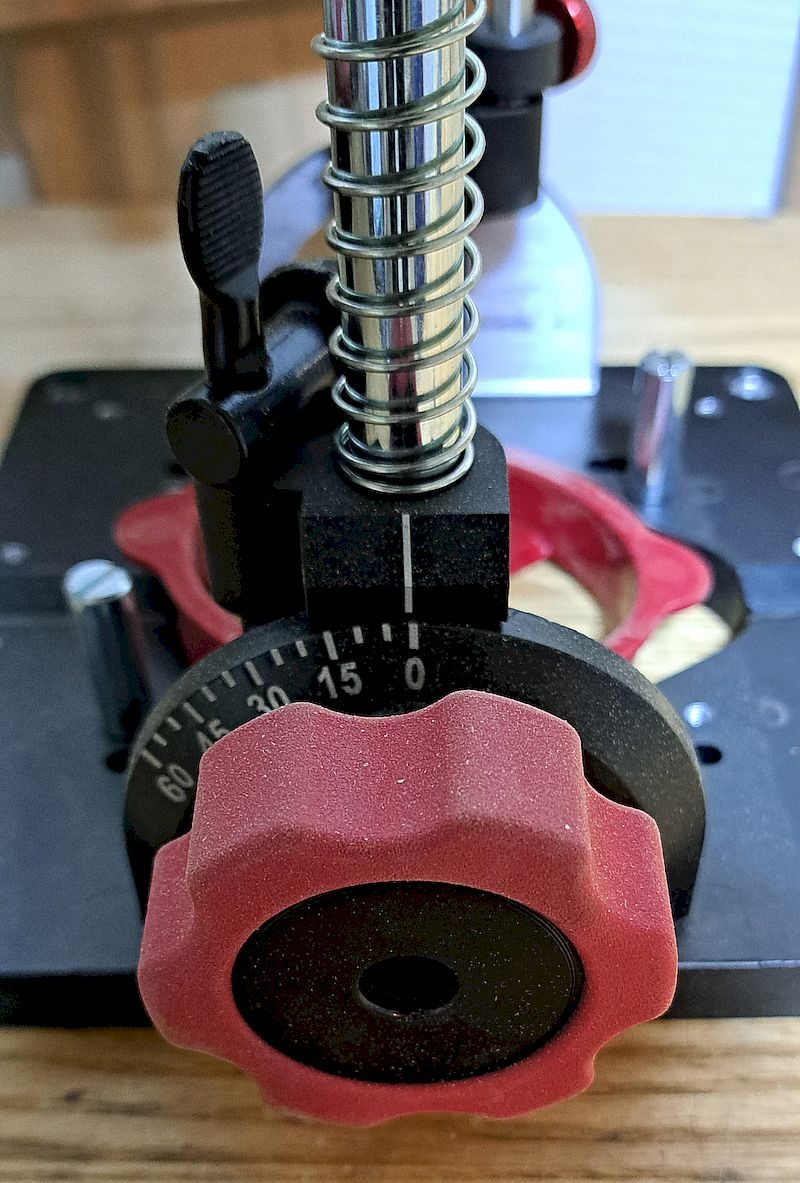
The base features an angle scale marked in 5-degree increments, allowing you to drill at angles from 0° to 60°. For improved precision, I use a digital angle finder to set drilling angles.
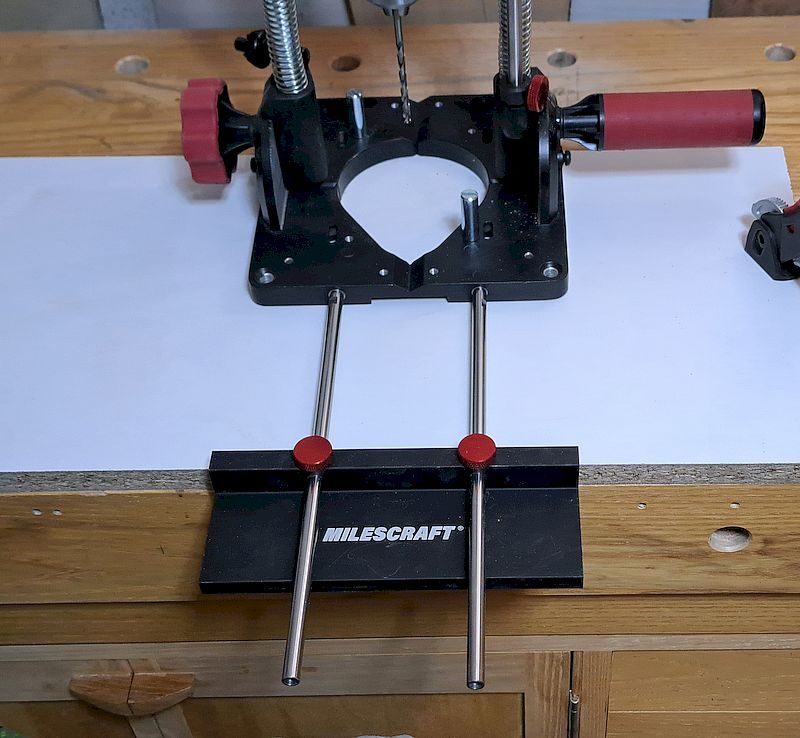
The optional fence is a very useful accessory, enabling you to drill holes consistently at a set distance from the edge of your stock — anywhere from 1-7/16″ to 12-5/8″. It’s especially helpful for repetitive tasks, like drilling shelf pin holes and significantly speeds up the process.
The DrillMatePRO is a well-machined, easy-to-use, and accurate drilling accessory offered at a reasonable price. It can be a viable alternative to a drill press for the hobbyist woodworker — especially if you’re short on space, working on smaller projects, or just starting out. For any woodworker needing to drill holes in large or awkwardly shaped panels, it’s often much easier to bring the tool to the workpiece rather than the other way around.
April 23, 2025
Last modified: April 25, 2025

Carl Duguay - carlduguay@gmail.com
Carl is a Victoria-based furniture maker and the senior editor at Canadian Woodworking & Home Improvement.
Check out other tool articles
More articles in Product Reviews