< 
Too much wood!

I know, I never thought it was possible, either. The ice storm in Peterborough, Ontario, brought down a massive number of trees, and I can’t walk by a chunk without picking it up and bringing it back to the shop.
I have room to store all this material, so that’s not a problem. So, what is the problem, you ask?
The main problem is the wood can’t just be plunked down in the shop and allowed to dry, because while it dries it develops cracks and checks, quickly becoming largely unusable. Visible checks appear in the end grain of each piece I bring home within 24 hours. I’ve started to coat the end grain with a generous amount of glue to slow the transfer of water. Thankfully, this has worked surprisingly well. Checking has stopped on every piece I’ve coated.
Generally speaking, wood cracks when it dries too fast. The outer layer quickly gets drier than the inner wood, causing the outer layer to shrink. The problem is the inner layer doesn’t want to shrink, as it’s still wet. This leads to the formation of cracks, as the different sections and layers of the material want to move, while the inner layer doesn’t. Even drying is the best approach to reduce, or hopefully eliminate, cracks. The slower it dries, the better – but only up to a certain point.
As a side note, cracks developing is especially common at the end grain, as that’s where moisture can most easily leave the wood. This is why coating the end grain is something that’s not only done when you’re drying your own chunks of wood salvaged from a storm, but is also the reason why you’ll see a coloured surface on the ends of lumber you purchase from a lumberyard. The sawyers have coated the end grain with a material that slows moisture transfer, leading to fewer cracks.
Be careful
I know from past experience that drying wood can be tricky, for many reasons. The cracks and checks are one thing, but considering the amount of moisture, the fact that the pieces are in a heated space and there’s sap and cellulose in the wood, mould spores can multiply, ruining a piece of wood quickly. This not only damages the wood, but could also affect the person who’s working near it in the shop and will work with the wood in the future.
Balancing act
In order to reduce cracks, wood needs to dry slowly. But in order for it to not develop mould, you want to dry the wood quickly, before mould develops. As you can tell, there’s a sweet spot in the middle we’re aiming for.
So, what’s a keen woodworker to do?
I’ve found keeping a round cross section of wood in the shop will only lead to lots of cracks. Usually, I split it right down the centre, usually with a chainsaw. Depending on how large it is, I may break it down further. Smaller pieces (about 5″ diameter or less) I often leave split in half and just store them face-to-face so moisture doesn’t leave the wood too quickly. Large pieces I will often split into quarters before stacking and letting it dry. I may even saw these pieces into small planks at this stage, if I think it could be usable in that form.
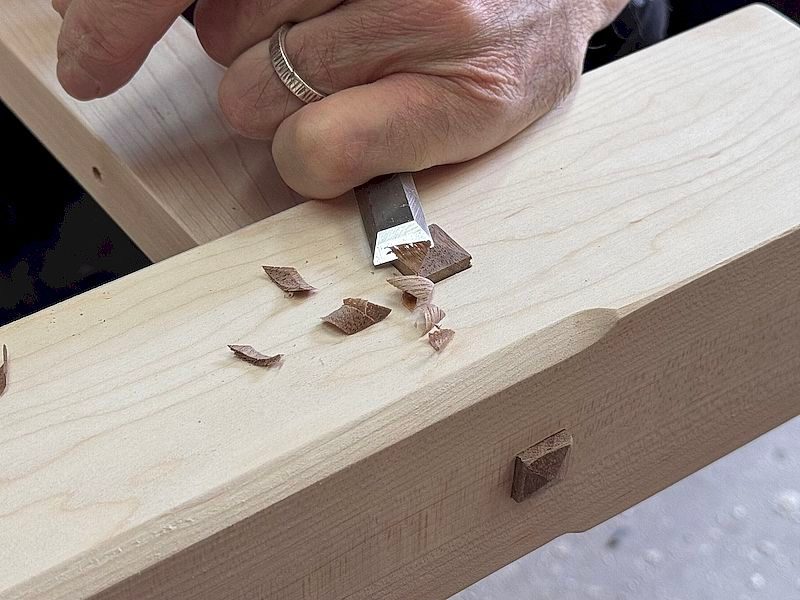
If I know the general shape of what I’m going to make with the piece, I will often cut it to rough size right away. This removes a fair bit of material, along with a lot of internal tension within the wood, increasing the chances of it drying without cracks.
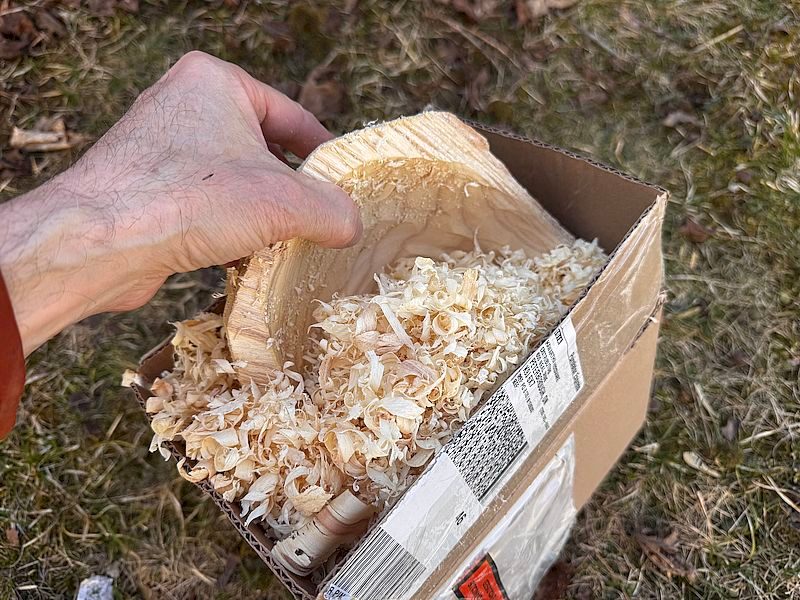
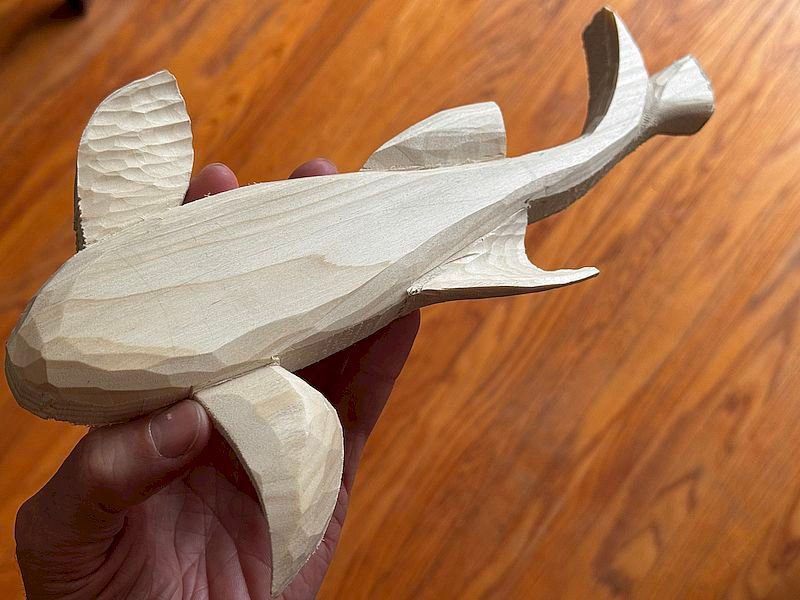
I came across a piece of white ash about 10″ in diameter. After sawing it into two halves, I used my power carving tools to start shaping the bowl I was going to power carve. I also used the bandsaw to remove large chunks of material from the outside surface of the blank to speed the process. When it was vaguely close to the finished shape, I coated the end grain with a light layer of glue and placed the blank in a cardboard box and covered it with shavings from the power carving I just did. The shavings will slow the transfer of moisture, but will still allow the moisture to dissipate. I check on the piece every couple of days to make sure all is going well. So far, so good.
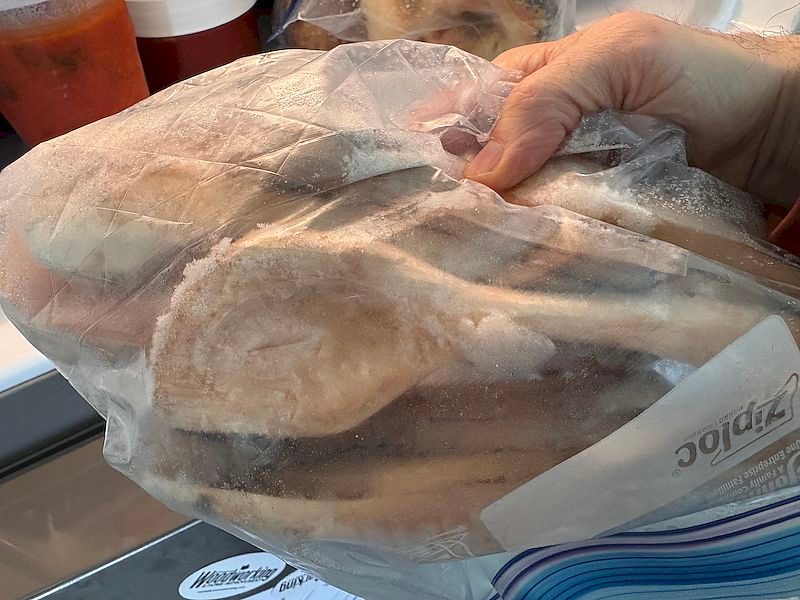
Spoon blanks
I’ve also got a large Zip-Loc bag in the freezer, full of spoon blanks. Some spoon carvers keep wet wood in a bucket of water, changing the water regularly. Since I might not get to these spoon blanks for some time, I opted to put them in the freezer to essentially pause the moisture transfer and keep the mould at bay. I know I’m on thin ice with my wife for this practice, but I appease her with a nicely made spoon or spreading knife from time to time to keep her on my side.
One failure
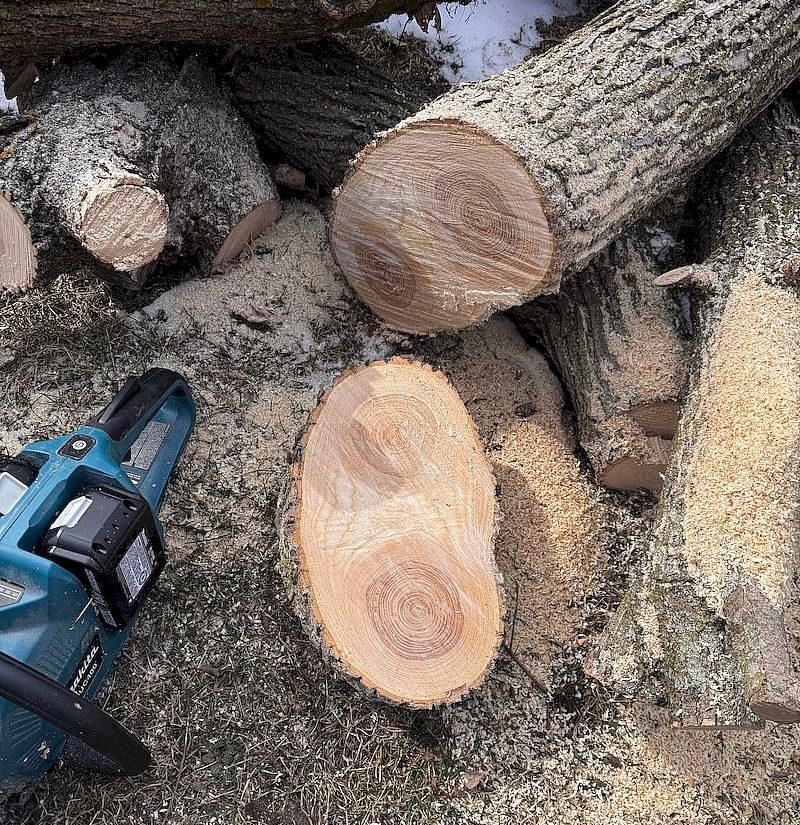
I came across a nice piece of white ash crotch a week ago. I sliced a cross section off and brought it home. It was interesting because it contained two piths. I thought it might make a nice serving bowl. The problem was all the tension within it. It quickly developed many cracks as it dried. Rather than spend too much time and energy nursing it along, I decided to toss it overboard. It will now provide my neighbour with some good heat next winter, rather than live in my kitchen cabinets as a bowl, waiting to hold snacks for company.
Full disclosure
When it really comes down to it, I almost always buy my lumber from a reputable lumberyard. It’s dry and ready for action. I’ve had some success with drying smaller pieces of salvaged wood in the past, but I’m certainly no expert. There are probably many turners out there who regularly dry large chunks of wood who know a lot more about the process than I do.
A big part of this is just the fun challenge of trying to obtain my own material to work with in the future. It goes something like this: see a nice piece of wood sitting on the side of the road, want to avoid wasting it, give it a good home, imagine what to do with it, do my best to dry it, then shape it to the final project. Only time will tell if I’ve done what it takes to harvest some useful material out of an ice storm. Stay tuned.
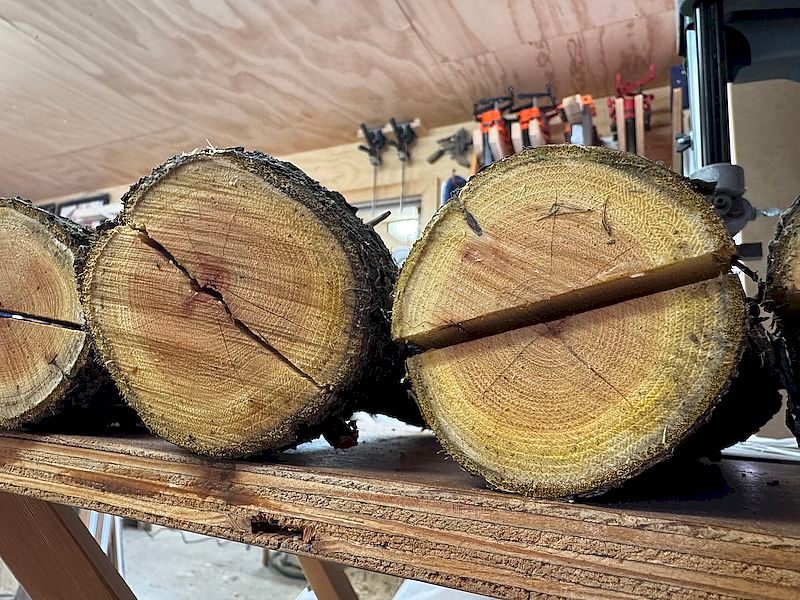
Just Sitting Around
Small enough for me to just split in half, these pieces of pin cherry (or choke cherry, I’m not sure) have had their ends coated in glue and are giving off moisture slowly. The grain and colour are quite nice and might make some attractive door or drawer pulls one day.
End Grain
You can see cracks in this end grain, but since I put glue on the surface the cracking has stopped.
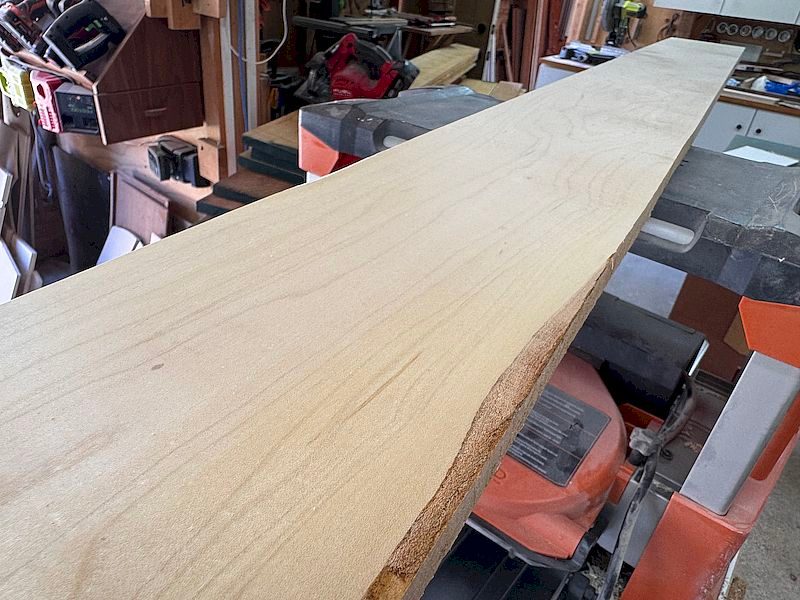
A Bigger Chunk
This white ash bowl blank is coming along nicely. I roughed it out while it was green, then applied a bit of glue to the end grain and put it in a box with some wood shavings to slowly dry. Fingers crossed.
“A” For Effort
This piece of white ash was cut from a local tree, but with so much going on inside, it developed too many cracks and got pitched into the firewood box.
Spoon Blanks
These blanks are frozen solid, ready to be taken out an hour before any carving happens.

Rob Brown - rbrown@canadianwoodworking.com
Rob is the editor at Canadian Woodworking & Home Improvement and a studio furniture maker.


Rob, Thanks for the reply, I will do more research, especially the impact on the wood.
Hi Henri. I’m not sure how Lysol would affect wood as it dries. It could work to keep the mould away. Only one way to find out! Though I guess asking around (on our woodworking forum, for starters) might give you some info too.
Is a spray type disinfectant, such as Lysol, recommended to prevent mould, especially when the wood is wrapped in paper or stored in wood shavings?
Wow. Great information!! I often wondered how to handle green wood. I have a very sick mountain ash that I fear may soon have to be removed. I’d like to use the wood for as yet undetermined project but had no idea how to prepare it. Now I know. Never thought about preparing the stock when green thinking it wasn’t a good idea to cut green wood.
What about using that desiccant stuff horticulturists use to prevent junipers/cedars from drying out in winter??
Ive got cedar from a storm we had a few years ago
I’m coming past Peterboro in the next week if u r interested in a trade
The color of the cherry suggests pin cherry. Chokecherry is usually close to black cherry in color, at least based on experience in western NY. The bark, however, looks like chokecherry.
FWIW I’ve had good success with the end sealer that LV sells. Relatively affordable (you don’t need much so even a quart goes a long way) and soap-and-water cleanup was a lot less hassle than mucking with dipping in wax.