< 
Strong support

Sawhorses come in many shapes and forms.
I can still remember the first set of sawhorses I ever saw: 2×4 legs, inserted into those standard metal hinged brackets, with a slightly longer 2×4 captured between the two brackets. It’s a simple design that works fairly well, as long as you don’t need to support a ton of weight.
Now that I think about it, I seem to remember those sawhorses of my dad’s racking under the weight of a bunch of random lumber when I was about 10 years old. The uneven ground we were working on surely didn’t help. If the weight was straight down, with virtually no sideways movement or force, they were somewhat strong. But those sawhorses always flirted with disaster as soon as one of the people nearby started to lean on them.
It was a timeless design. I bet they have the same resistance to racking as they did years ago, which was, and still likely is, not very much.
Krenovian horses
James Krenov, as you likely know, was an influential studio furniture maker who came to prominence about four decades ago. He taught many students at California’s College of the Redwoods, after founding the Fine Furniture Program in the early 1980s. He also wrote a number of books about the art of furniture making. His “cabinet on stand” quickly became his signature furniture style. Maybe his second most popular form was the sawhorse. Fairly lightweight, and having the ability to nest together to save space, its popularity steadily rose over the next few decades. It’s recognized by many today.
I have never made a pair of Krenovian sawhorses, but we’ve included an article in our pages by Steve Der-Garabedian about how he made a set. It’s a simple and sleek design that will support a medium amount of lumber or work-in-progress. Having said that, I doubt they would support a thick solid white oak table top measuring 5′ x 8′.
You can read Der-Garabedian’s article here.
Lots of other options
There are many other styles of sawhorses out there, including many that are incredibly simple to make yet do a great job at supporting lumber, works-in-progress and anything else that needs to be held 36″ above a shop floor.
I visited a shop a few years ago that used two interlocking pieces of plywood, each about 30″ square. A 3/4″ wide groove from the centre of one edge to the mid-point of the panel allowed two parts to slide together, stand up and support a surprising amount of weight. They easily slid apart for storage when they weren’t needed.
My solution
About 15 years ago I made a fairly simple set of A-frame sawhorses. A-frame structures have many pros, but one main con is that the feet supporting all the weight have a tendency to splay apart under a lot of weight, causing any heavy work-in-progress to come crashing to the ground. I protected against this with a wooden hinge that keeps the feet of the two sides from moving away from each other when the sawhorses are loaded. The hinge mechanism can also be easily engaged and disengaged. In fact, to set them up, the hinged mechanism automatically flips into position and locks the halves in place when the feet of the halves are moved away from each other. To unlock the sawhorse so it can be moved and stored, just lift up on the centre of the hinge and the sawhorse will fold up.
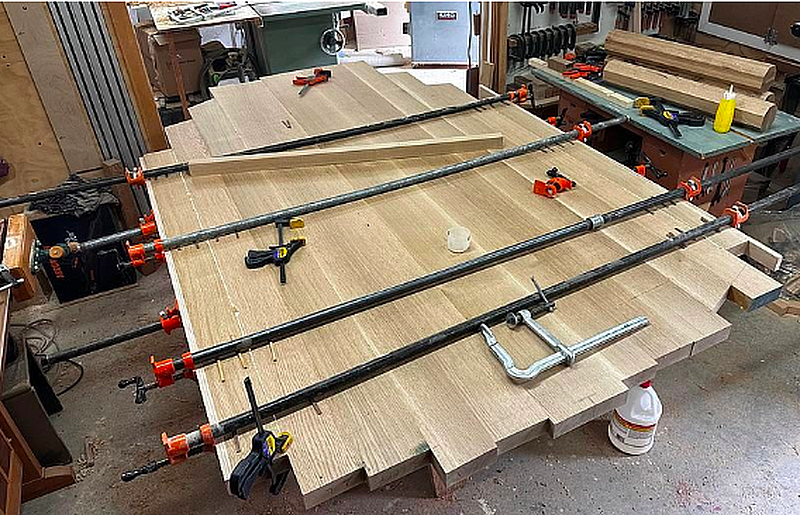
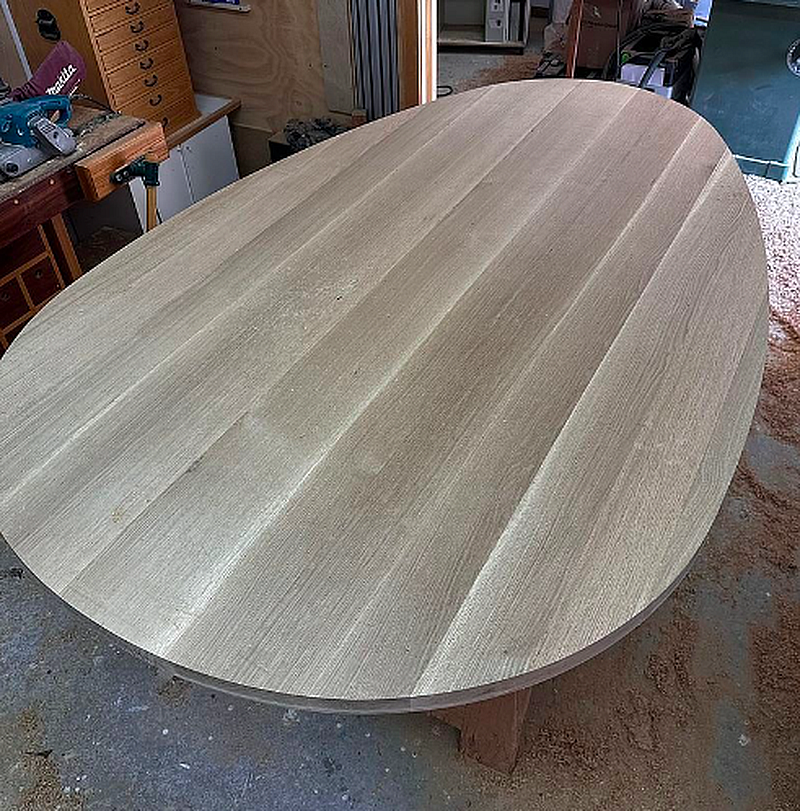
They’re made from layers of 1/2″ plywood, so they’re fairly lightweight. They’re also quite strong. About a year ago I made an egg-shaped dining table. The finished top measured 1-3/4″ thick x 90″ long x 57″ wide. As you can imagine, it was very heavy. I’m guessing it was almost 200 pounds. While I was working on the upper surface of the table it sat on my two sawhorses without any problems. When the upper surface was completely prepped for a finish, I had a friend come over to the shop to help me flip it. It wasn’t easy to flip, but again, the sawhorses performed admirably. I have no idea how much more weight the sawhorses could have supported, though I wasn’t about to push them to their limits to find out.
Extras
I also made a rail that fits over an opened sawhorse. It comes up to the same height as my table saw, so I can use it to support cutting on the saw or a larger work-in-progress next to the table saw. I also made a 3/4″ rail that sits securely on top of the first rail. This is so it can offer support to a long workpiece that’s being crosscut with my crosscut sled, as it has a 3/4″ thick base.
Everyone needs a good (shop) friend
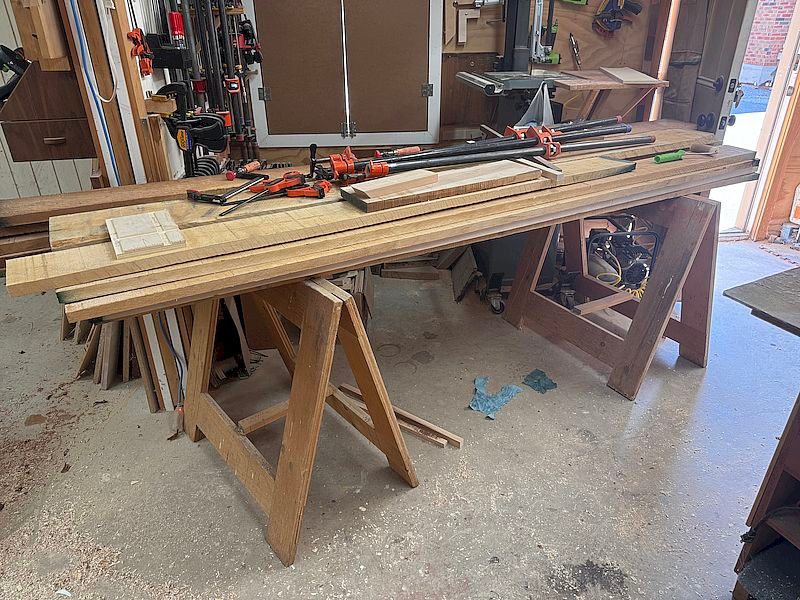
Right now, I have a batch of 4/4 hard maple and cherry on these sawhorses. I can pick through the planks and choose the right boards for the right part of the job. Having an area where rough lumber can be stored while I work my way through it during a project is a luxury.
If you want to read about how I made my sawhorses, check out the article in our current issue. This is our 15th annual “Working in a Small Shop” issue, where we focus on small shop projects, tools and techniques that will make your time in your shop more enjoyable and efficient. You can read the article here.
A Good Helper
A good shop helper is hard to come by. It's usually easiest to make your own.
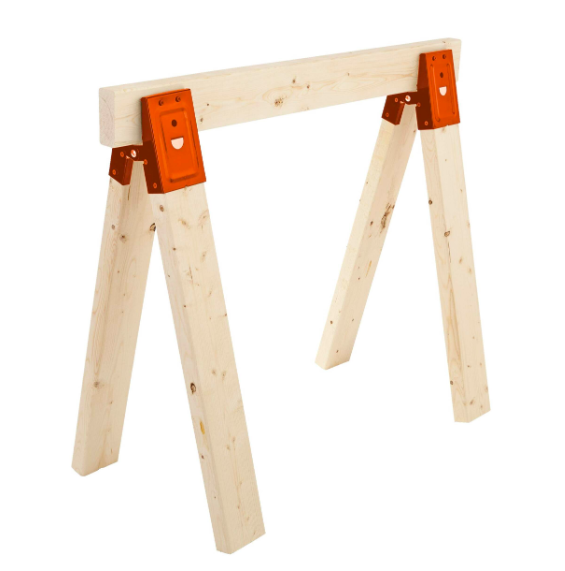
Not a Great Option
These are the sawhorse brackets I remember from when I was young. They're not overly strong. They're not overly stable. They're certainly not overly beautiful. At least they're cheap.
A Past Project
Although you can't see my sawhorses all that well, they are under this monster of a table top.
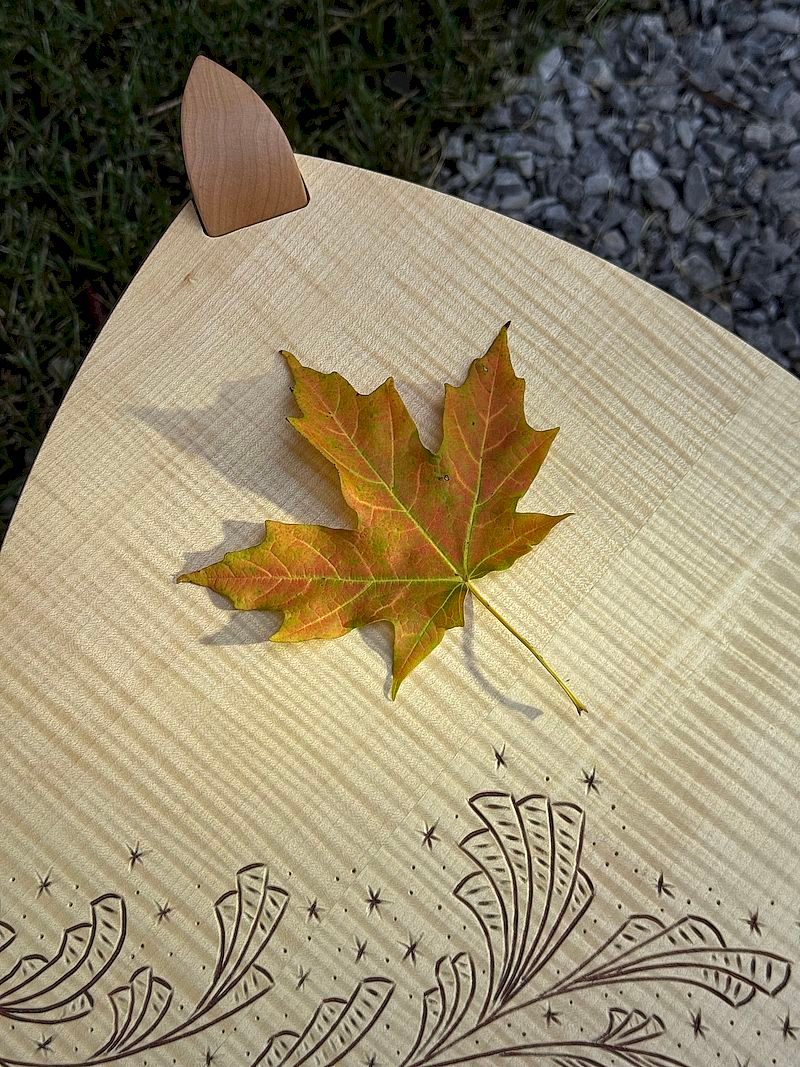
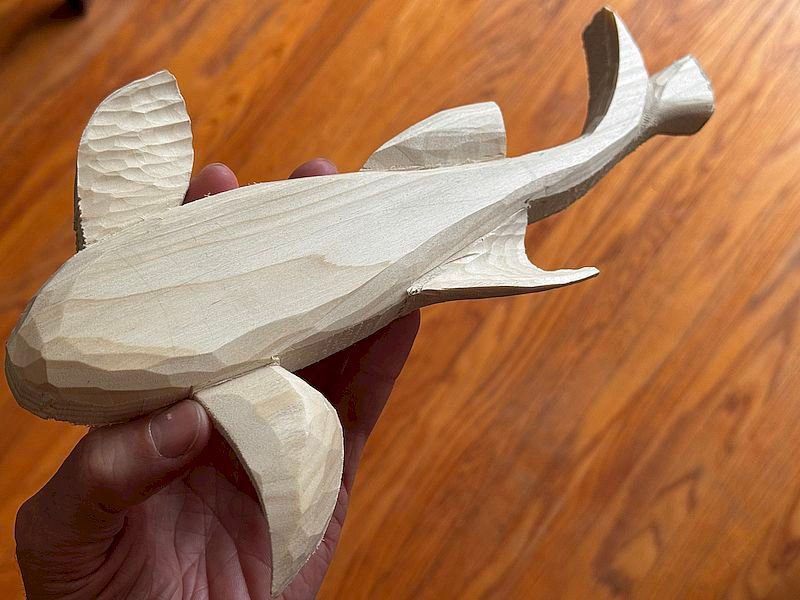
One Foot Sticking Out
Here's the table top I built about a year ago, once it was mostly shaped.
Today's View
Today, my sawhorses are making easy work of supporting a bunch of planks I bought for my current project.