< 
Changing on the fly

I have a few clients that I build very similar pieces for. One client, a local resort with a few dozen cottages, is renovating their cottages one-by-one.
Along with new floors, an updated kitchen, new siding, a fresh coat of paint and a handful of other details, each cottage gets a bathroom upgrade. So far, I’ve made about eight vanities for them.
Each of these vanities are customized to the size required, but the rest of the details are virtually identical. A false drawer front at the top, a functioning drawer below the false front, then an open storage area below the drawer. Each vanity is whitewashed maple. They all turn out quite nice, if I do say so myself. My mother also thinks they’re very nice, and she’s not biased in the least.
Joking aside, the resort must like them too, as they keep calling me, not to mention paying me.
The same, but different
Generally speaking, I’ve made all of these vanities using the same construction approach. They aren’t rocket science, so there’s no reason to get too fancy with them. Maybe the only thing I’ve wrestled with since making the first vanity is the decorative plugs in the legs. I’ve made them out of walnut, to add some contrast to them, and they protrude about 1/8″ from the leg’s surface.
Circular plugs would have been very simple, but these plugs are square. When I made the first vanity I hummed and hawed about how to make them, but settled with using a tenon cutting bit in the drill press to machine a tenon on the end grain of a blank of walnut, then trimmed them to size. But the “trimming to size” part of the operation wasn’t easy. The tenon cutter leaves wings on all four sides and corners, so the shoulder of each plug needs to be shaped accurately. An assortment of power tools and hand tools got the job done, but it was tedious. But because it worked the first time, I ran with it.
A month ago, I made another vanity, but decided to take a different approach to making the plugs. I’ve generally just use the same approach as in the past, but this time I thought I should reconsider my order of operations to see if improvements can be made. I was also making two vanities at once, so the time savings (I hoped there would be some, in addition to potentially improving the plug detail) would be doubled.
More head scratching
The tenon on the ends of the original plugs is likely overkill. And the short grain on the four corners is on the weak side. Both of these drawbacks, coupled with how hard it was to machine the plugs, got me thinking.
After considering a few approaches, I settled on making a 1/2″ x 1/2″ square about 1/4″ thick. This could be positioned in place and lines could be scored around its perimeter with a chisel. Next, I continued with a 1/2″ chisel to further deepen the perimeter. Then I used a trim router equipped with a 1/8″ diameter bit to remove most of the waste and provide me with a mostly flat surface to glue the piece of walnut to. Next, it was back to the chisel to remove the corners. Finally, a bit of glue was added inside the cavity and the square plug was pressed into place for good.
I’m guessing this approach was not only stronger, but also faster, which is exactly what a custom furniture maker’s job is all about.
Always lots of options
When building, I’m always considering what approach to take with a specific piece, or even just a small detail in a piece. Usually I just weigh the options and move forward with my approach. If it didn’t work as well as I thought it would, oh well, it’s done anyways. It’s pretty rare for me to get to go back to the same detail over the span of a few years to further refine and simplify it. In all honesty, I’d generally prefer to always be doing something a bit different than not only the last piece I made, but also something different to all of the pieces I’ve made before. But then again, I certainly can’t complain when custom work comes my way.
Do you wrestle with the general approach of a piece, or maybe even with a certain detail? A seasoned maker has a lot of experience to draw from, but they still don’t always get it right. A beginner is usually just going with the basics while also having to work around the tools they have on hand. Either way, we can always pay attention to how something worked and remember that for the next time we’re faced with something similar. That’s how we learn as woodworkers. That’s also how we learn as people.
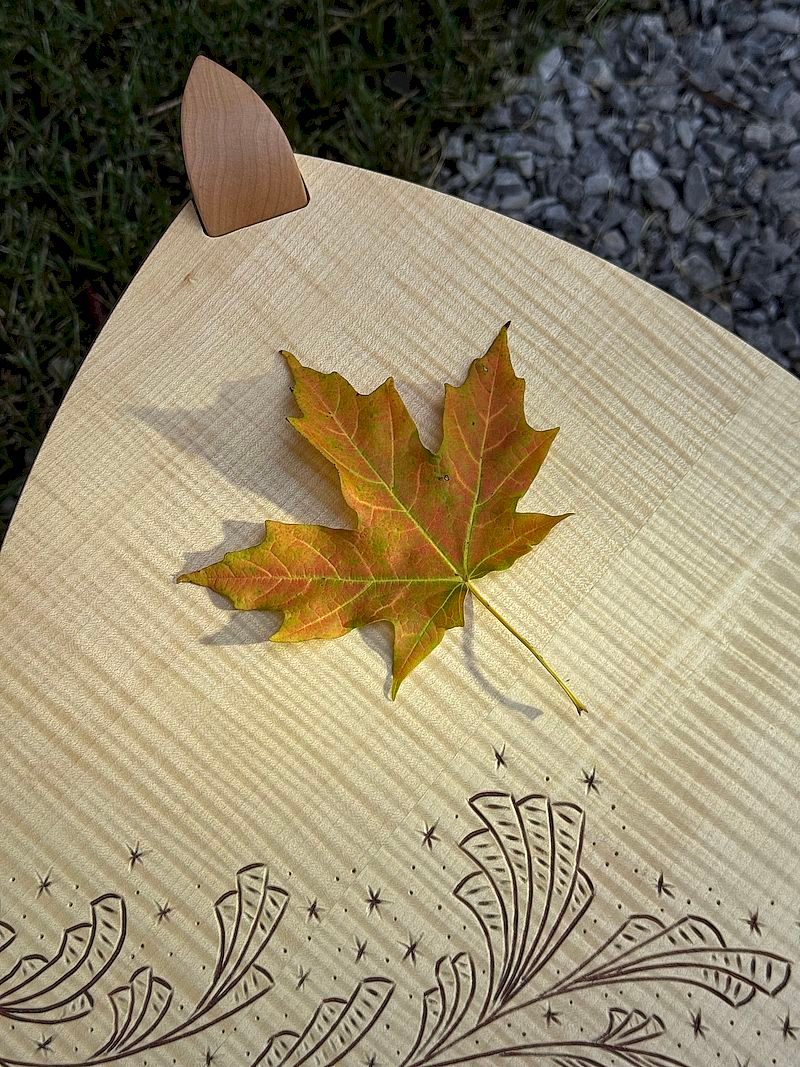
Almost Done
Once the small black walnut accent has been glued into place, I let it dry then chamfer its face to create the four facets.
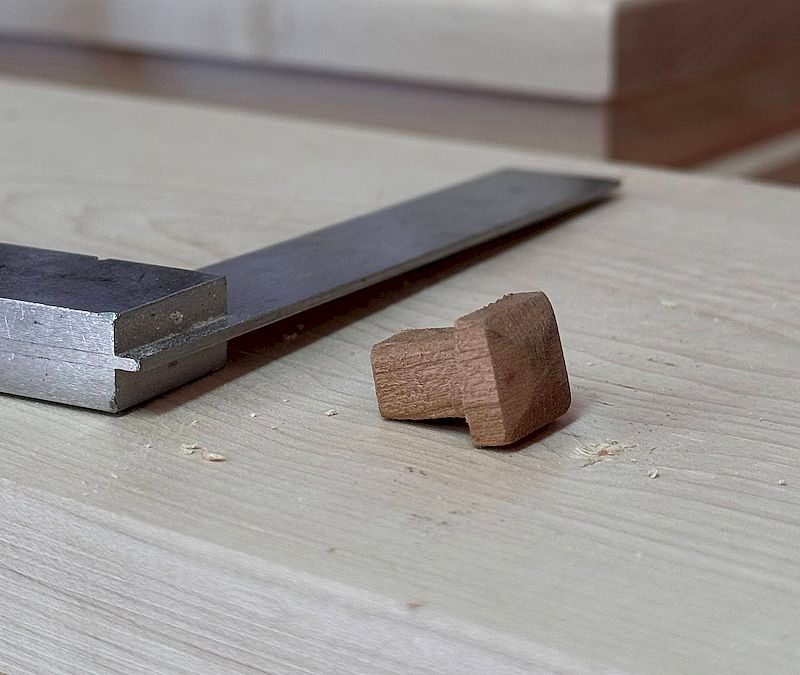
The Original Approach
This was my first approach. The tenon created a strong and positive union with the leg, but the short grain on the four outer corners was weak. It was also quite involved to create.
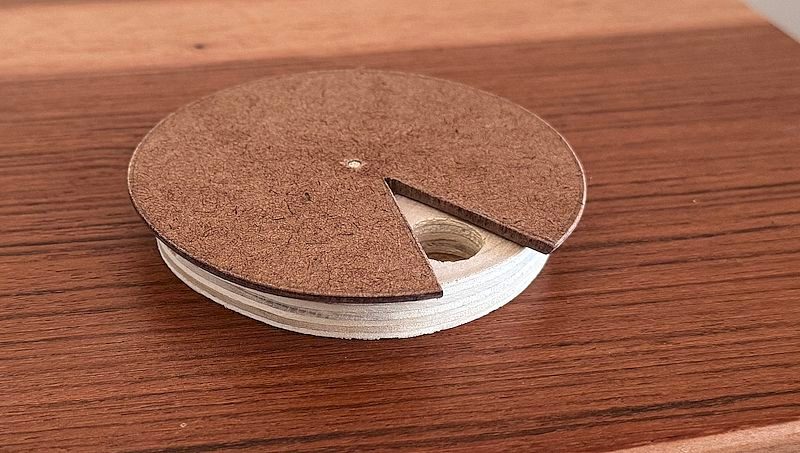
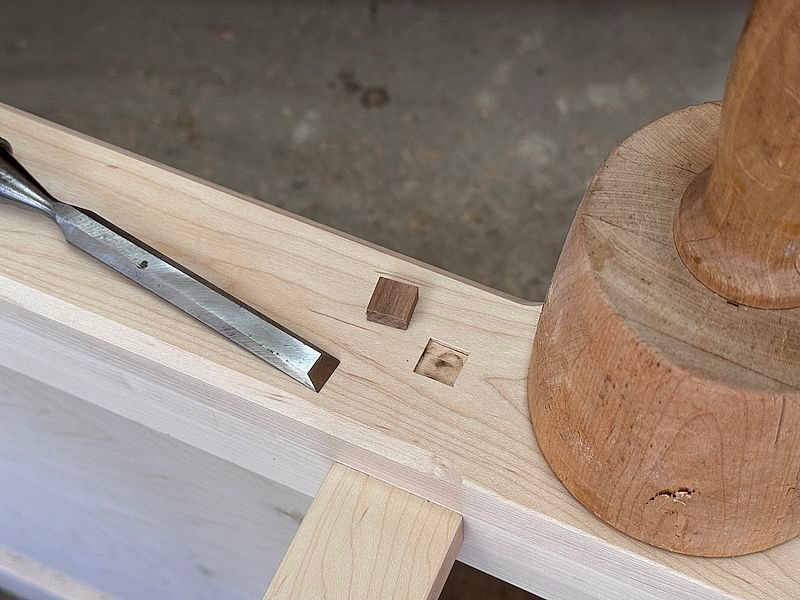
The Simplified Approach
My new approach has me creating a square plug, and a square recess, then gluing the plug in place. It's almost embarrassing I went to all the trouble with the previous approach.

Rob Brown - rbrown@canadianwoodworking.com
Rob is the editor at Canadian Woodworking & Home Improvement and a studio furniture maker.